Creating Testing Sections with Academic and Theology Subjects
Create And Manage Multi-subject Testing Sections
Learn how to duplicate and configure Testing Sections, including setting up theology, reading, and math assessments across multiple testing windows. This guide simplifies the process of organizing testing sections and assigning proctors to ensure your dashboard is accurately updated.
1. Once all Students are assigned to their respective Classes, you will start from your ARK Dashboard.
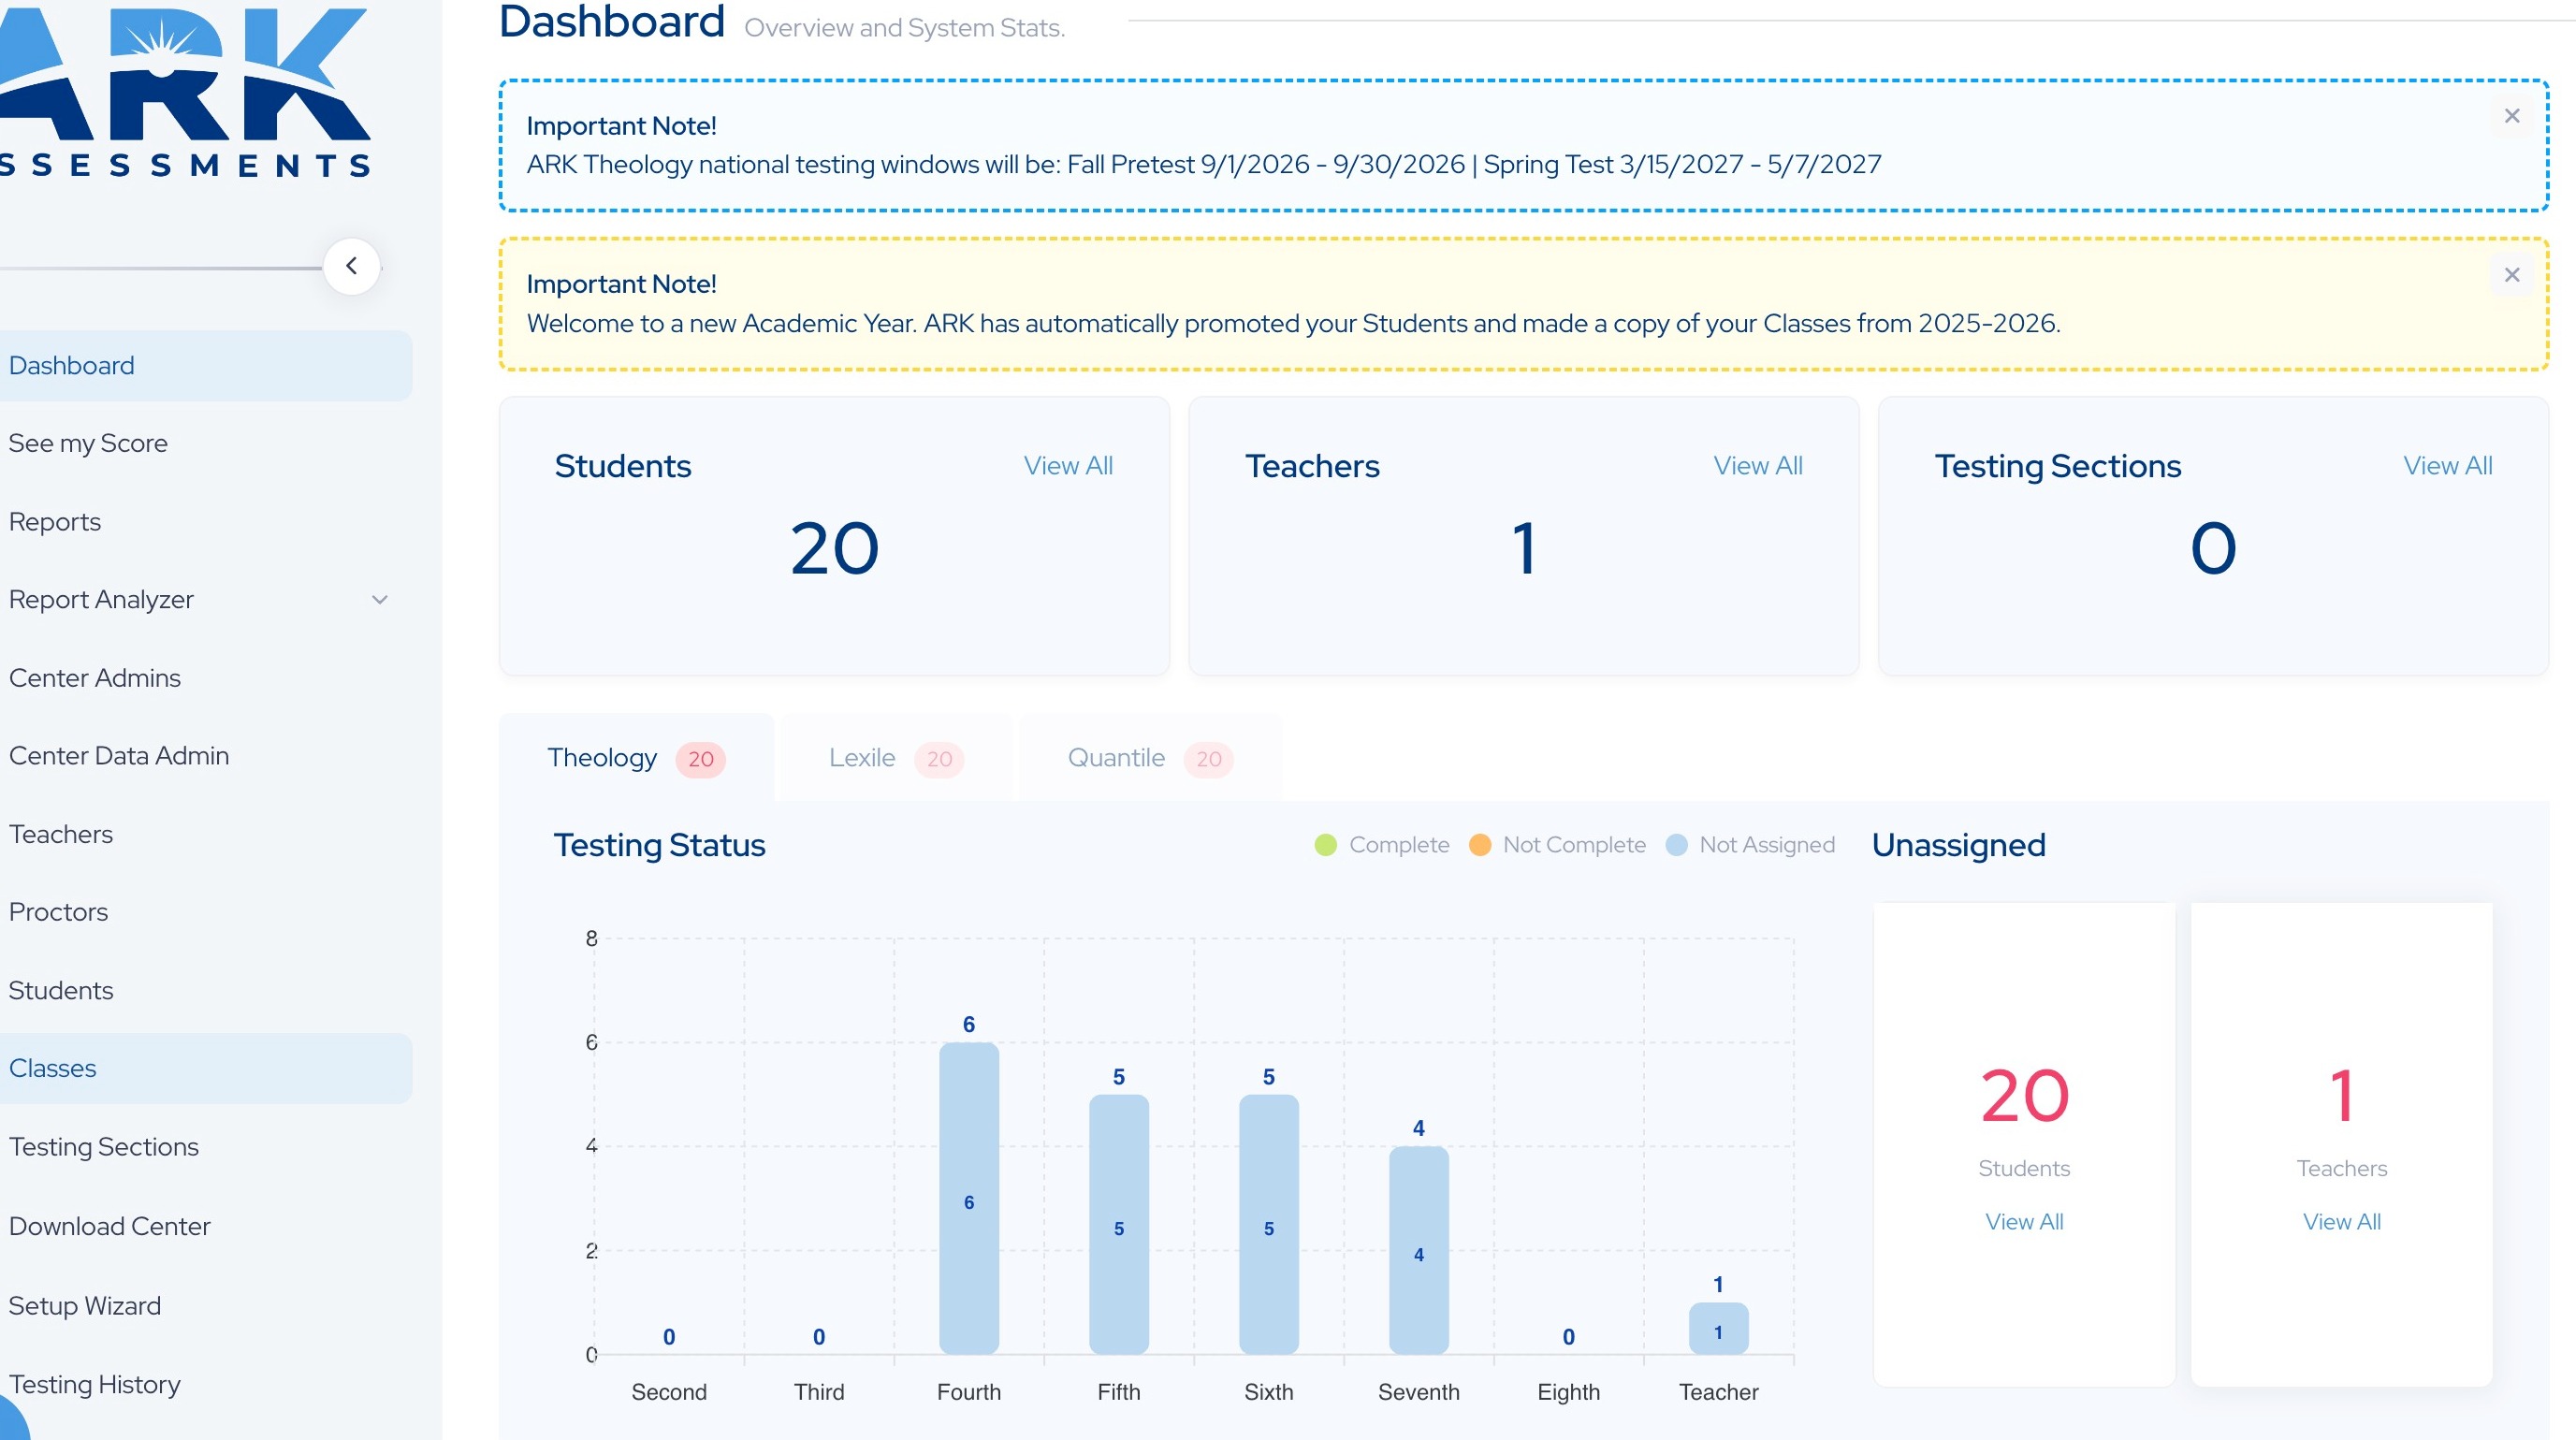
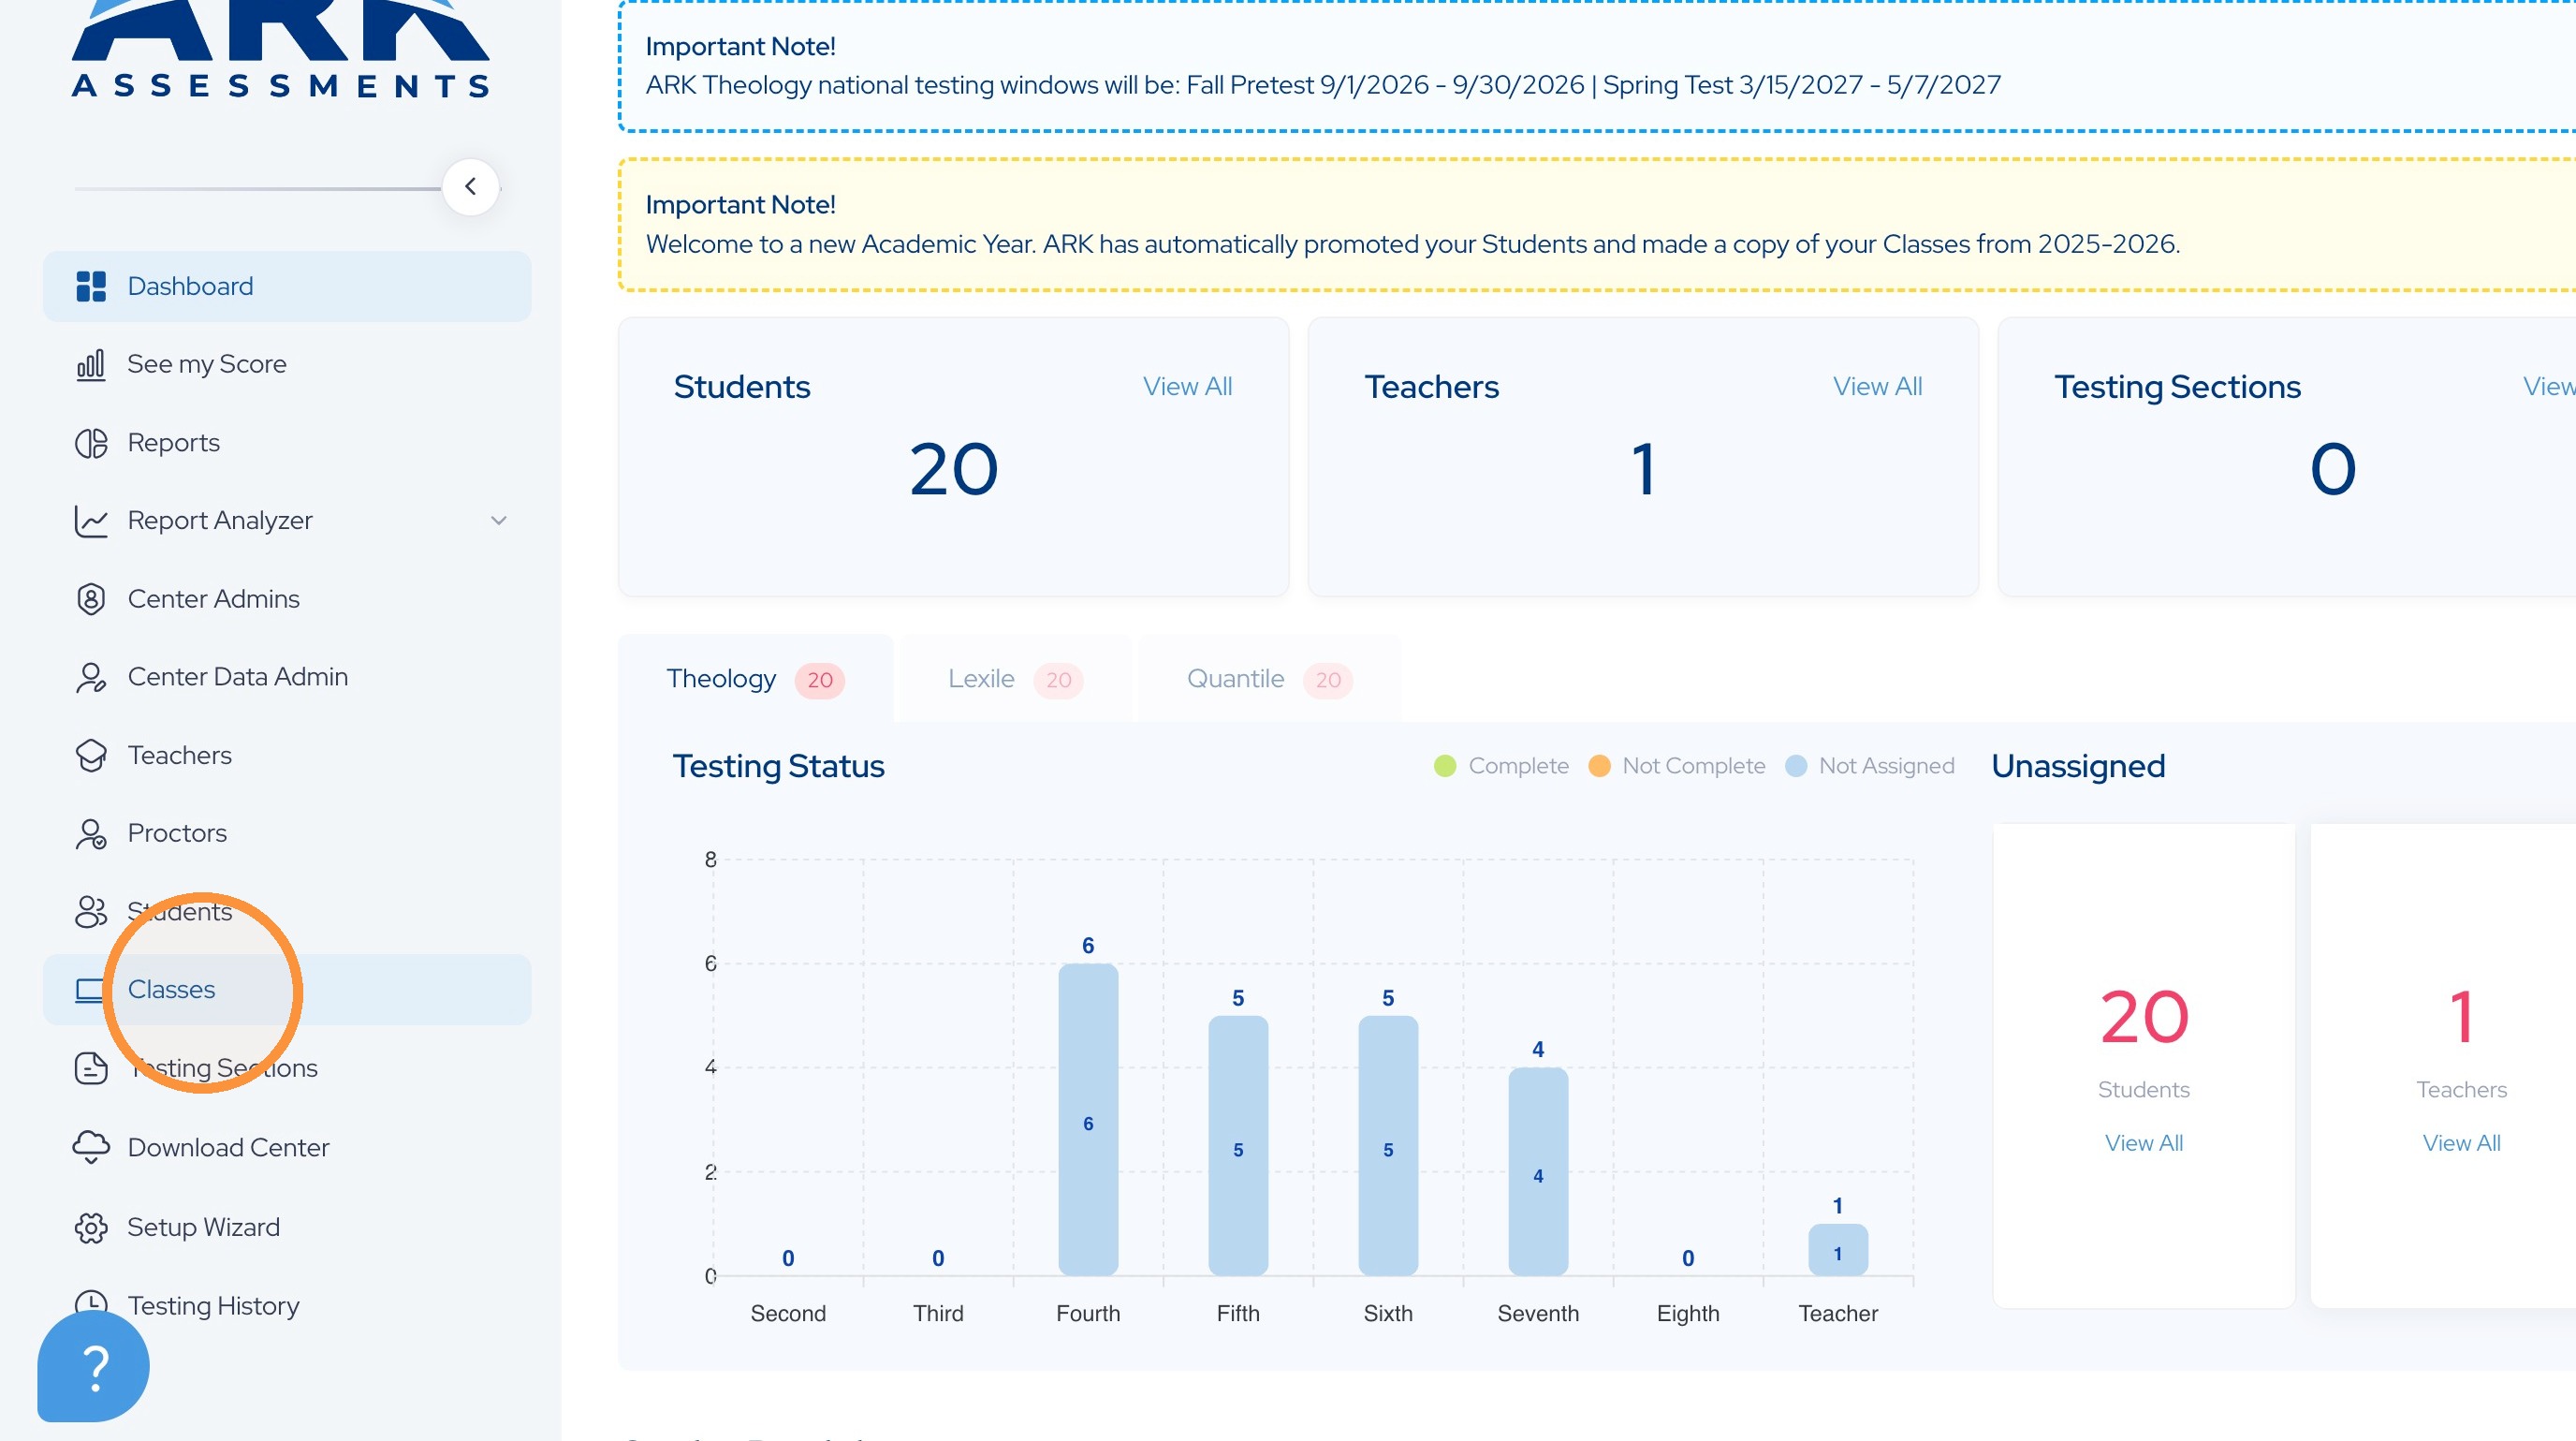
2. There are two ways to create testing sections. Either you can duplicate a class as a testing section or create a unique section. To duplicate a class as a testing section, click the Classes menu option in the left sidebar.
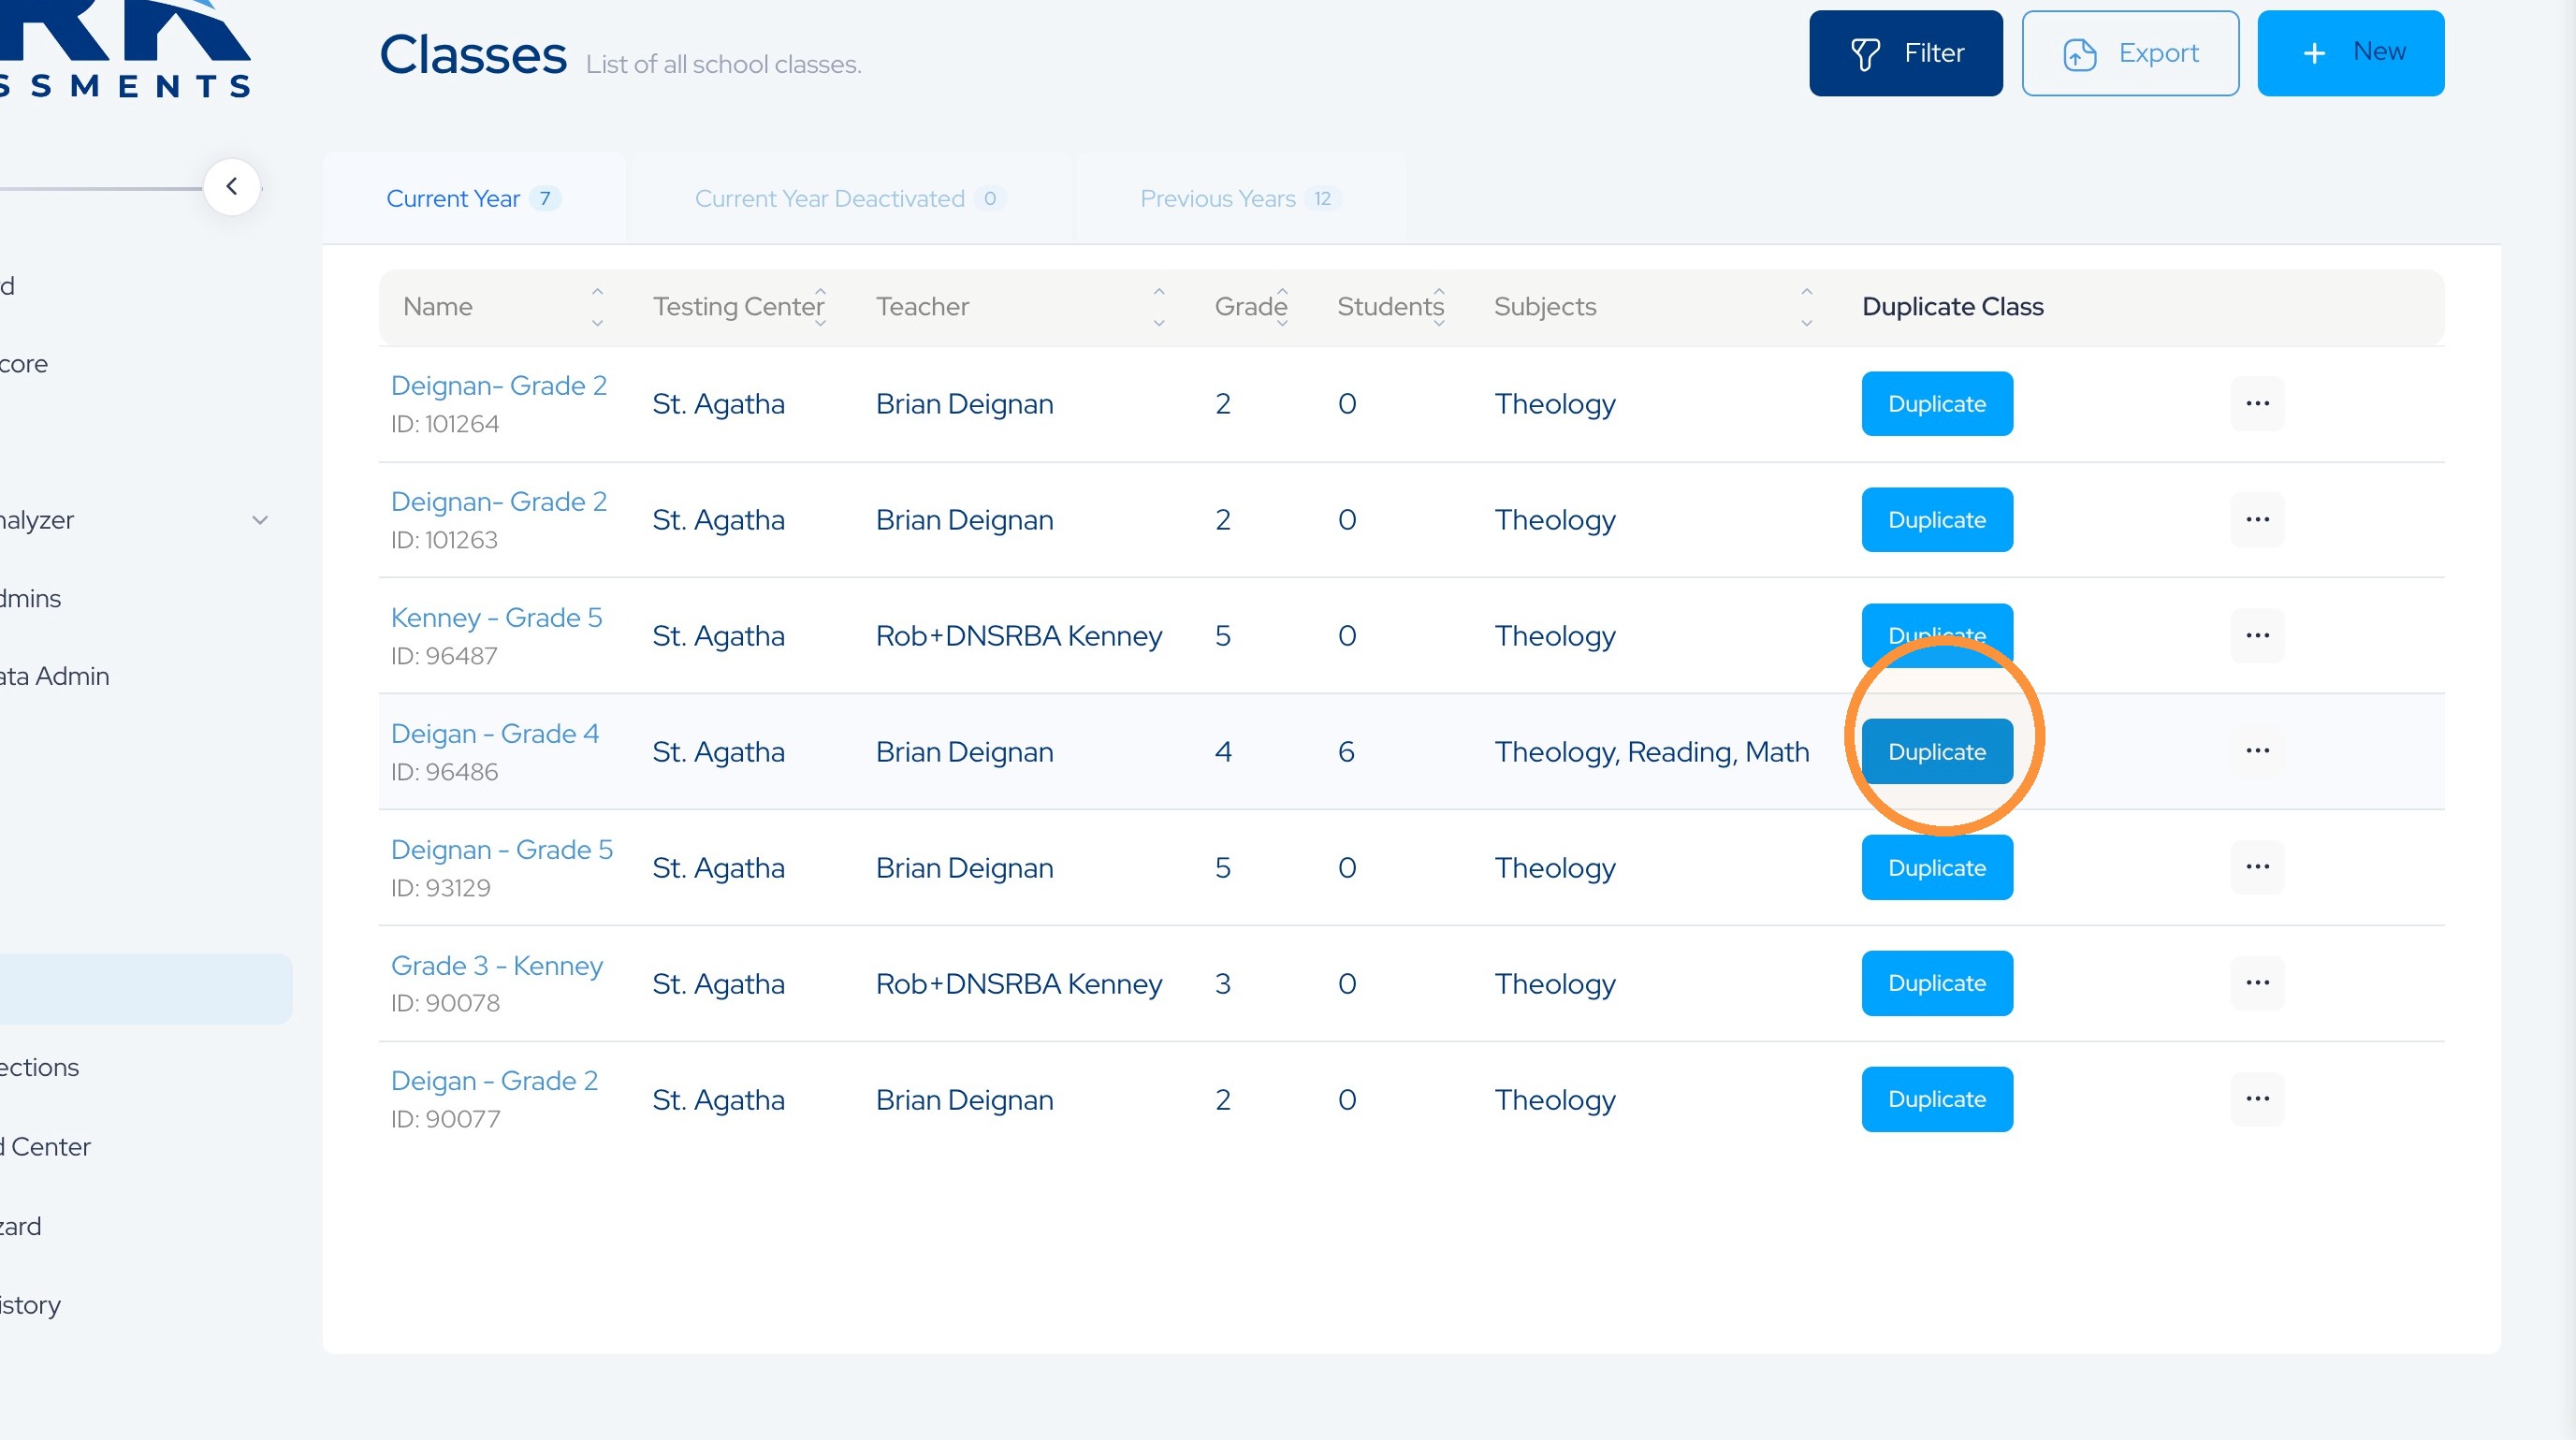
3. From your class list. Find the class you wish to duplicate as a testing section. And click the duplicate button.
4. In the resulting dialog, click the subject areas you want to assign. As we see in this example, this class is testing all three subject areas. And has three testing windows for beginning, middle, and end of year.
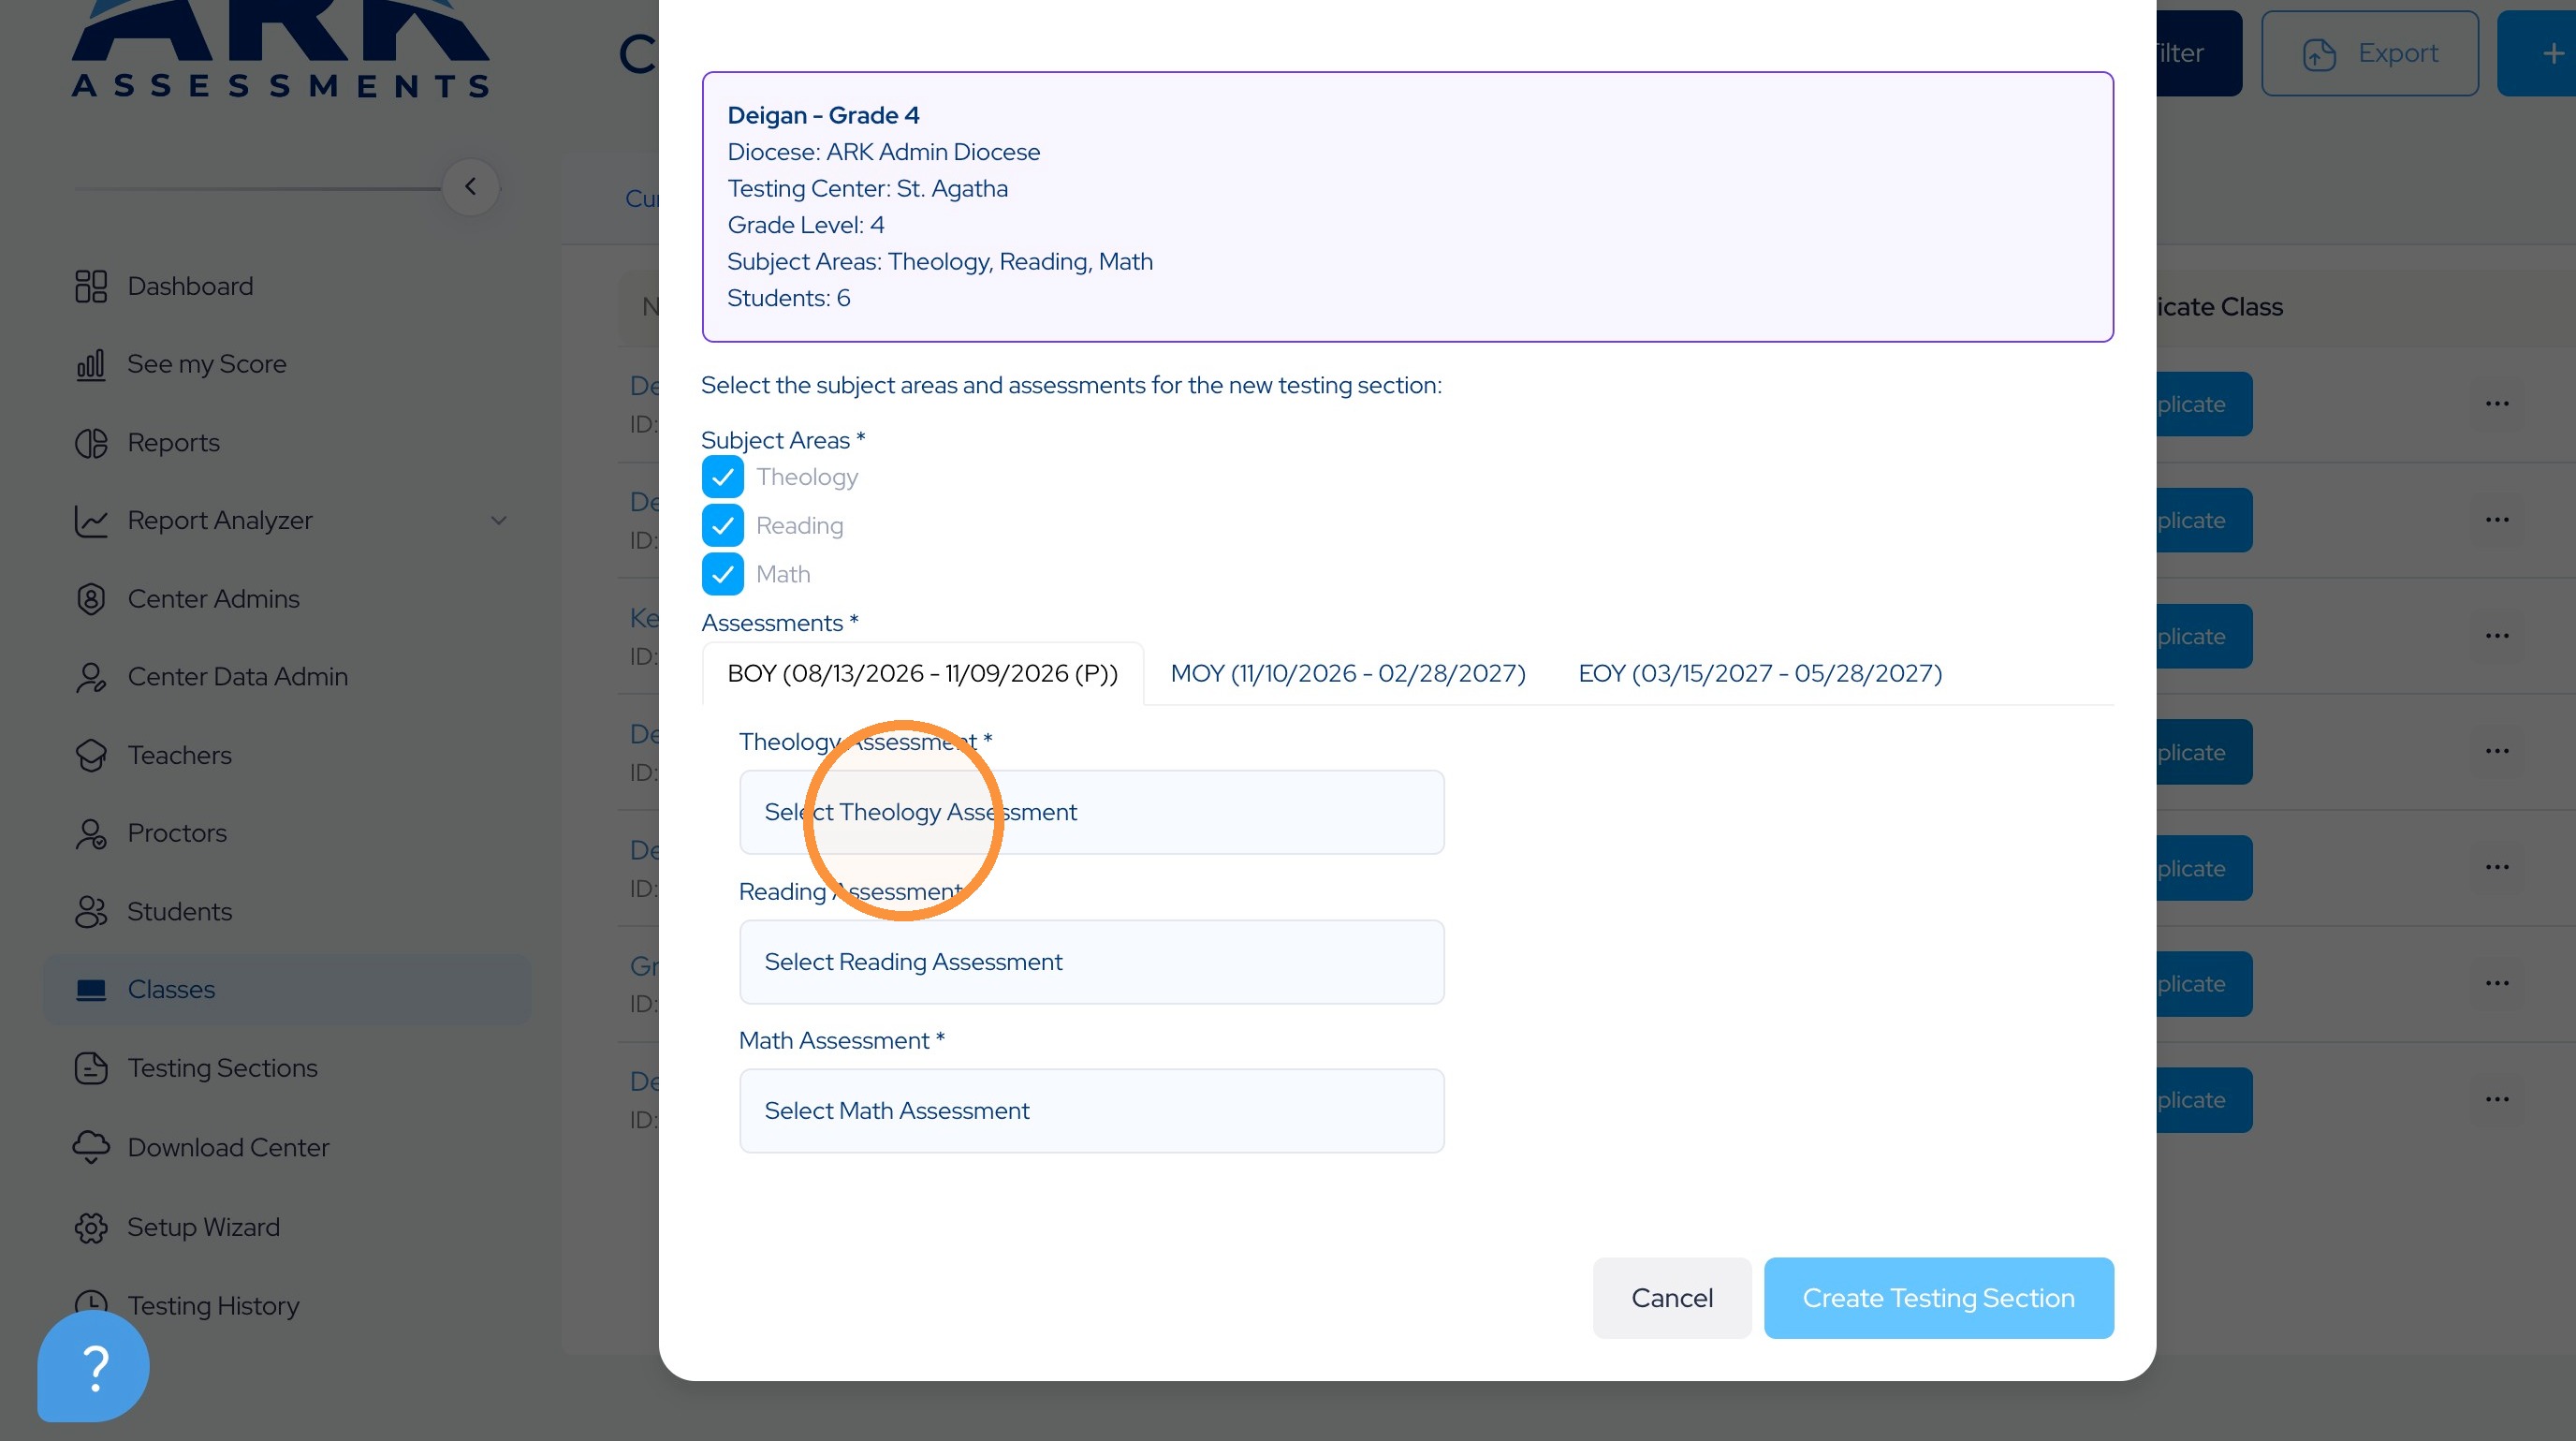
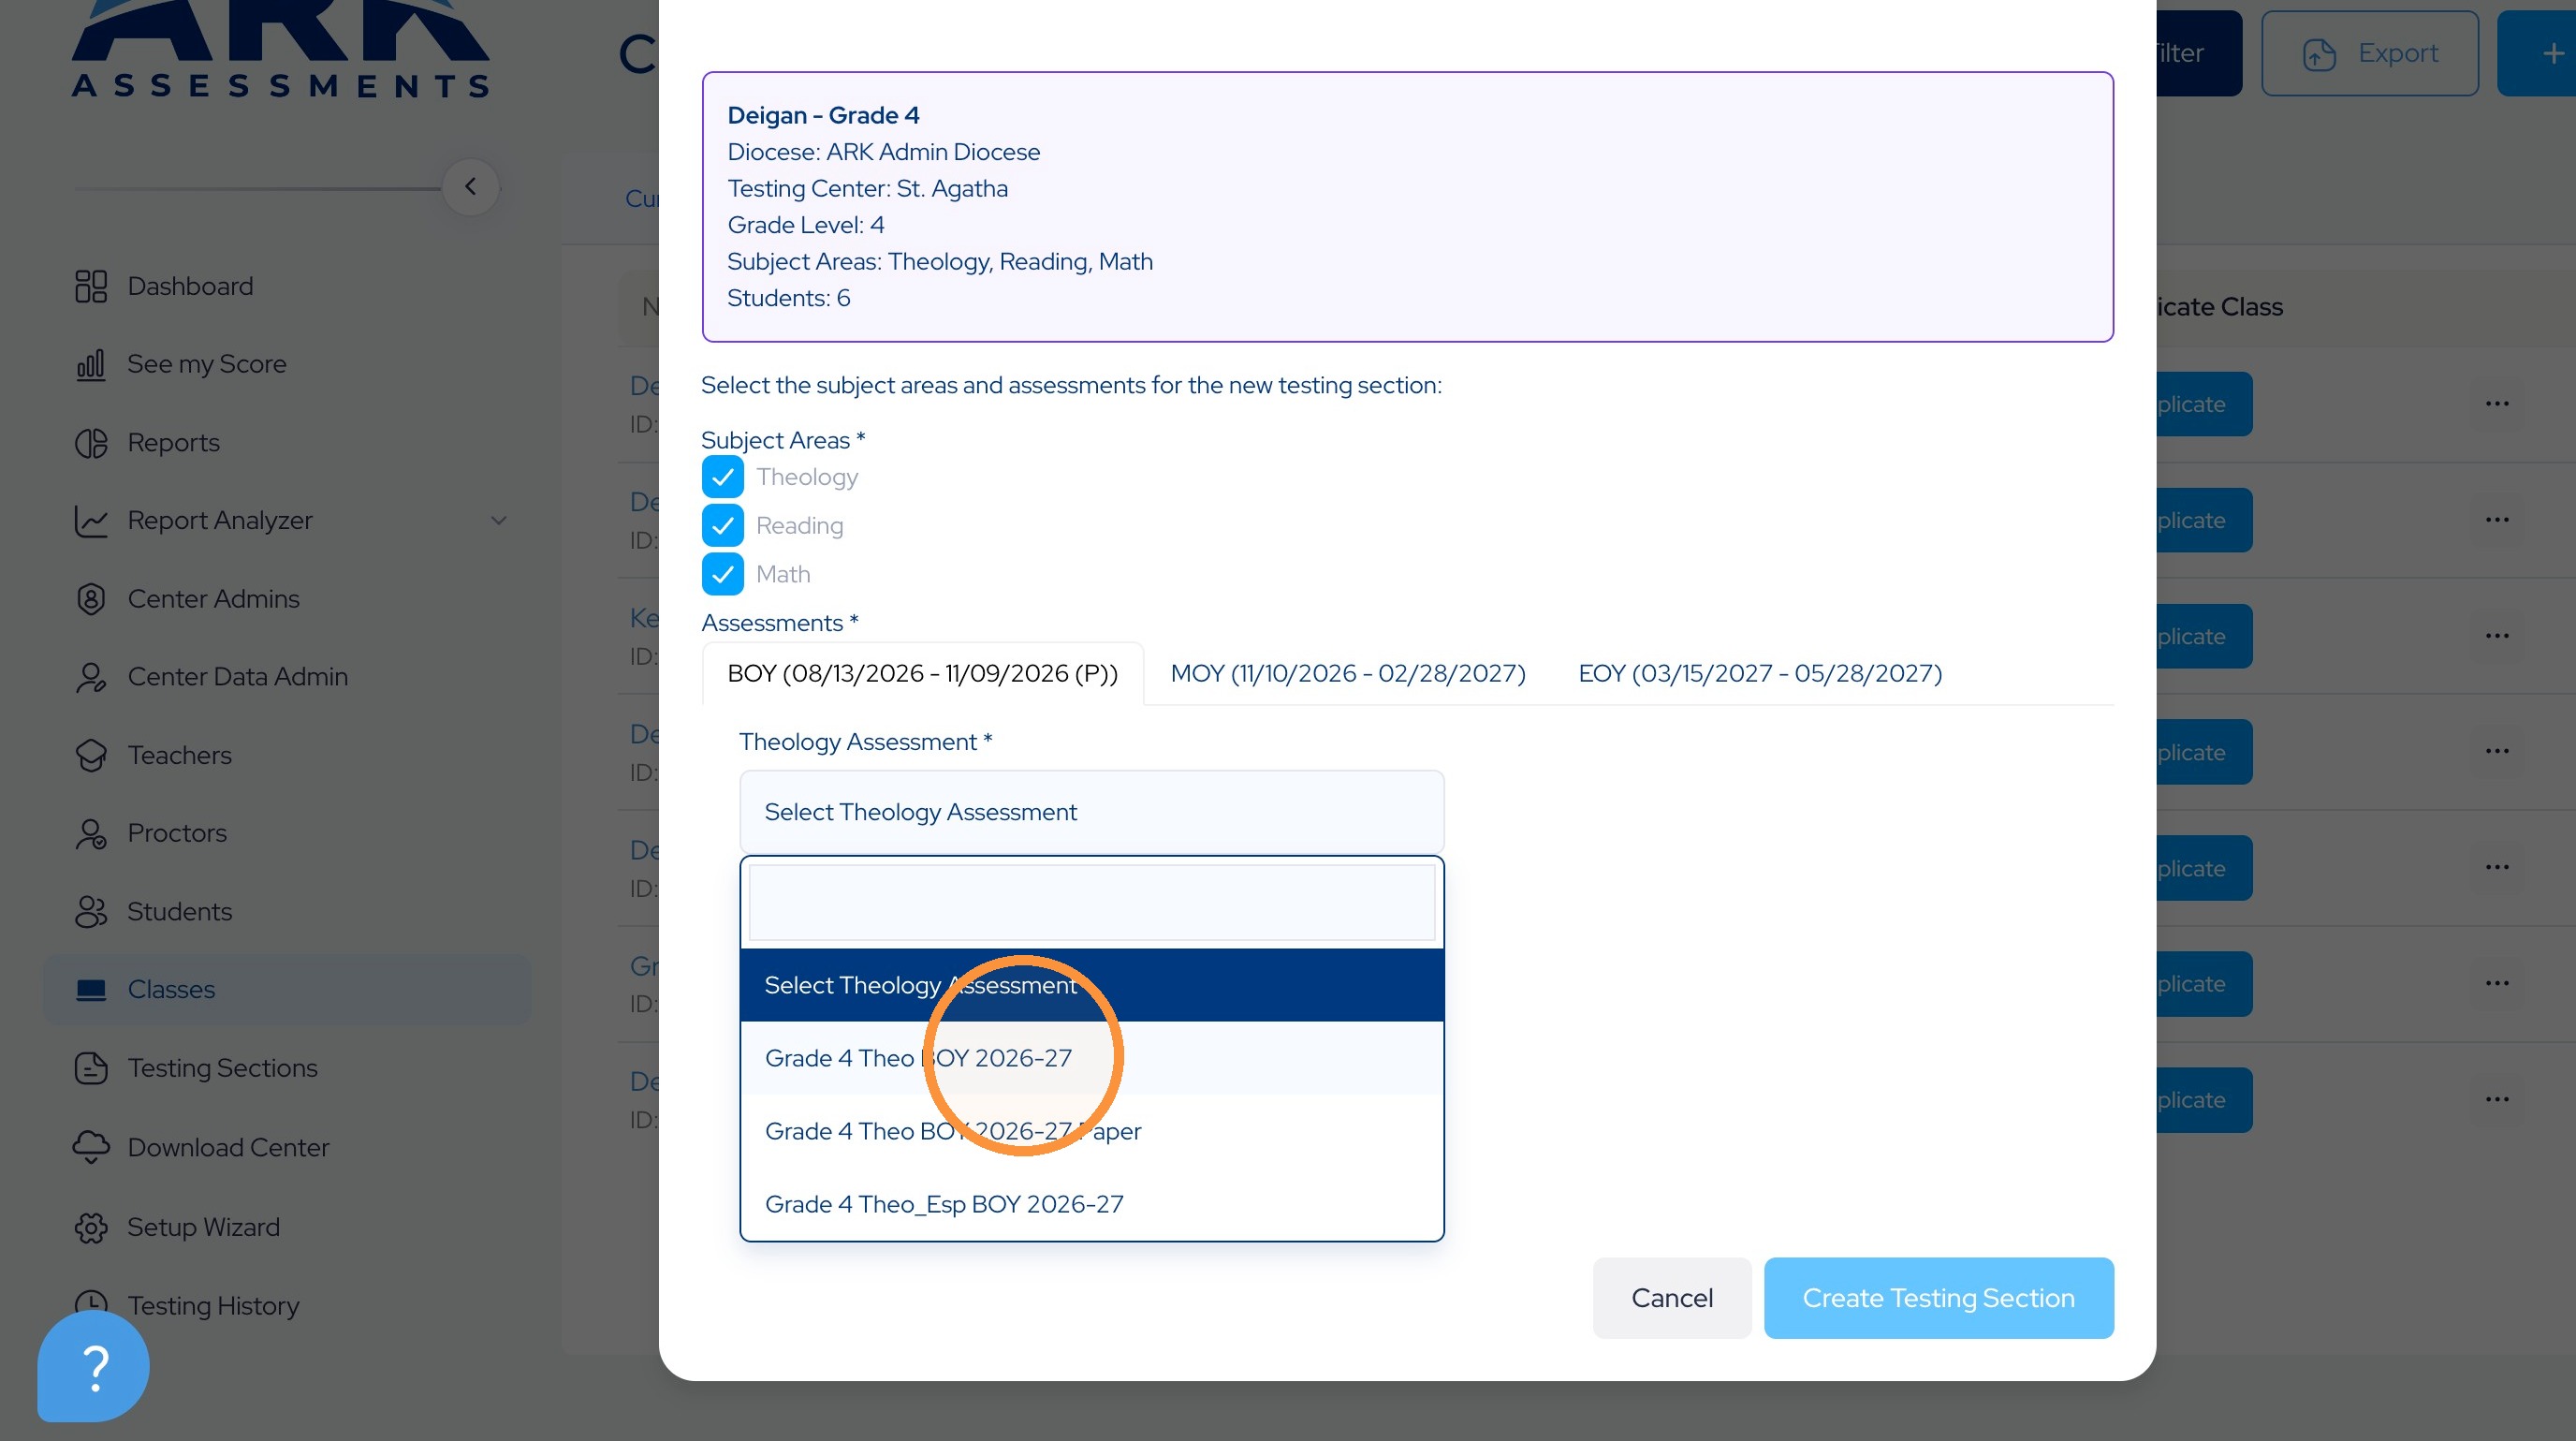
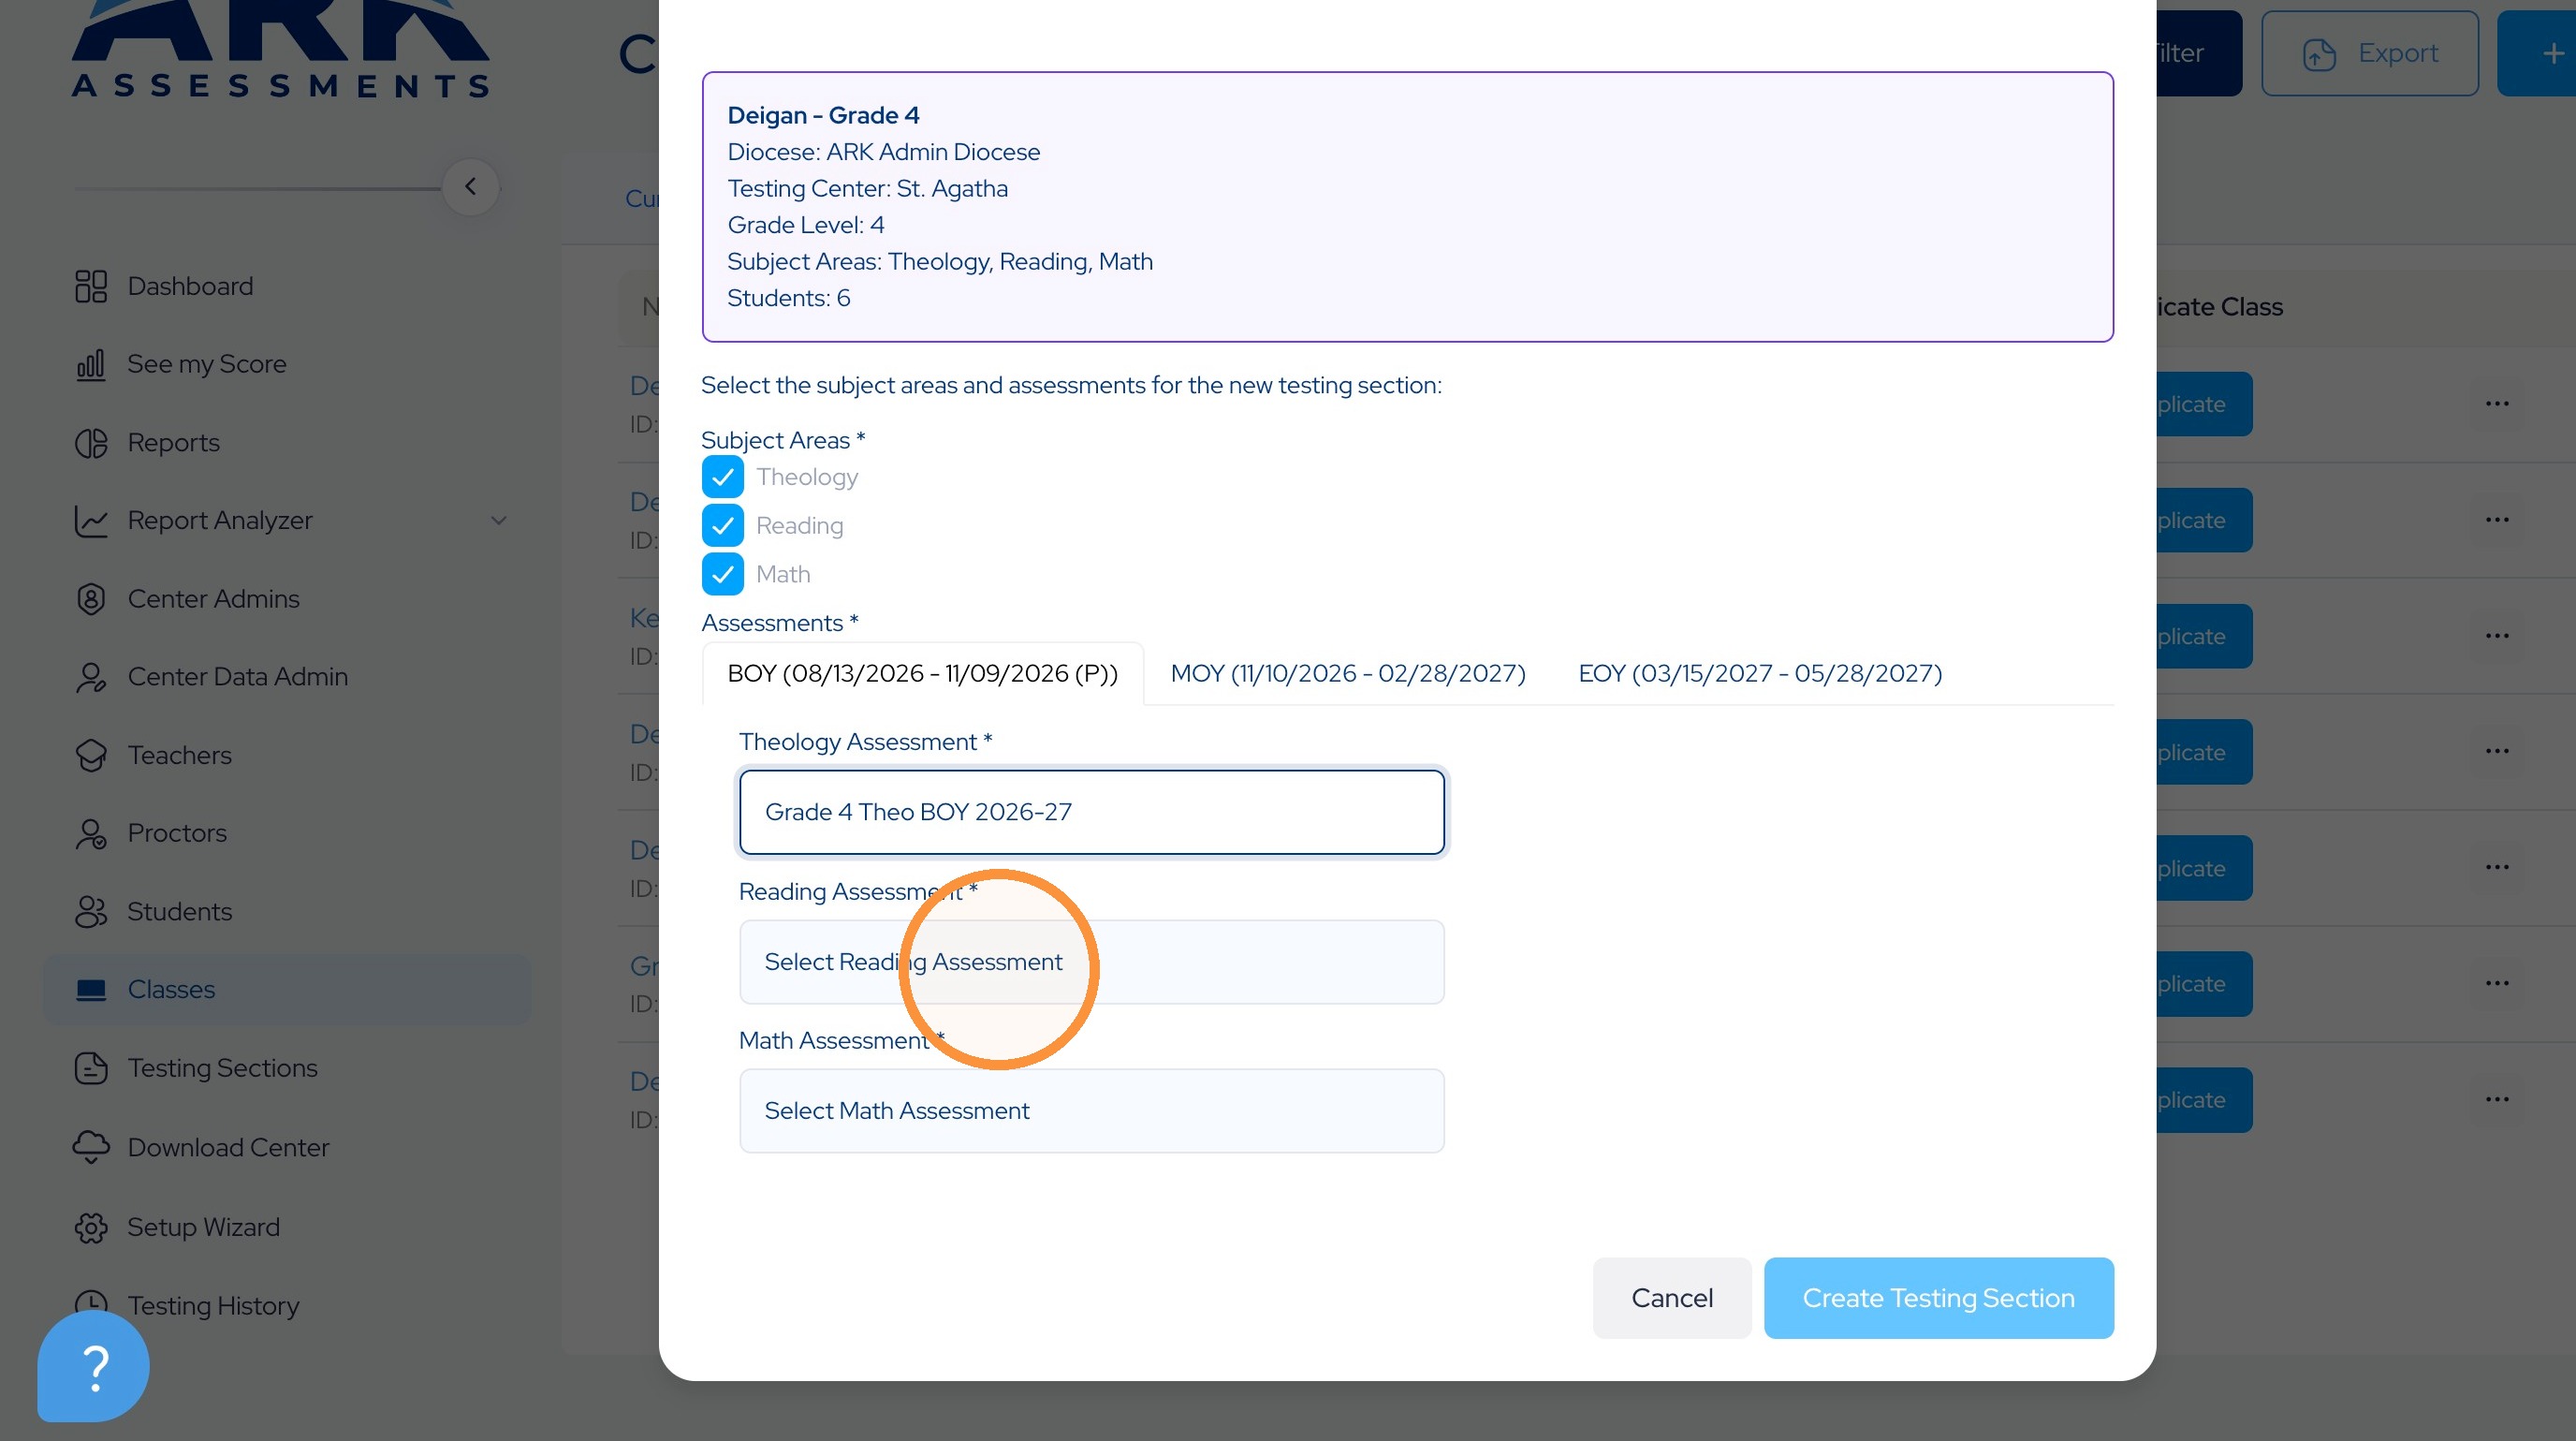
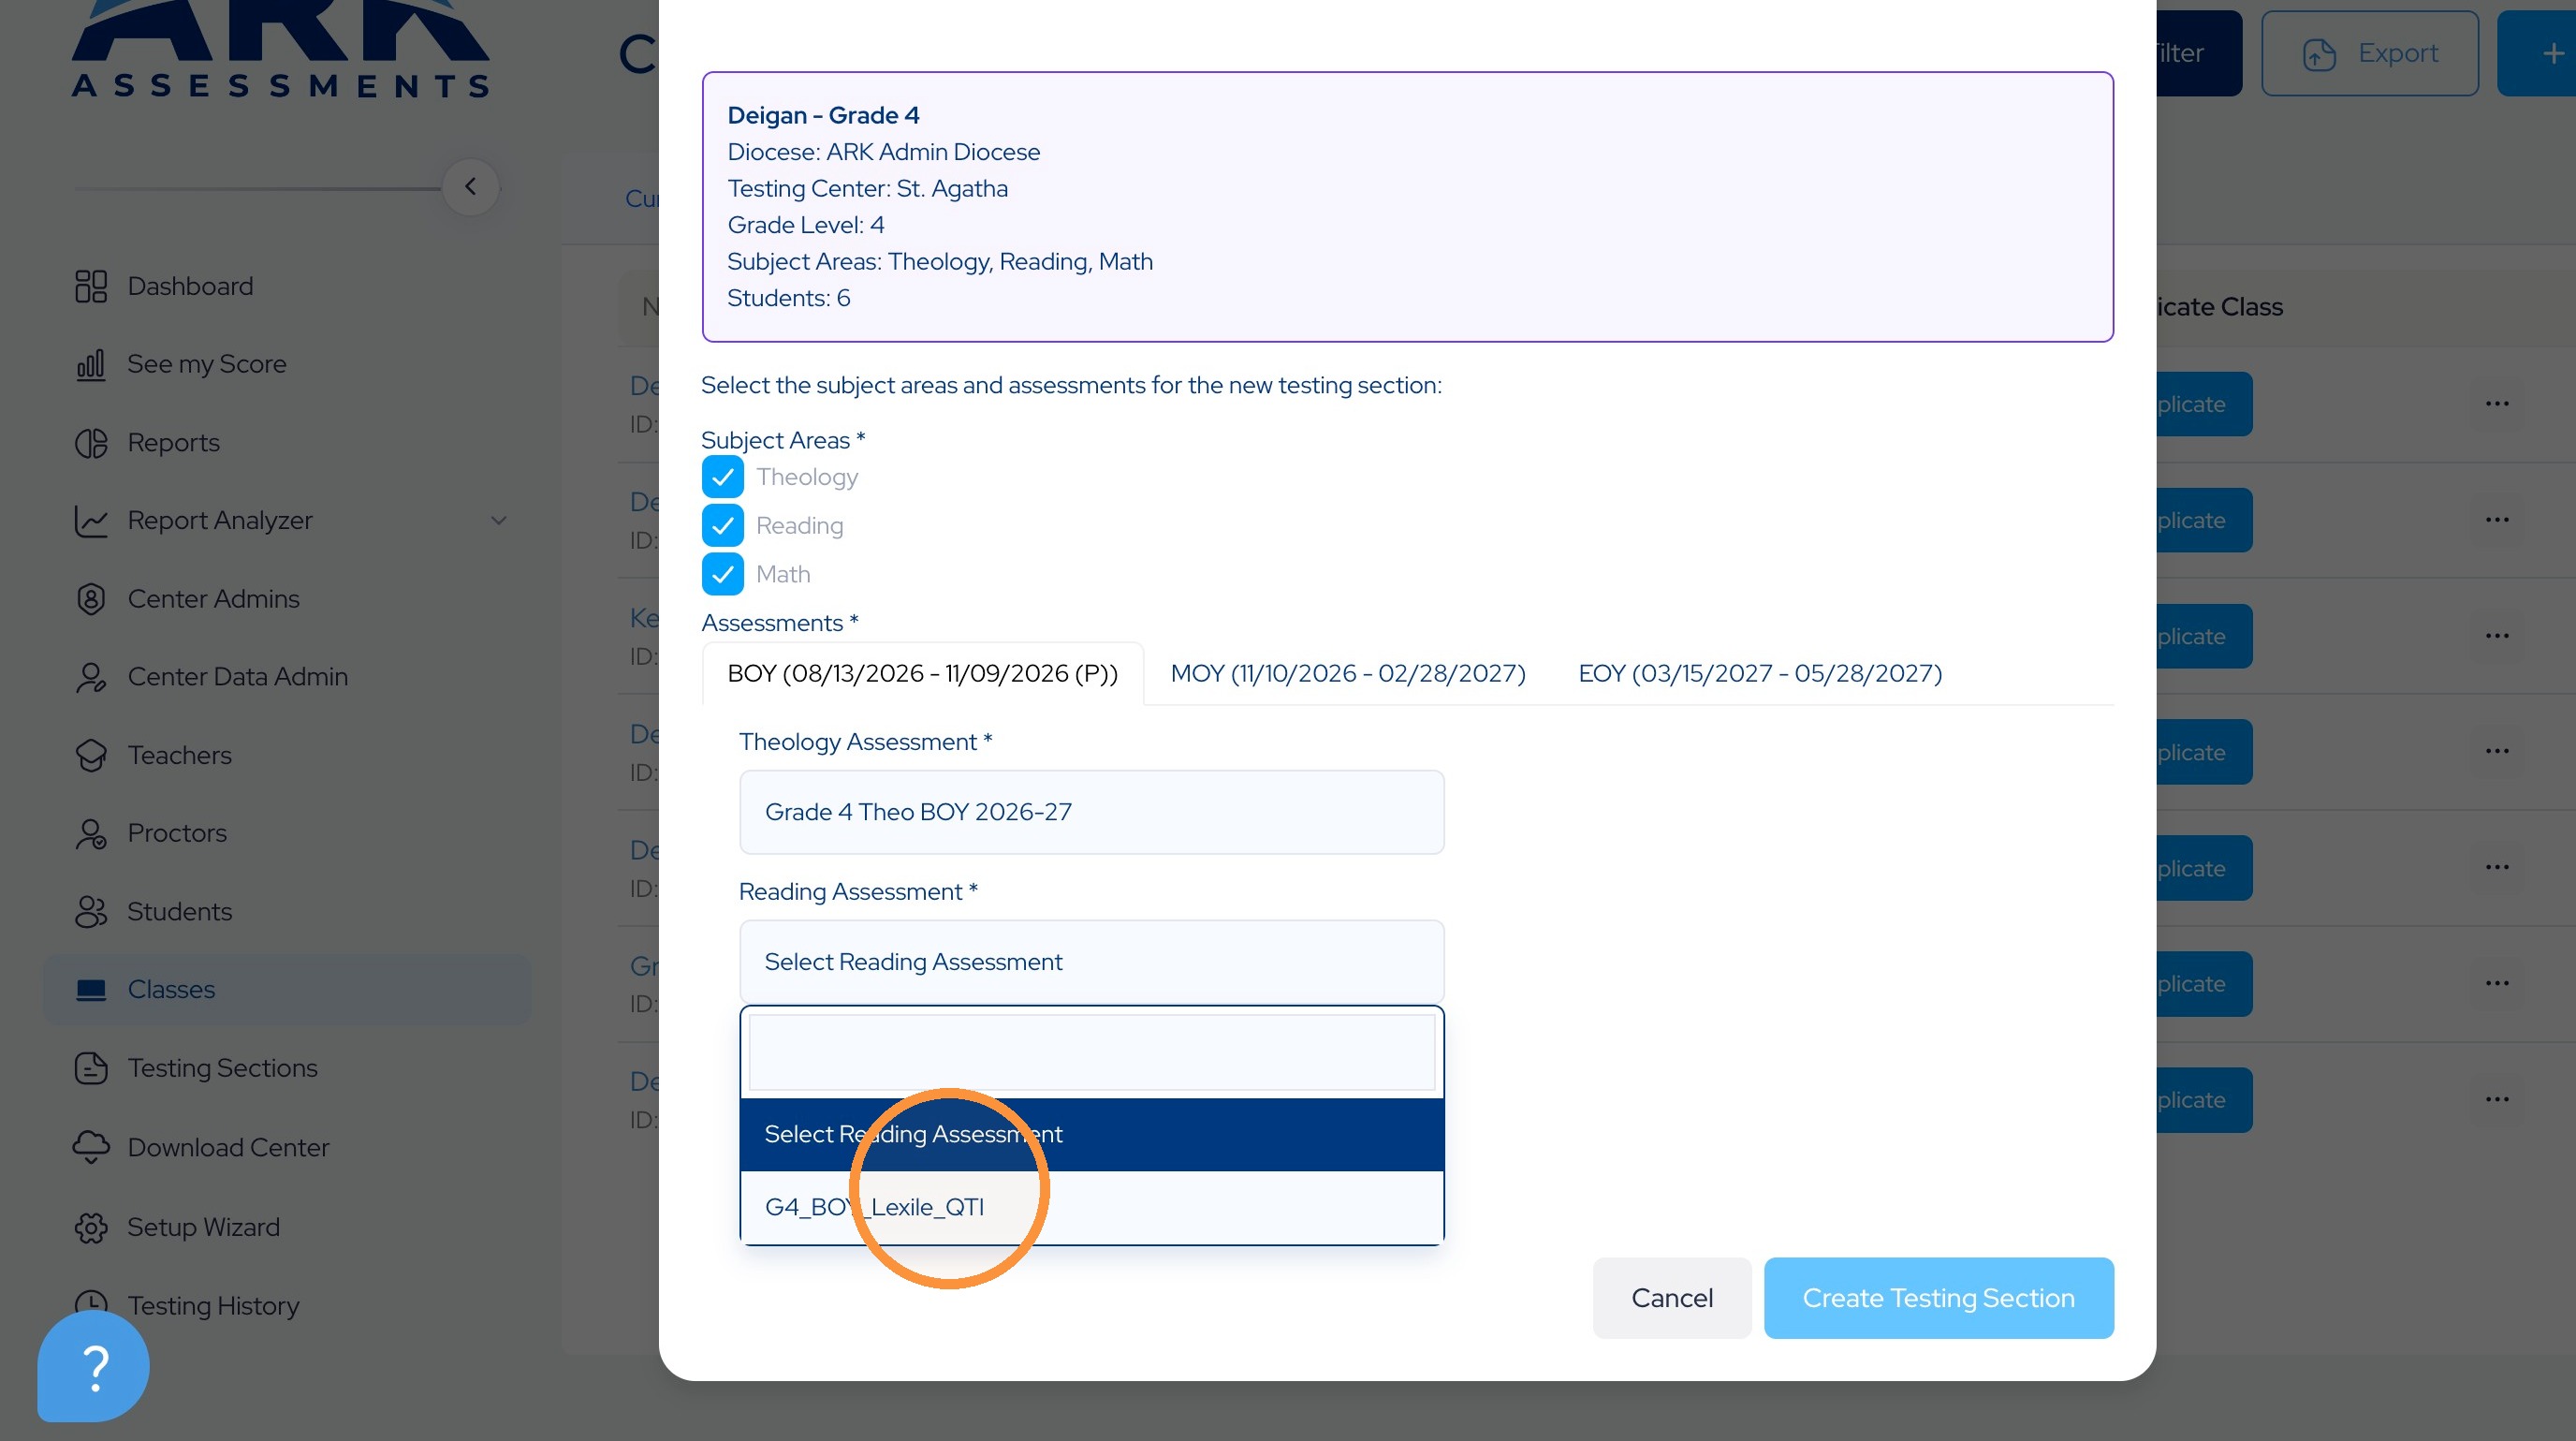
5. You will need to select the assessment for each subject.
6.
7.
8.
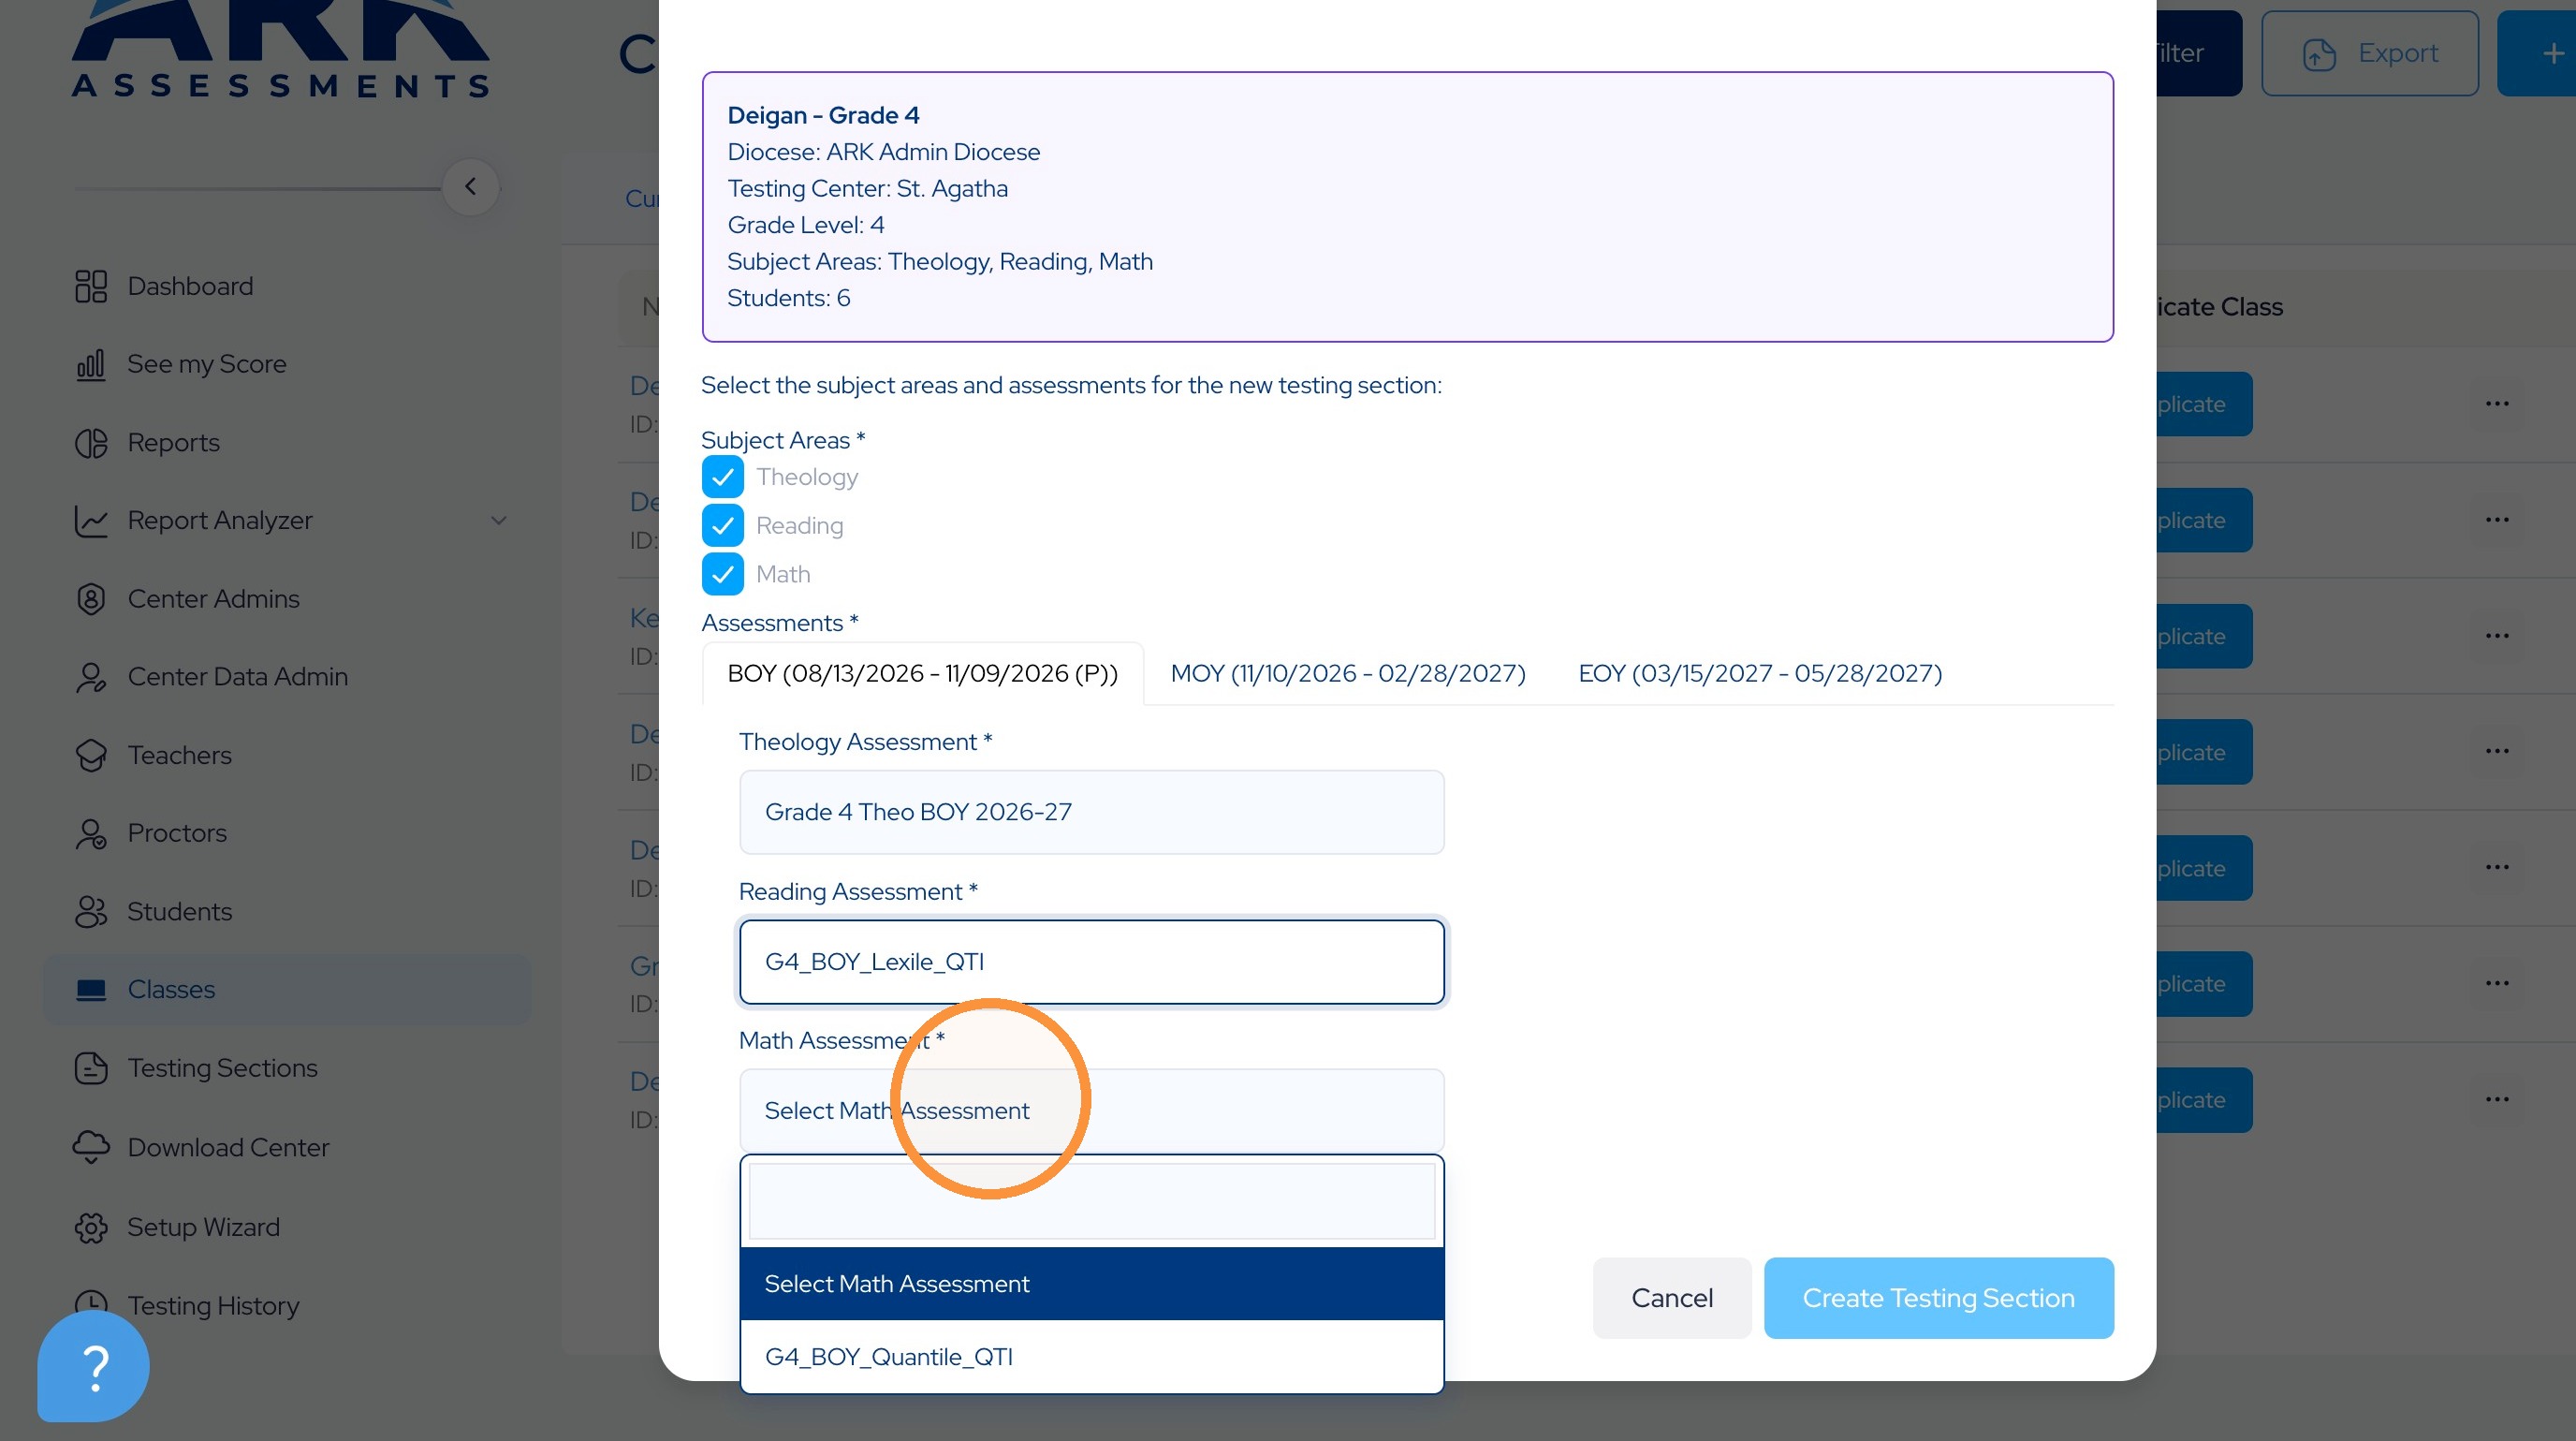
9.
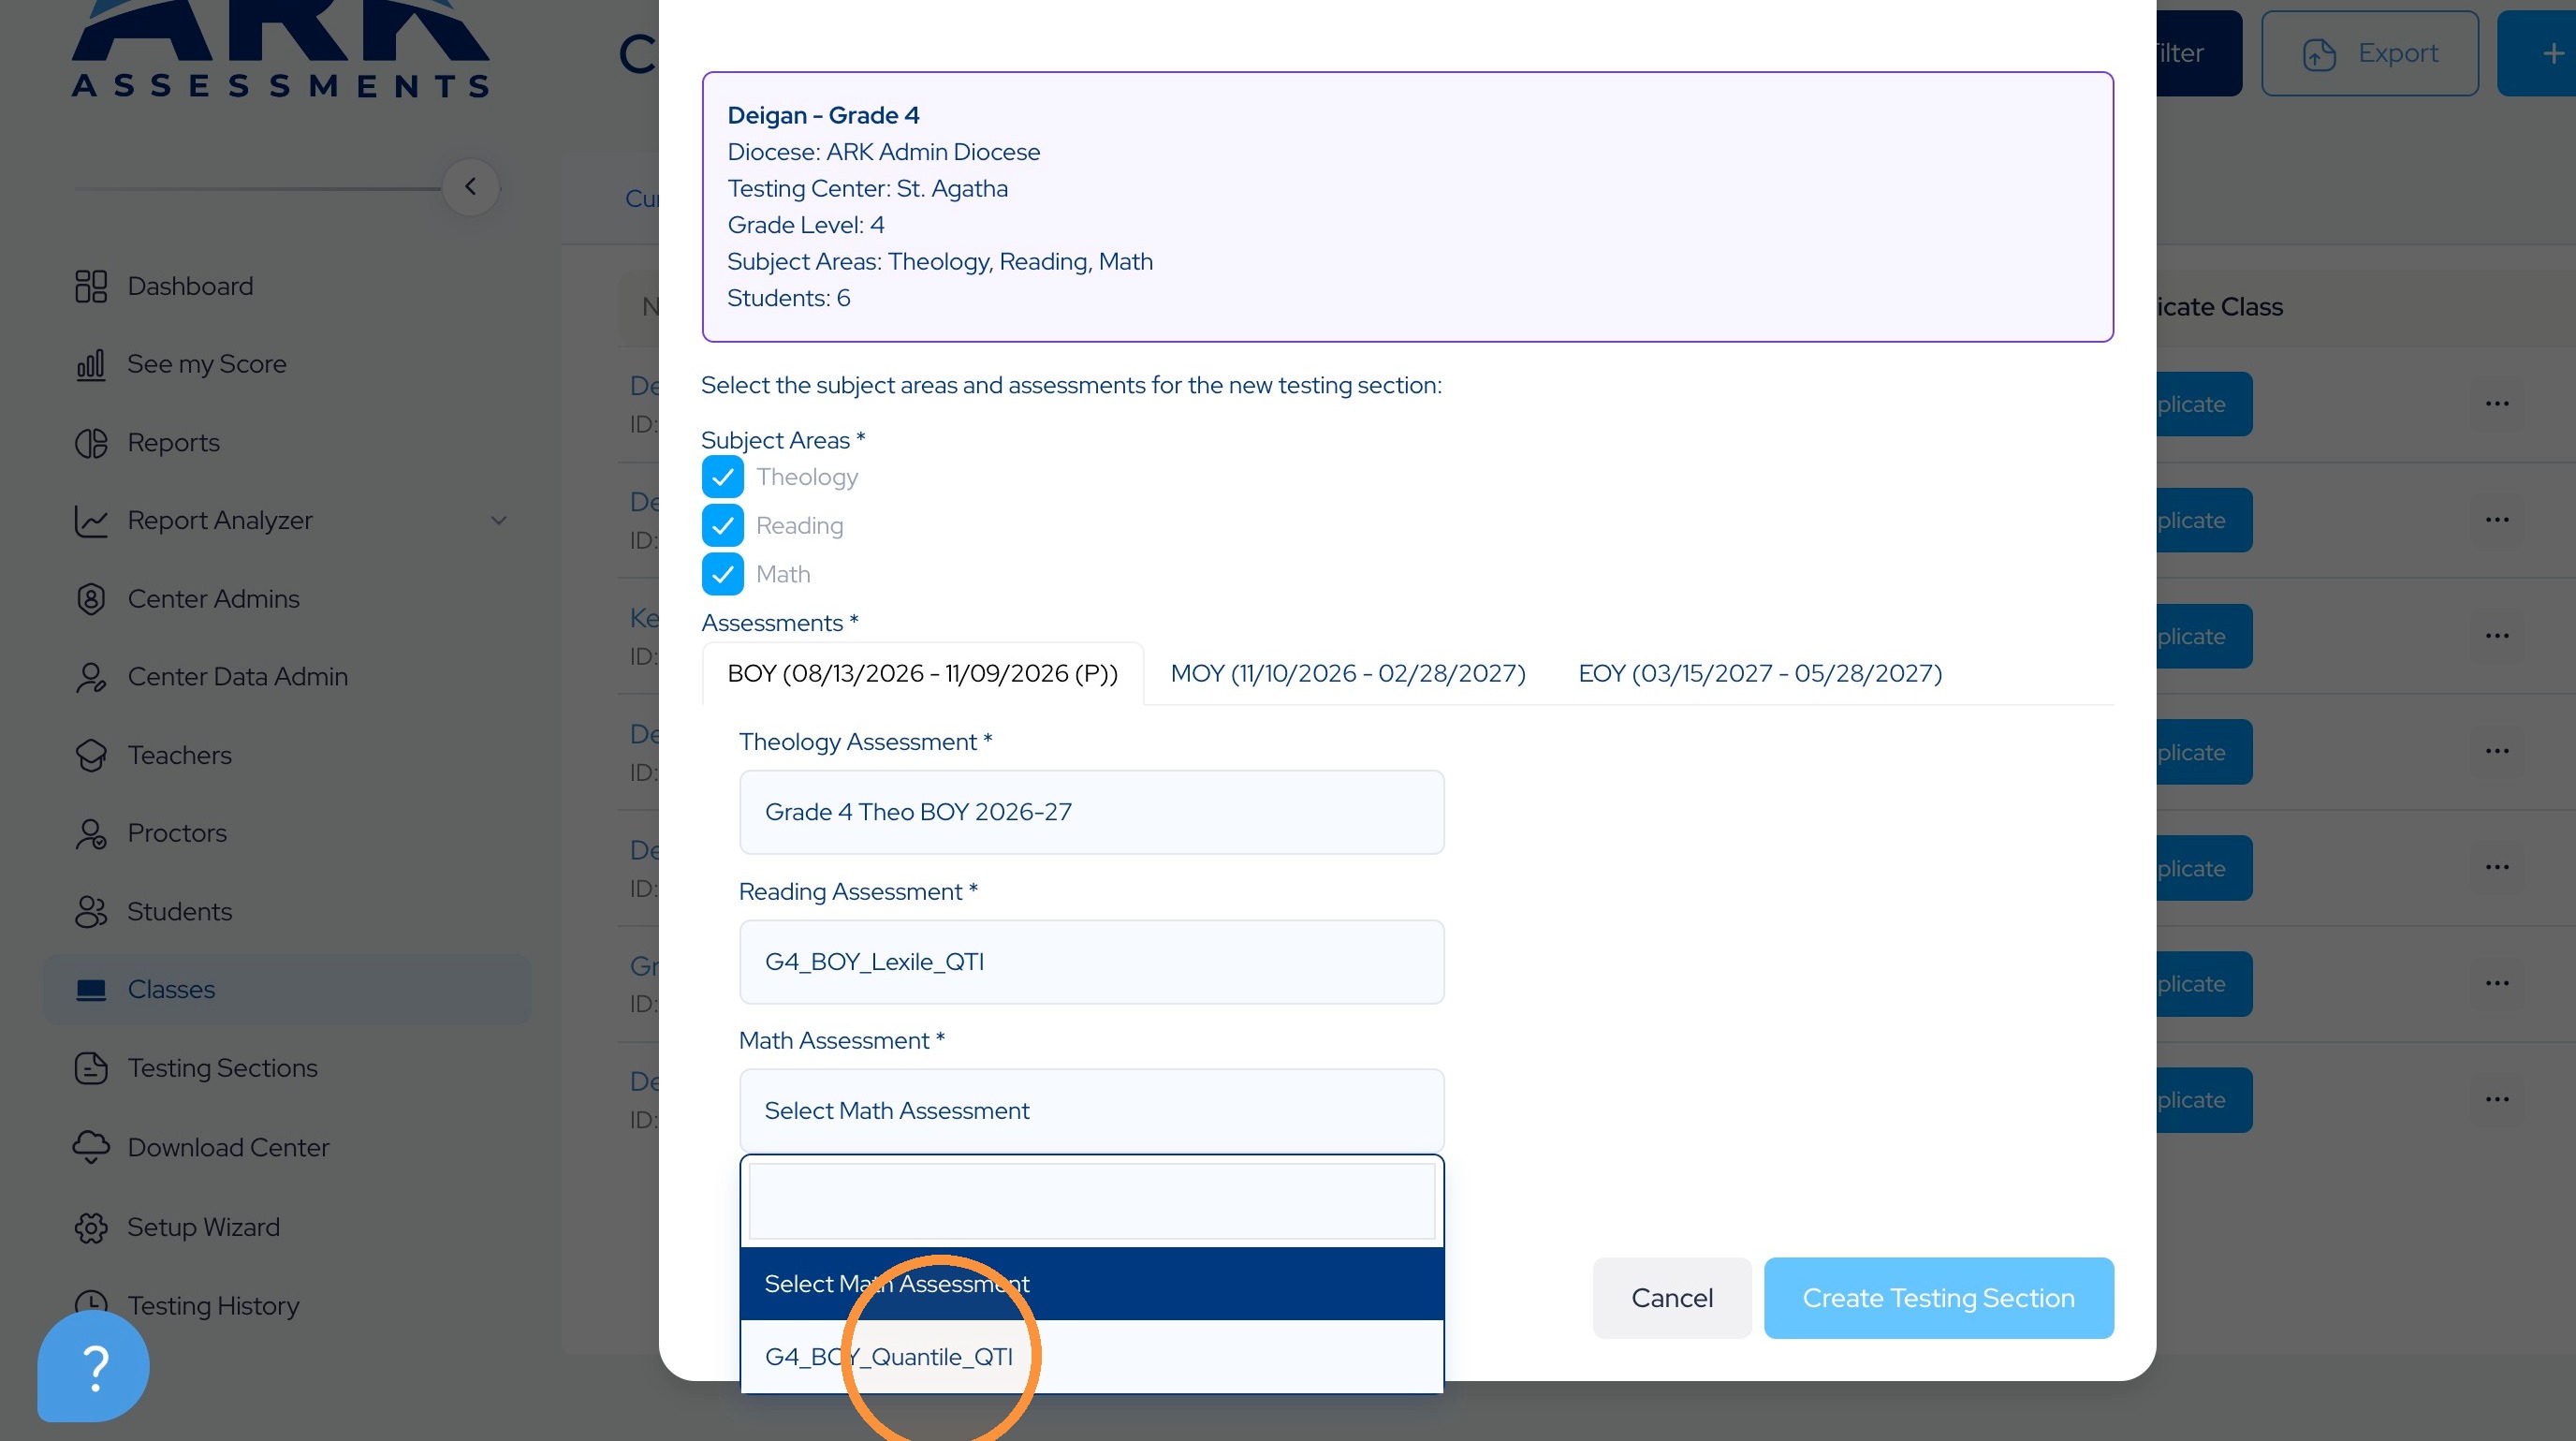
10. When complete in one testing window, click on the next window tab.
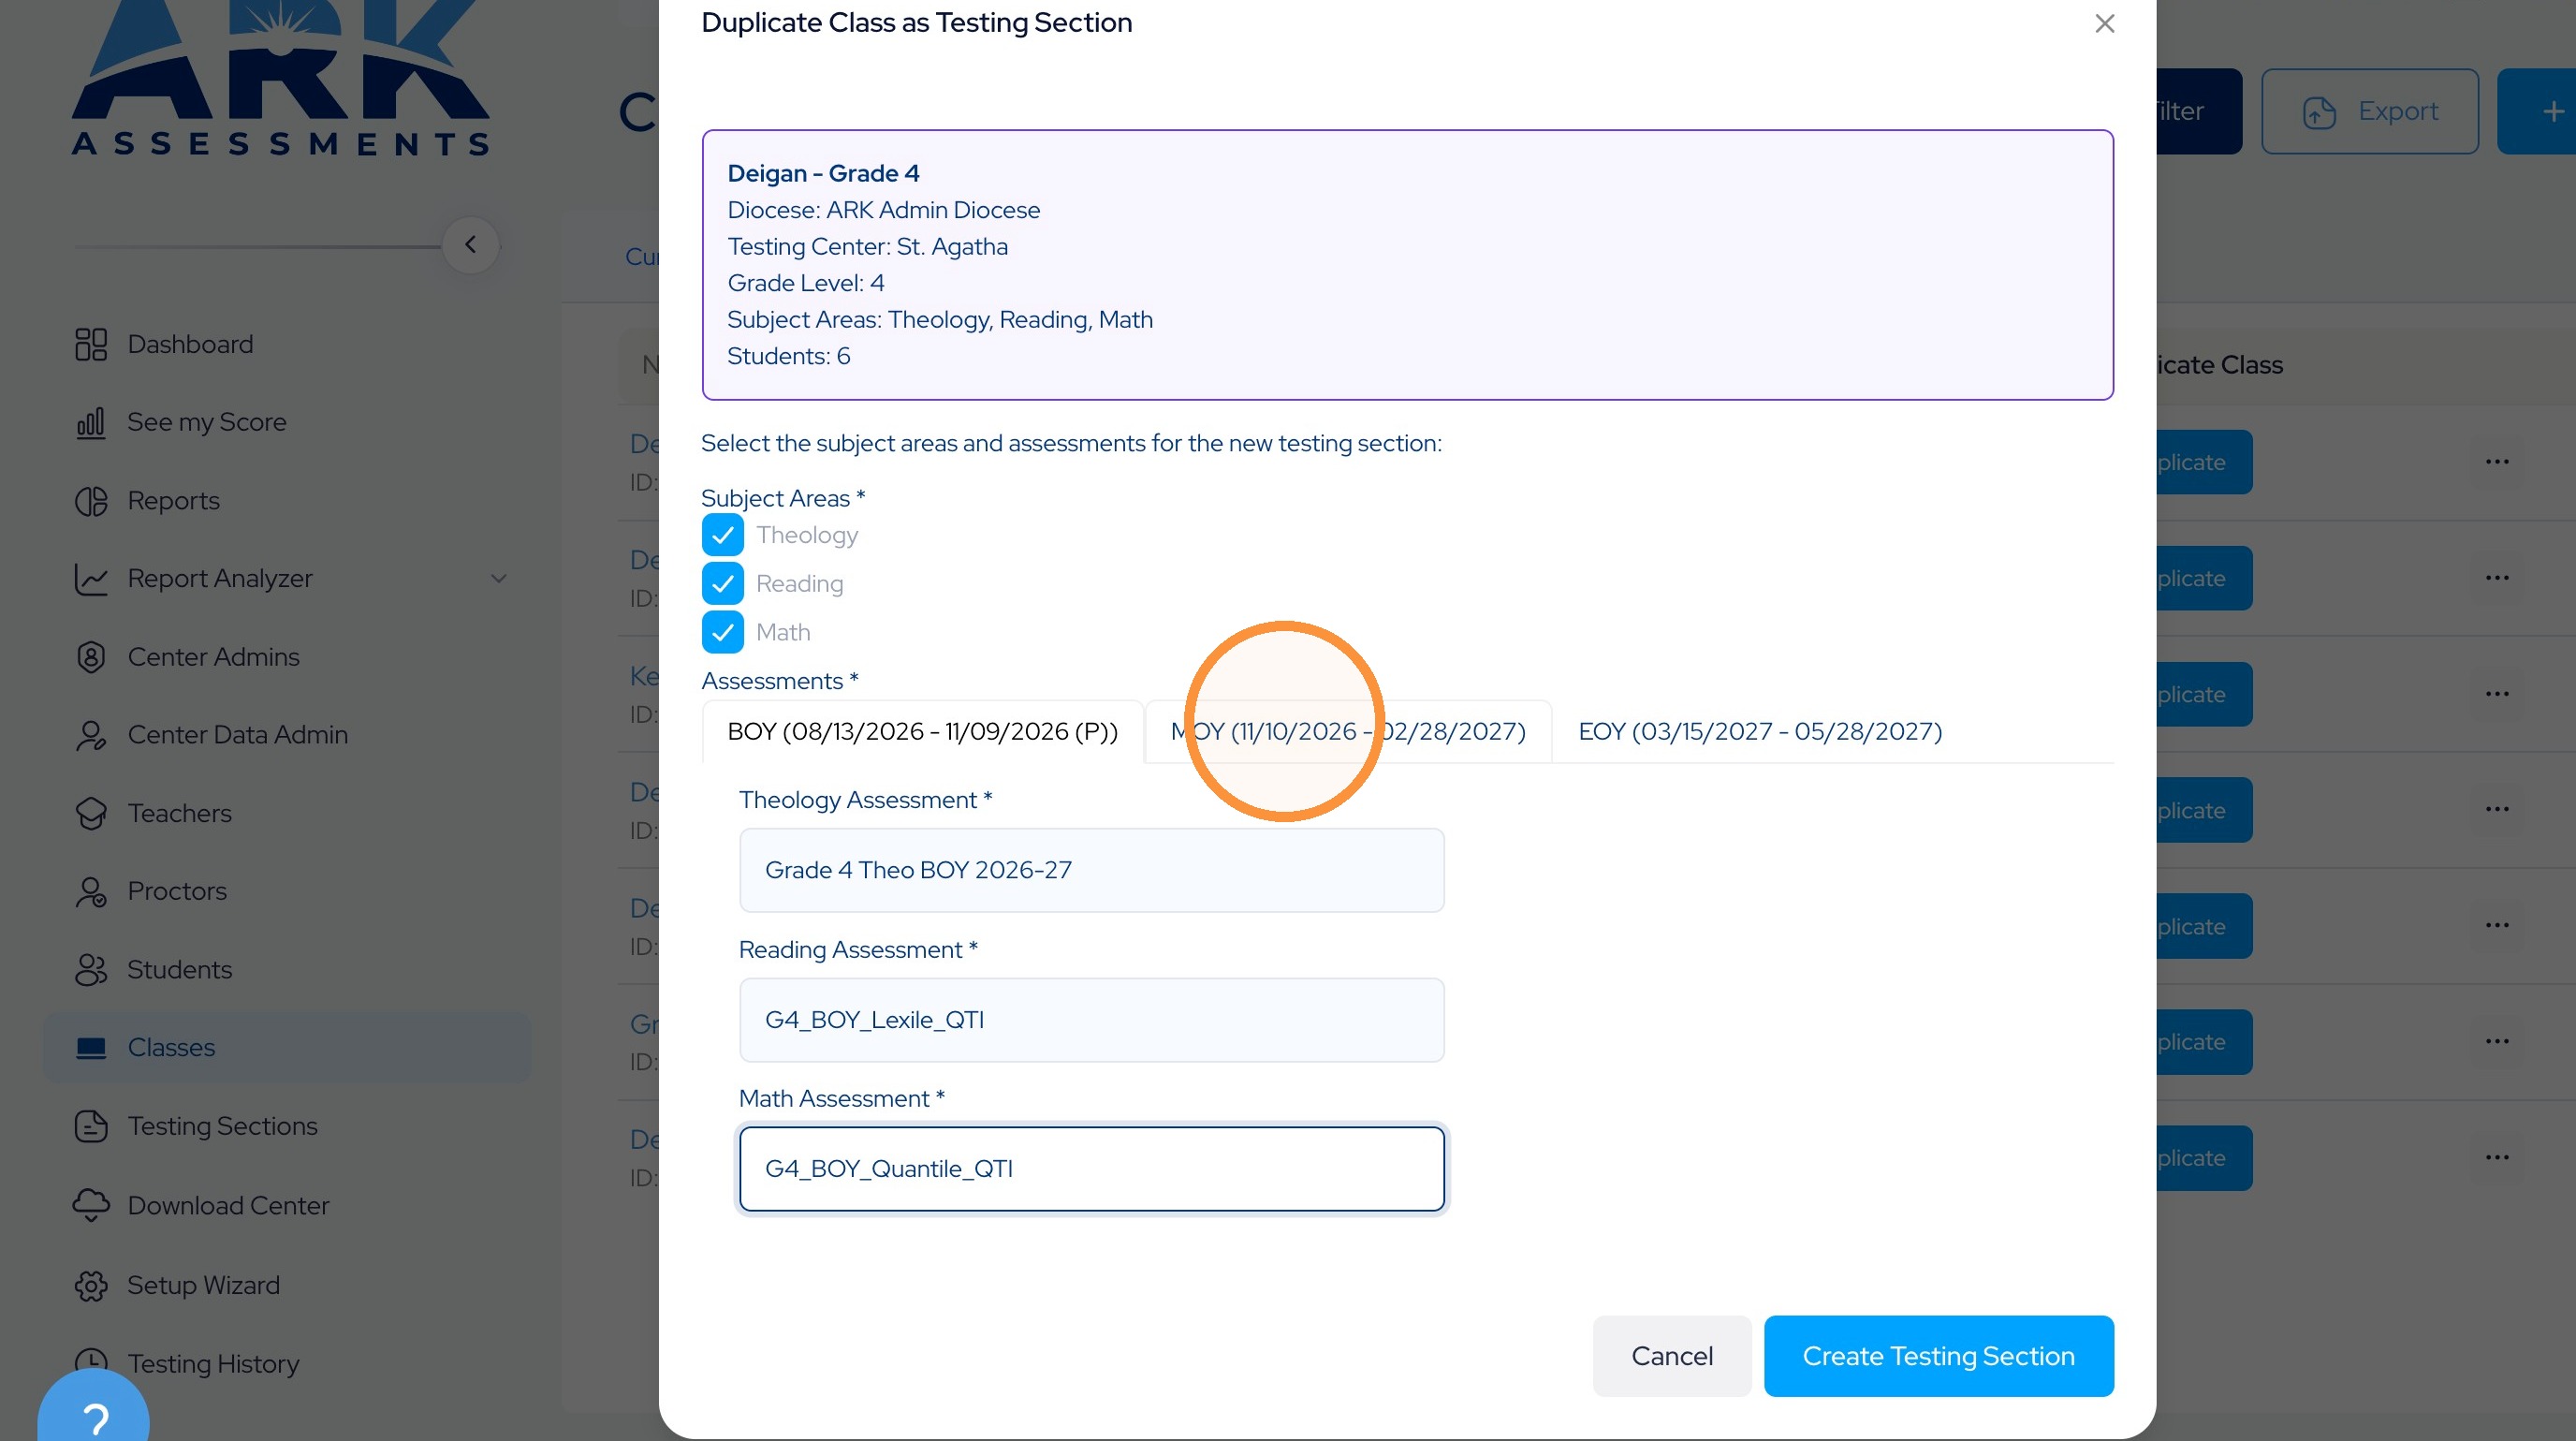
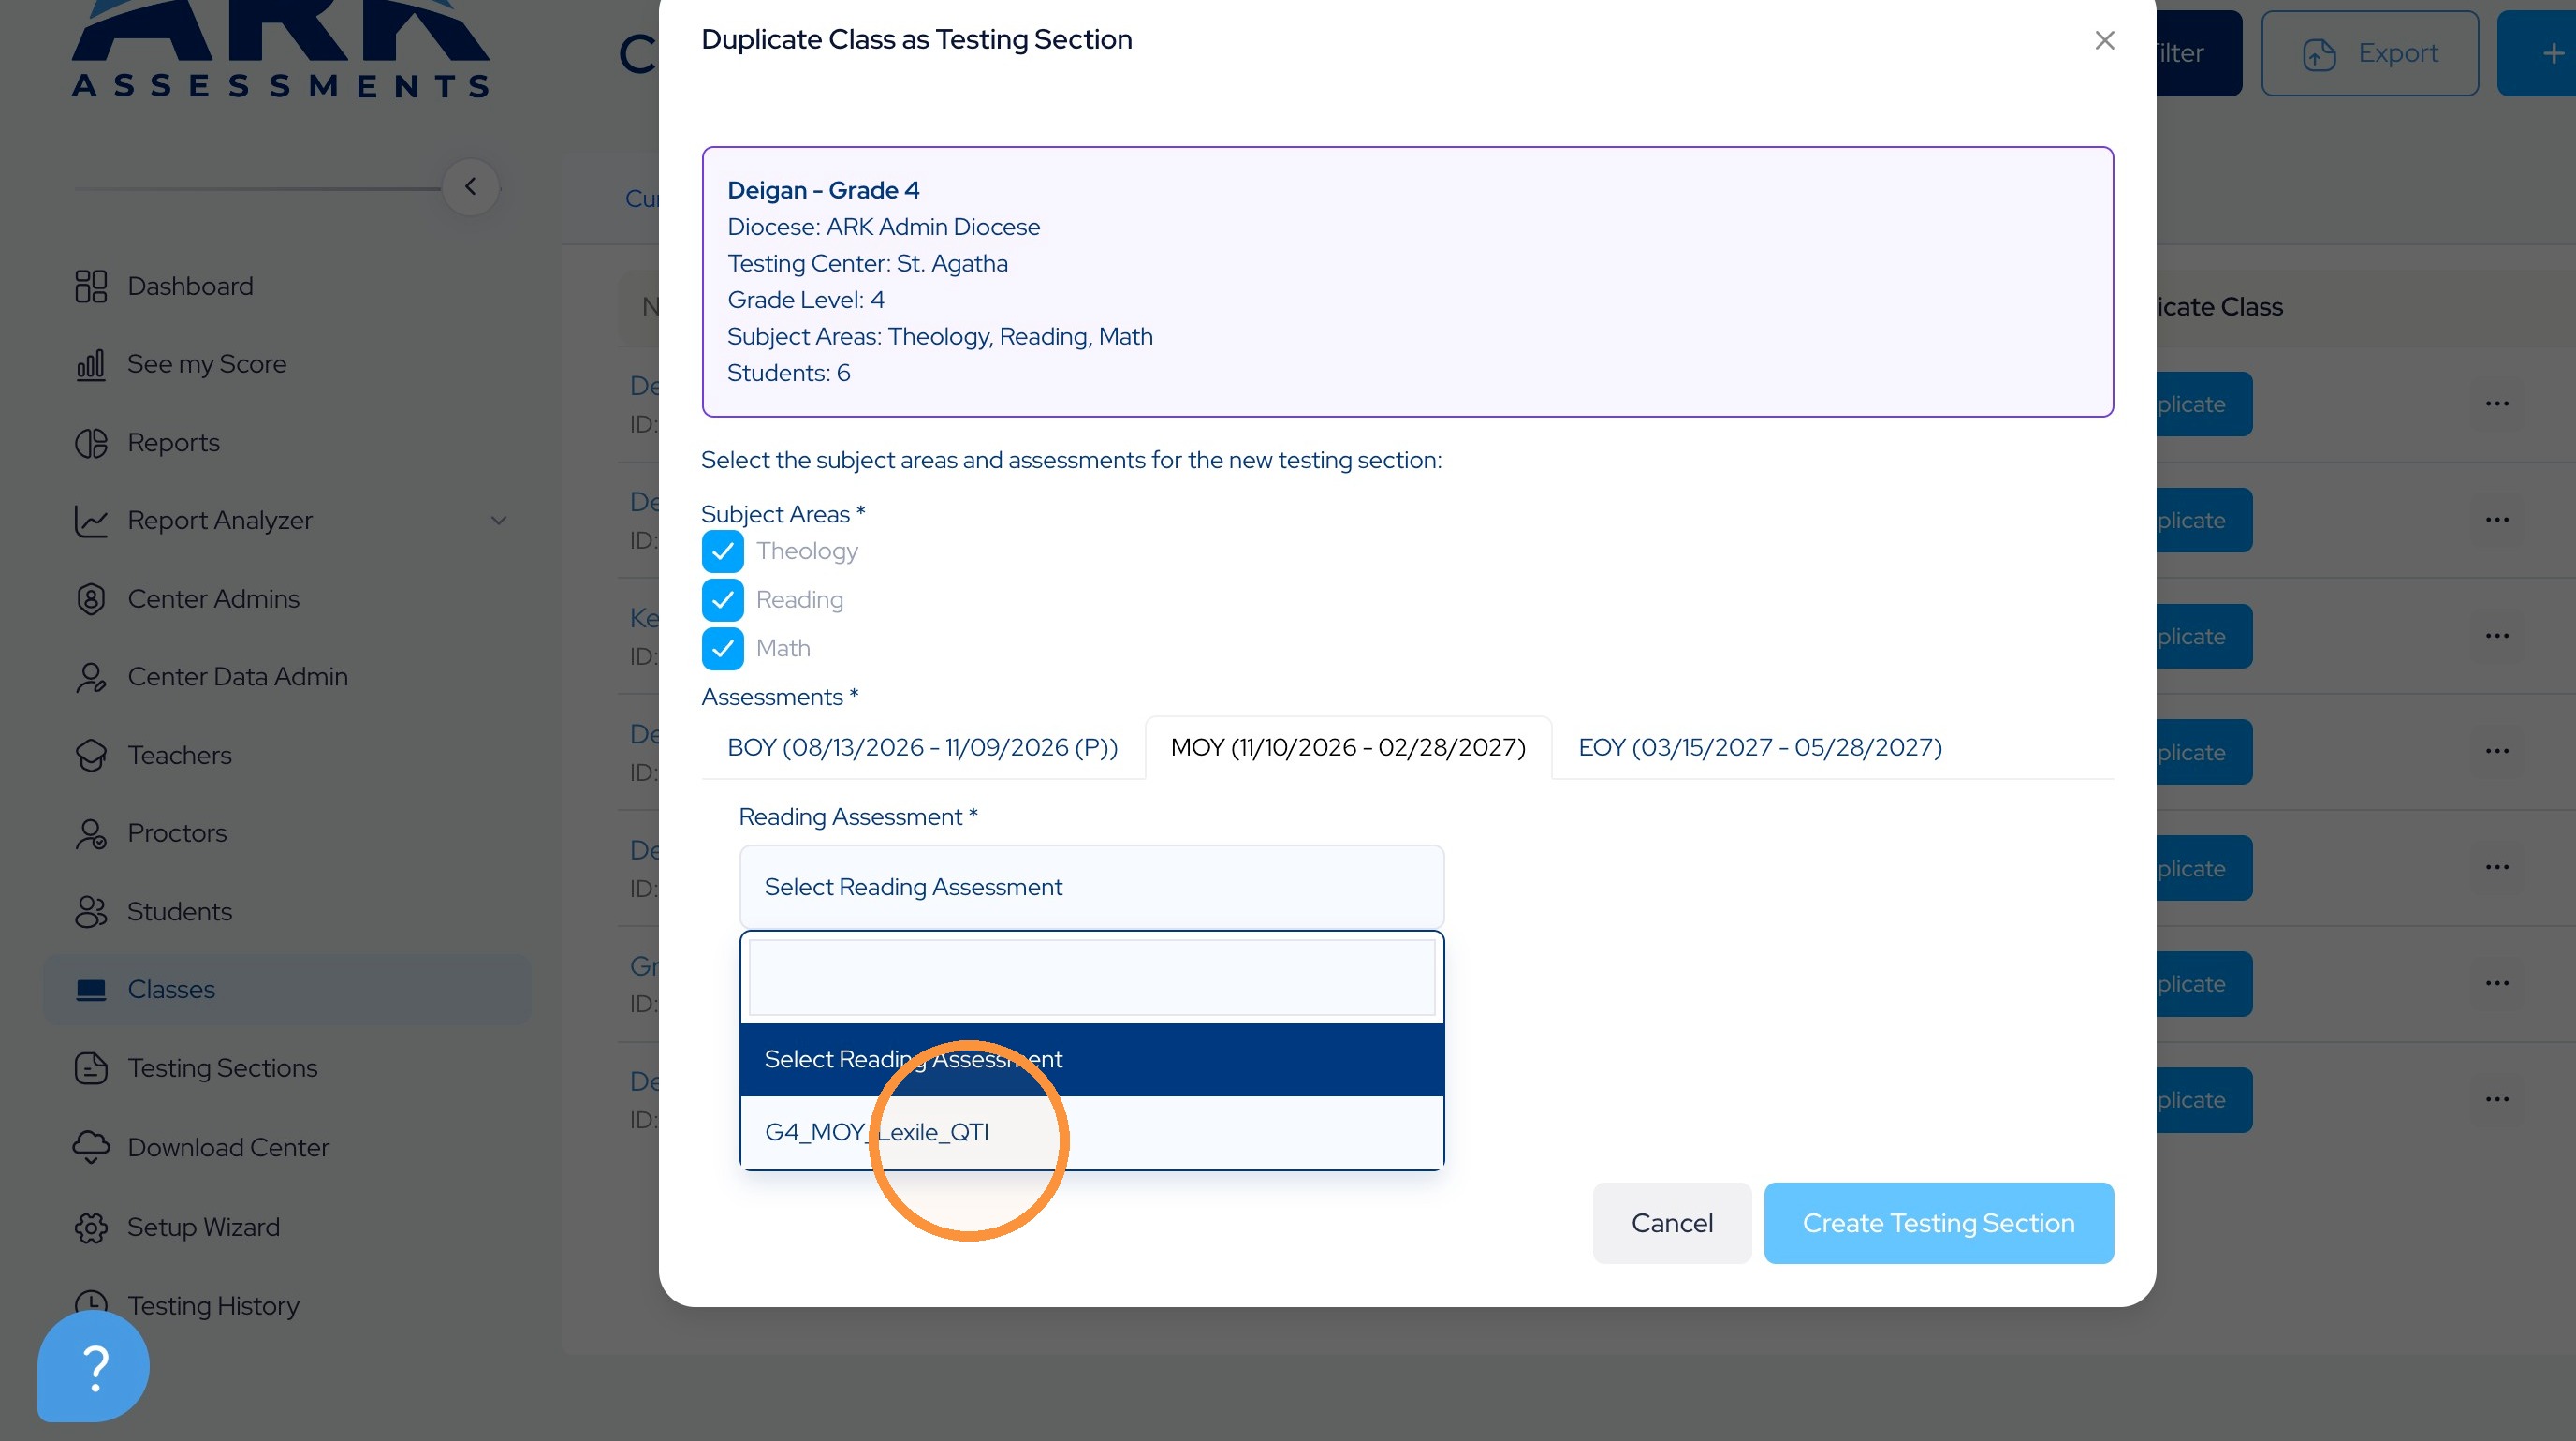
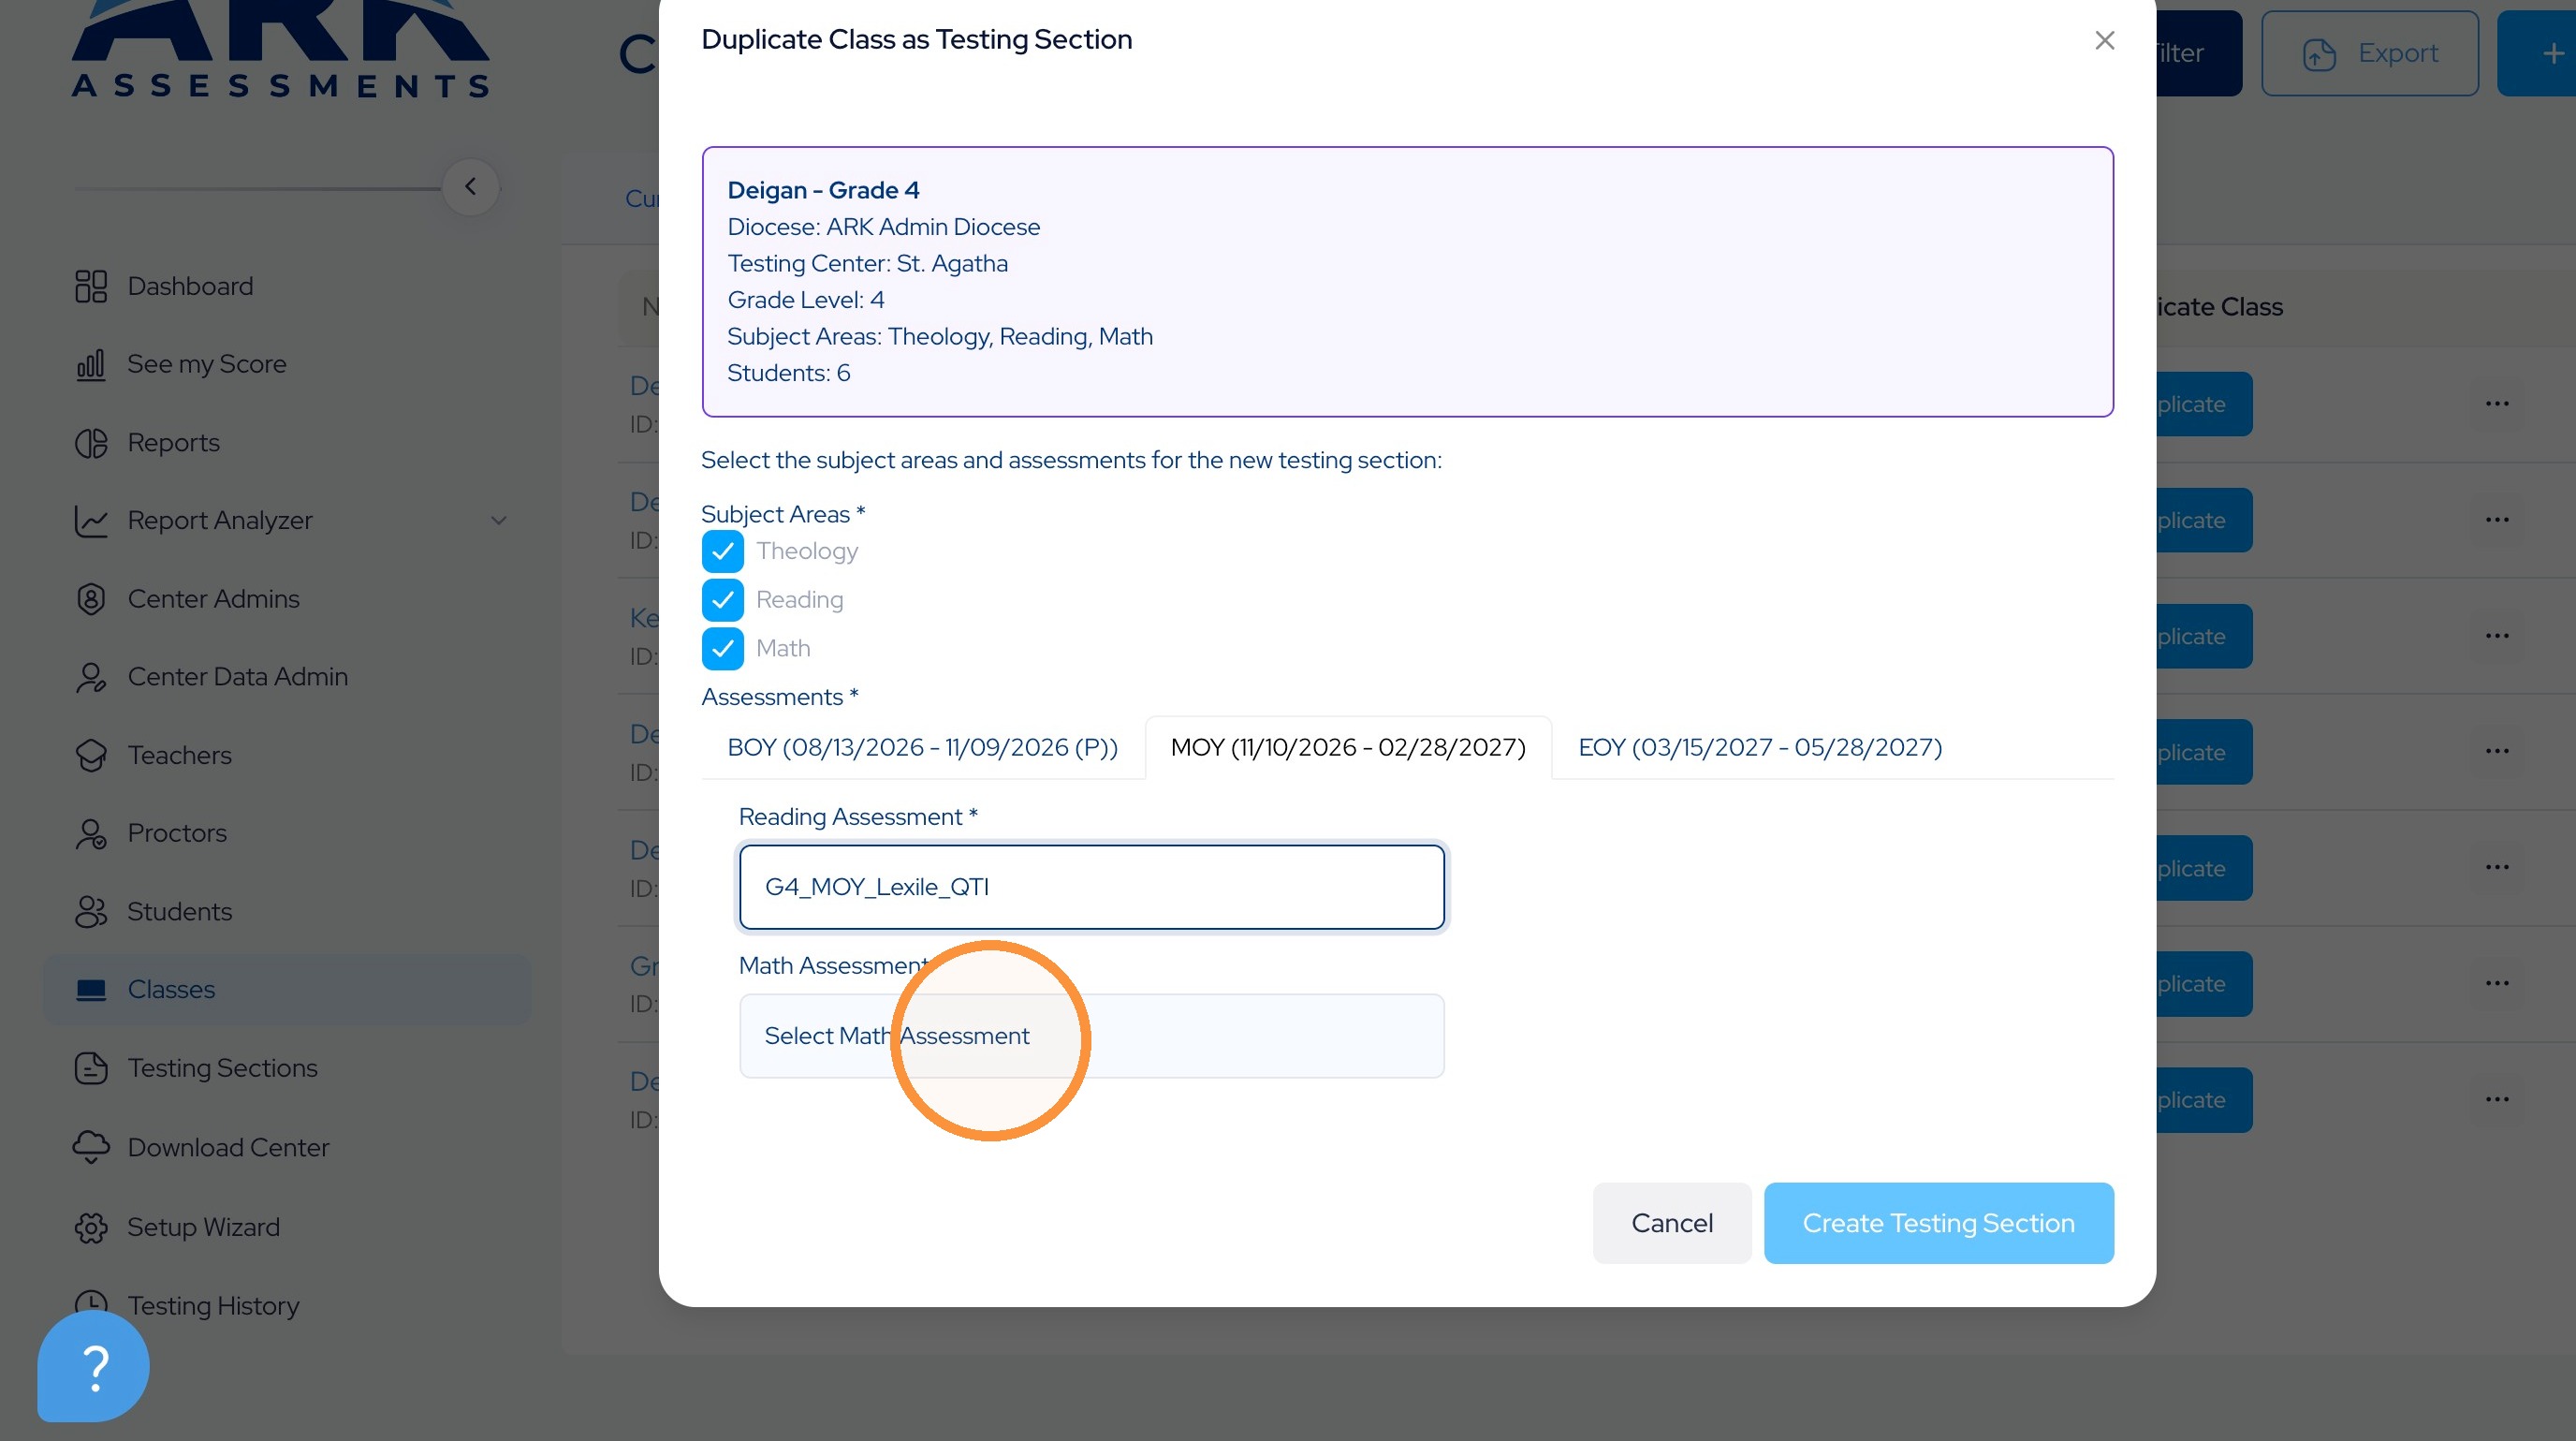
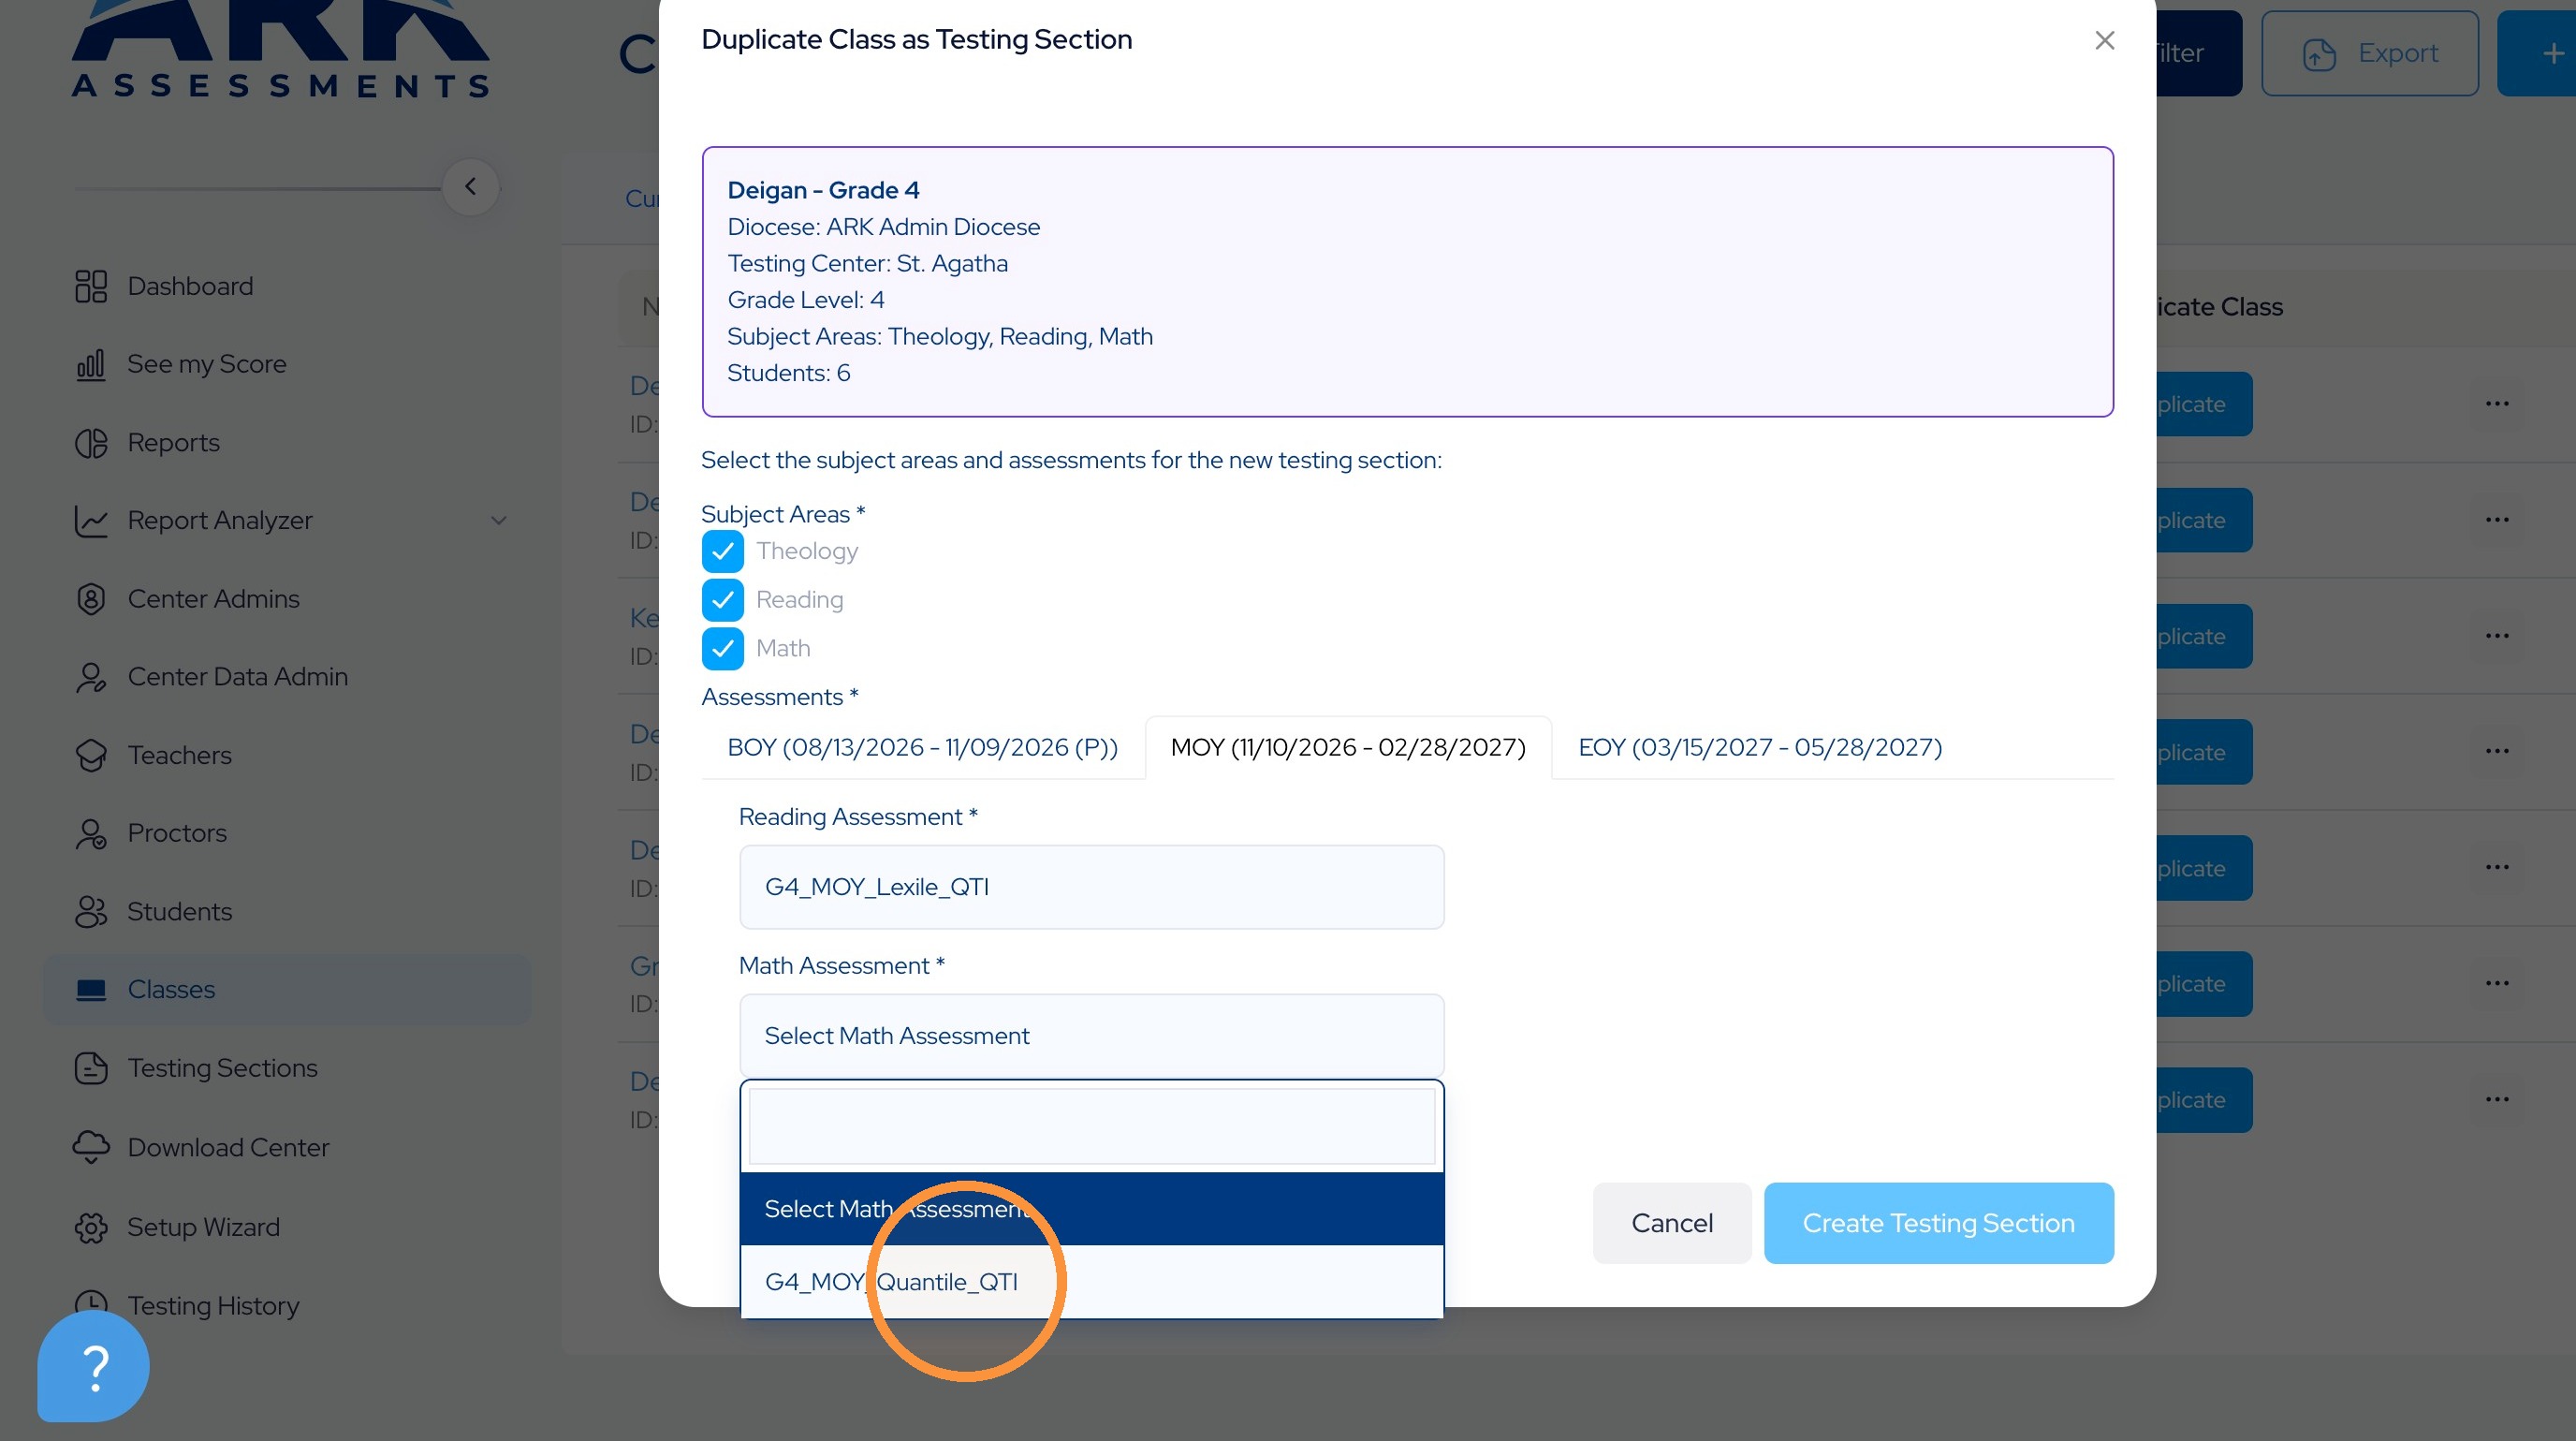
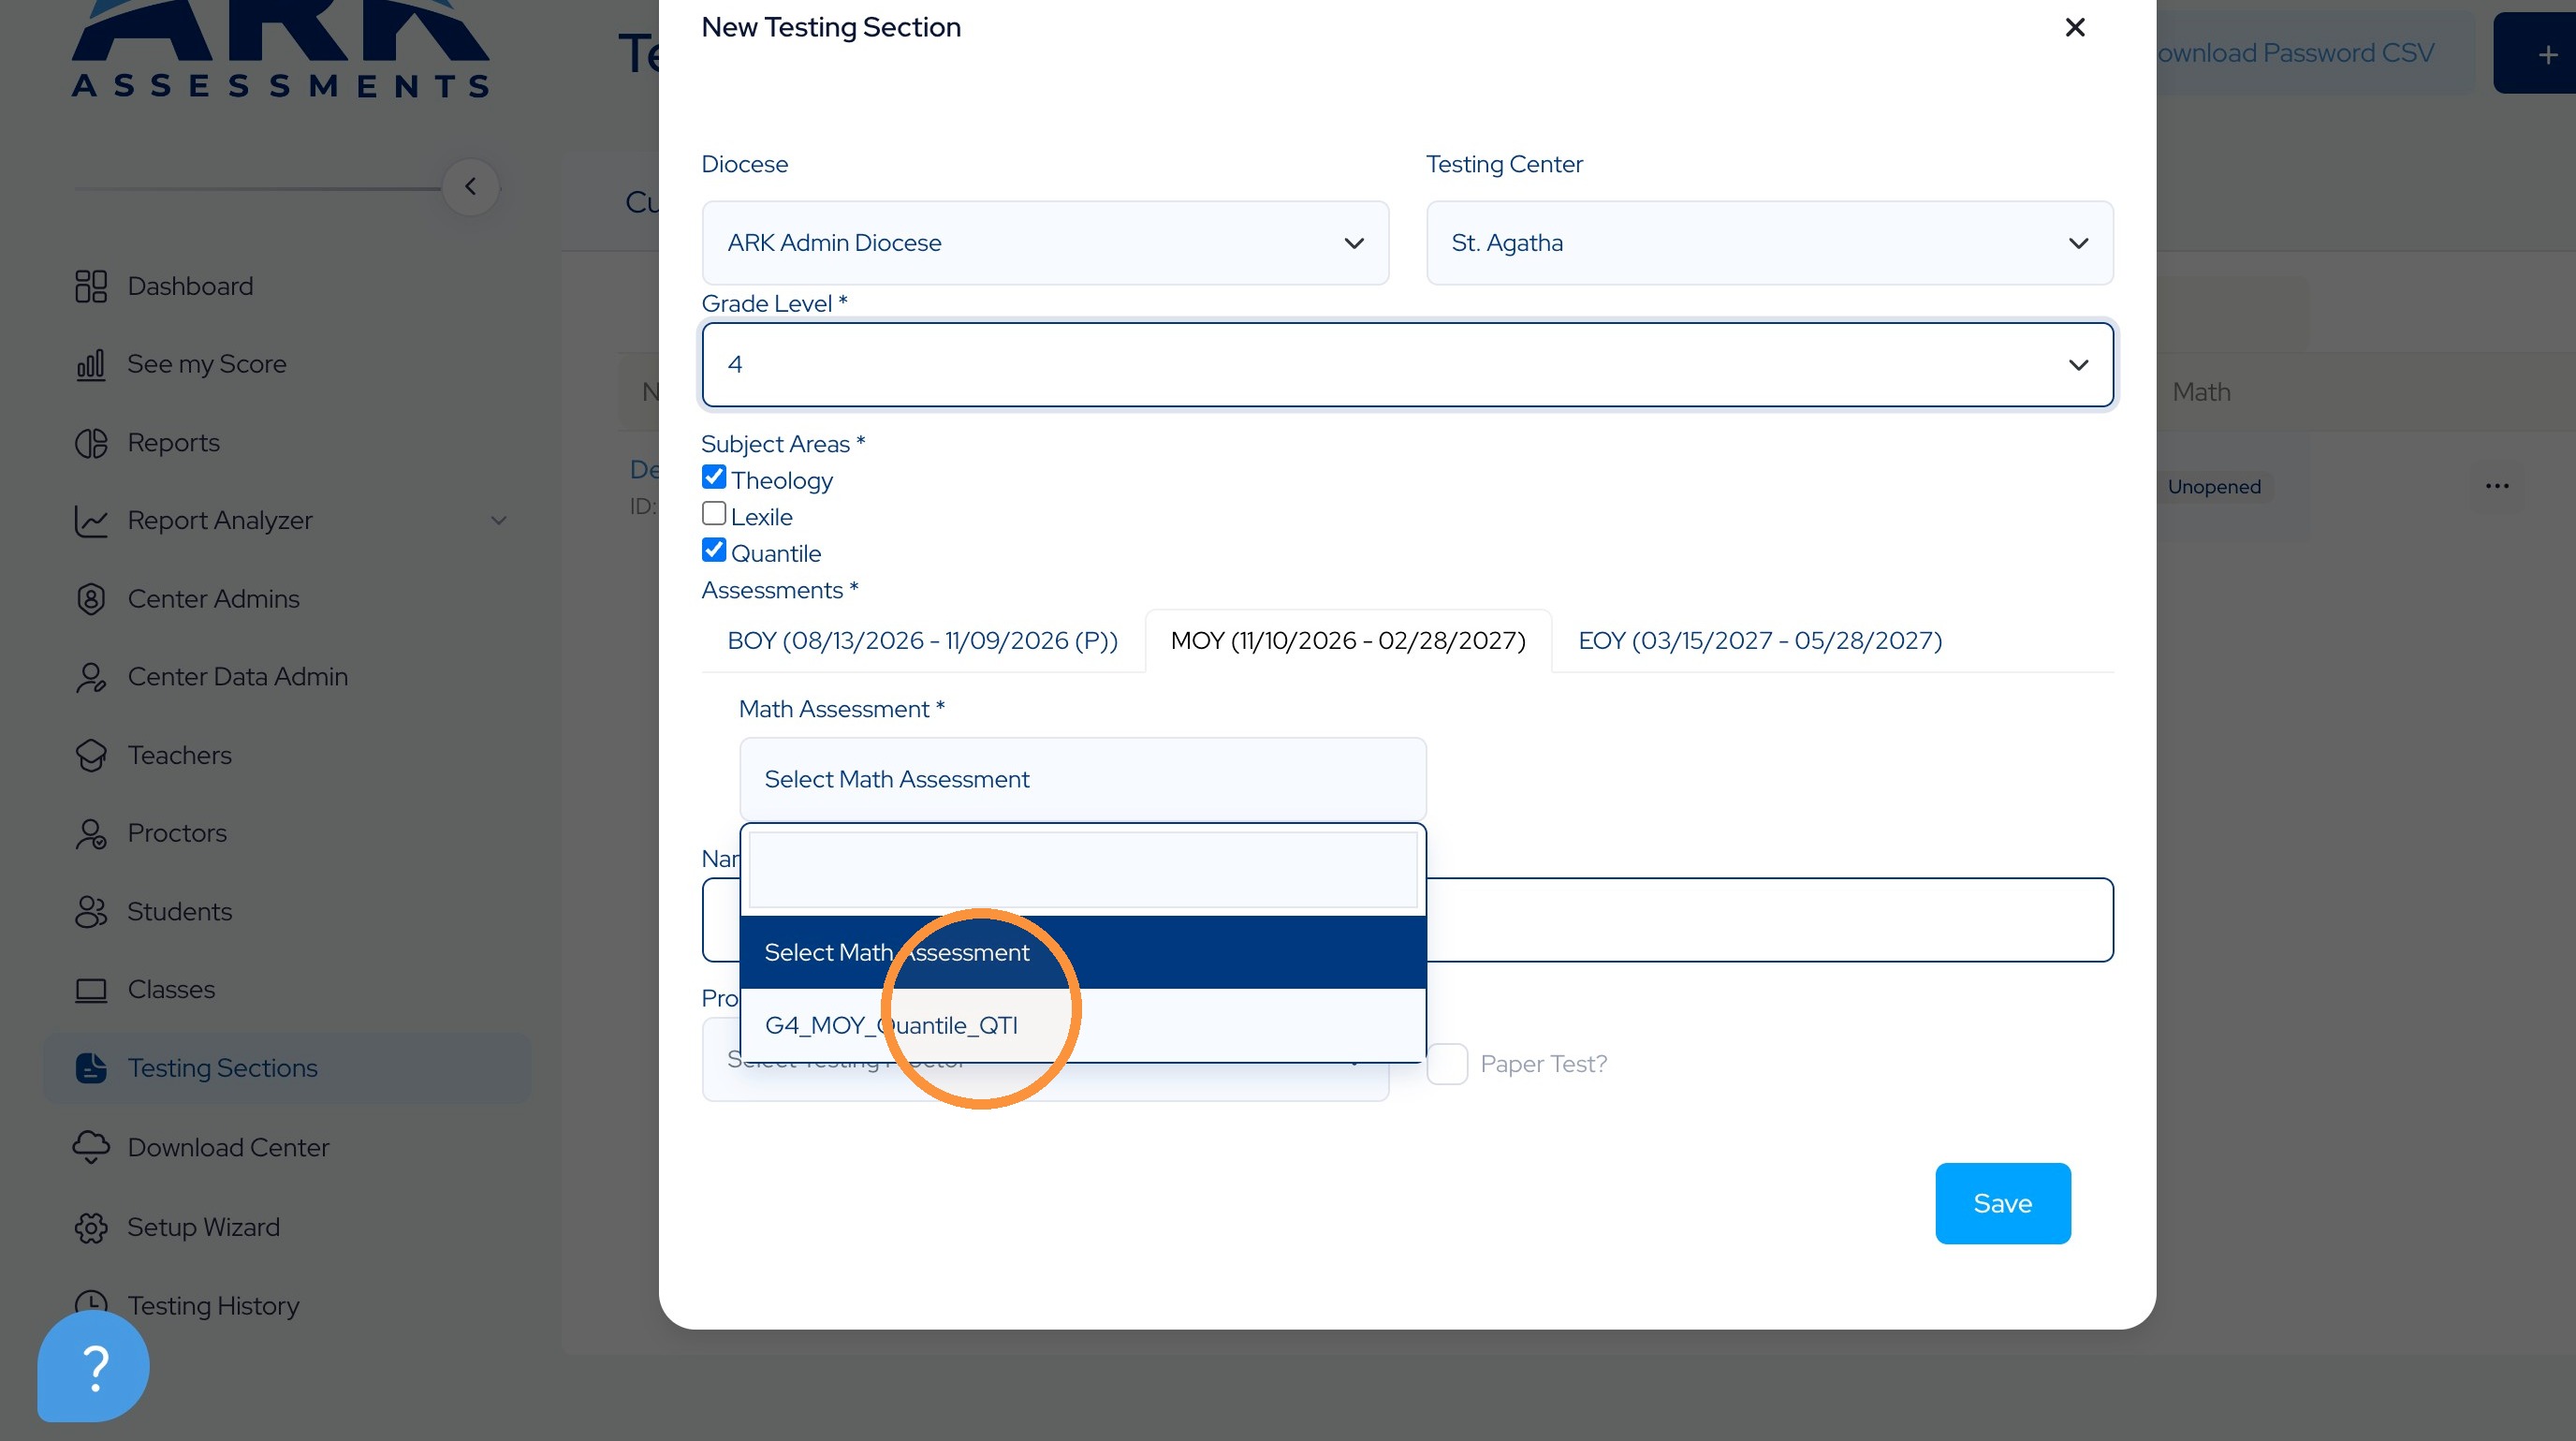
11. Select the assessment. Note there is no Middle of Year Theology assessment.
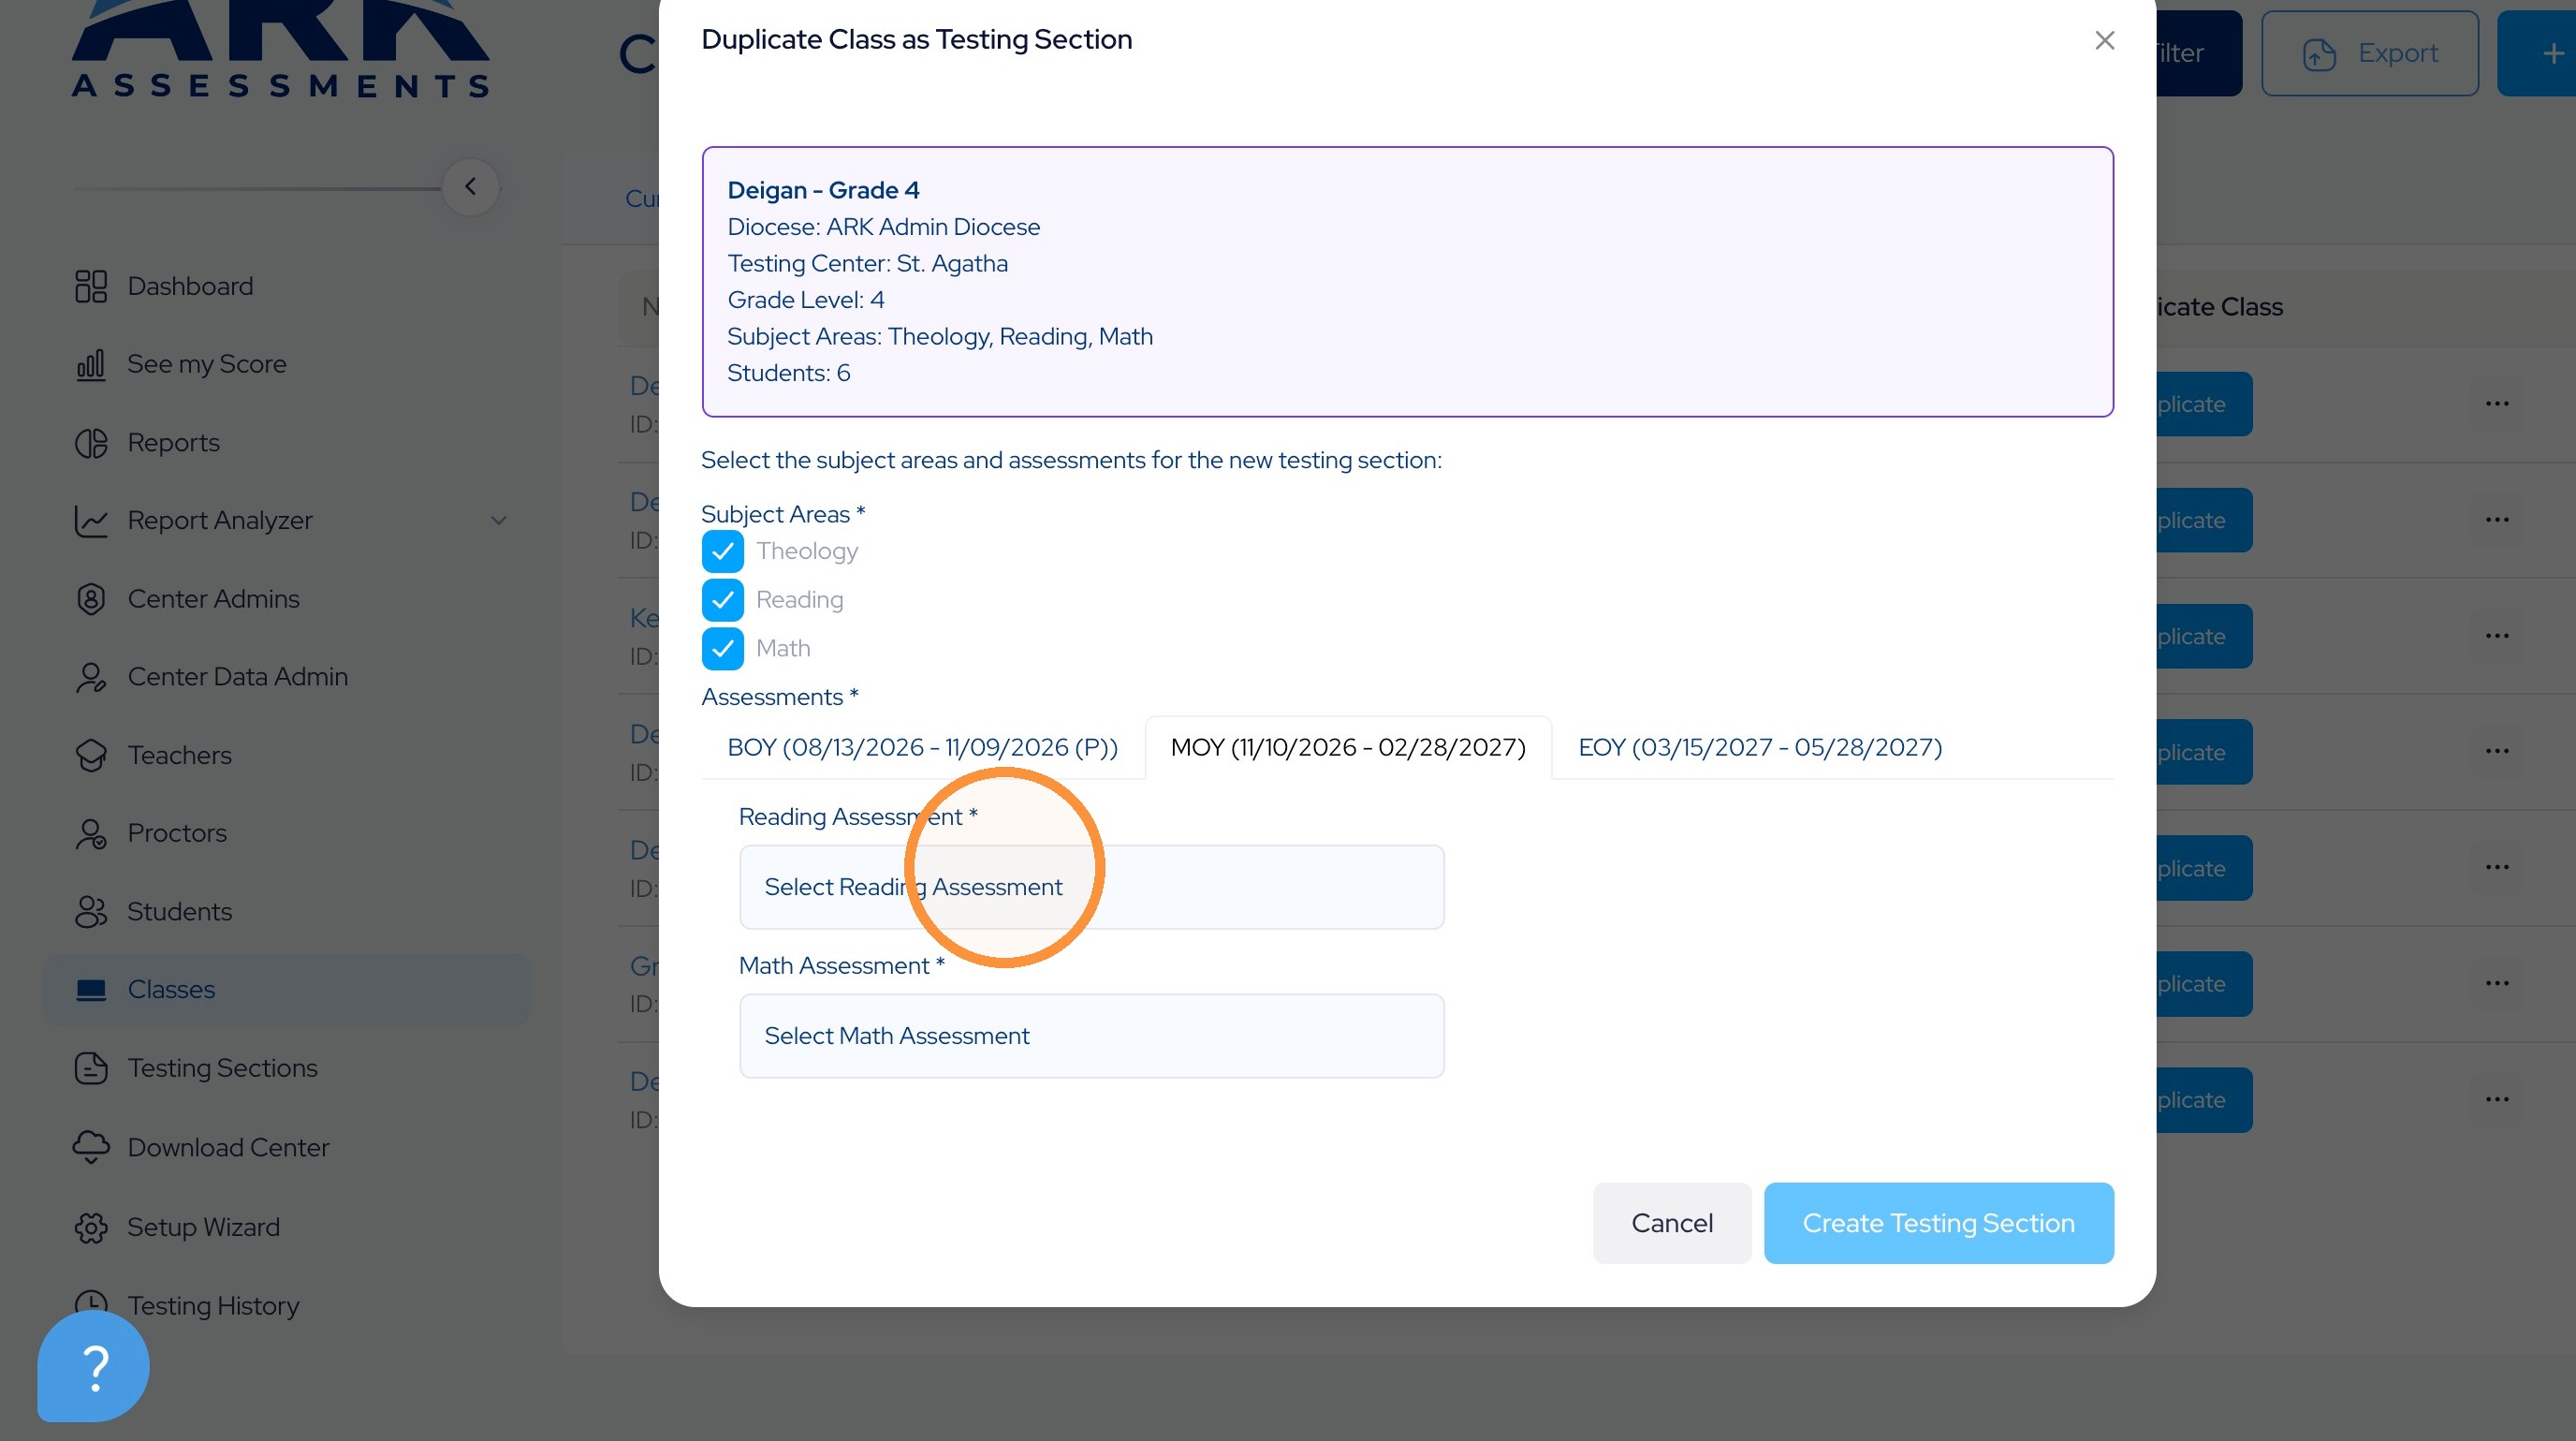
12.
13.
14.
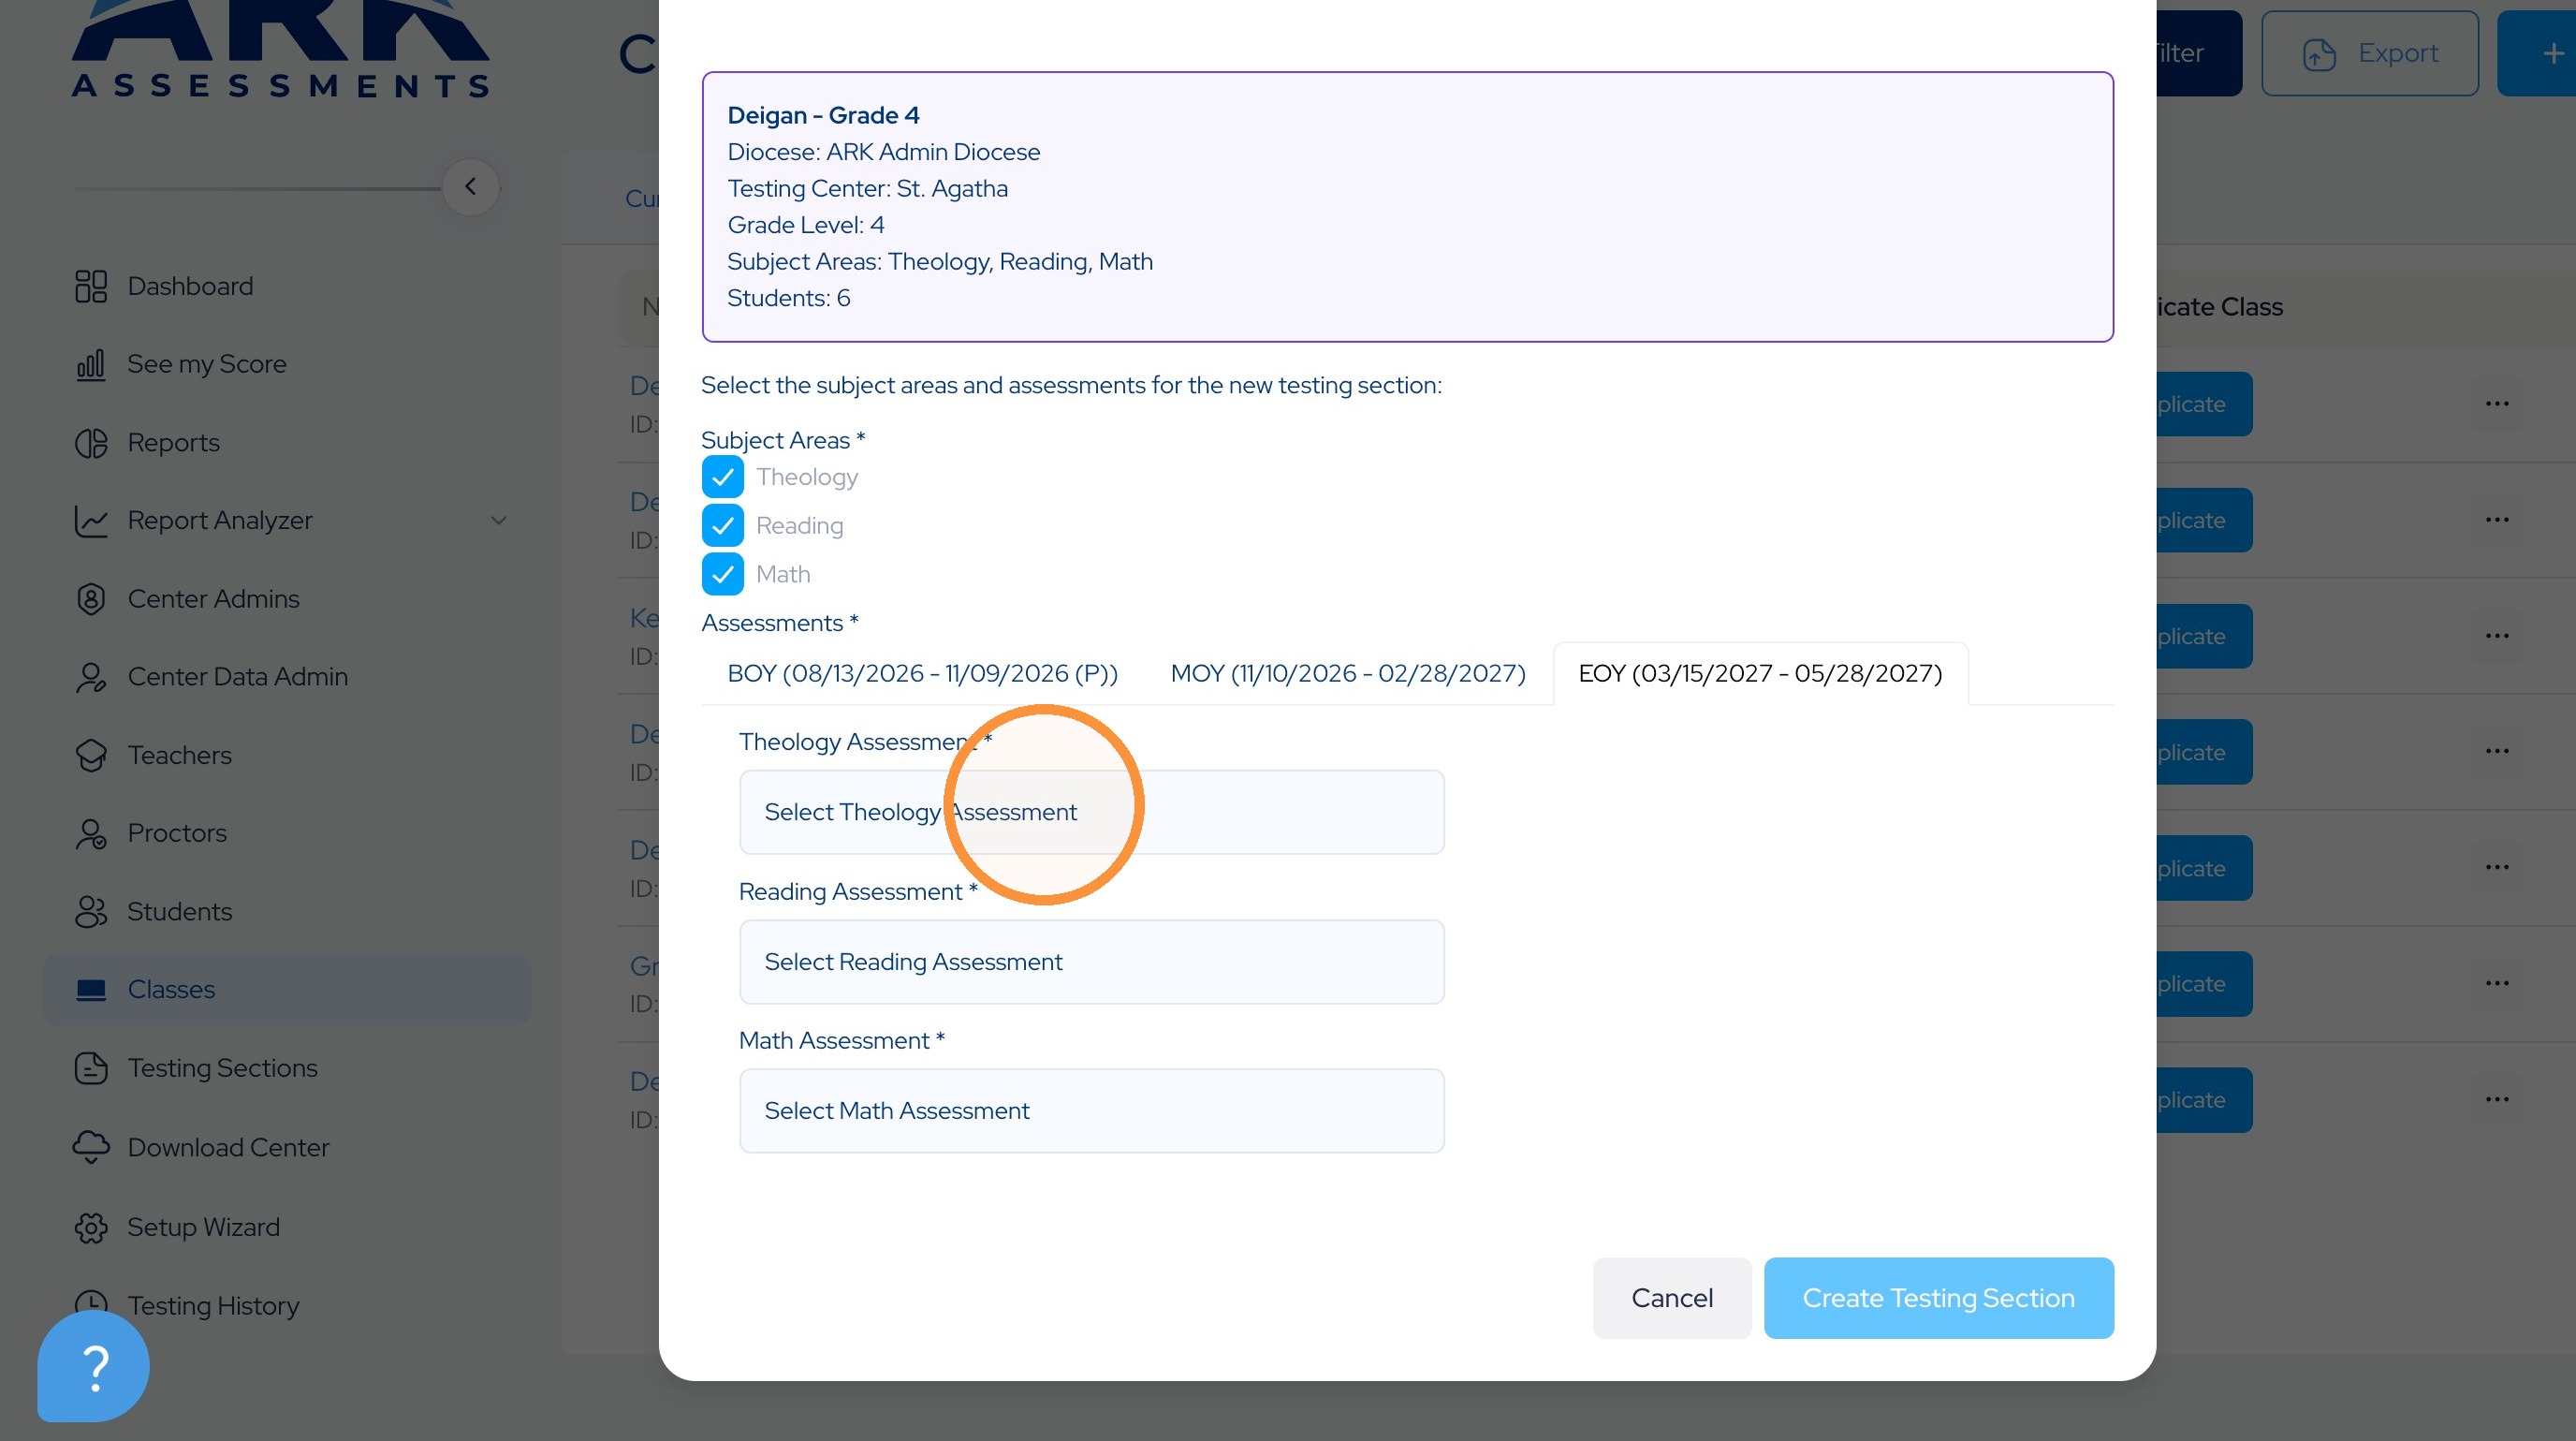
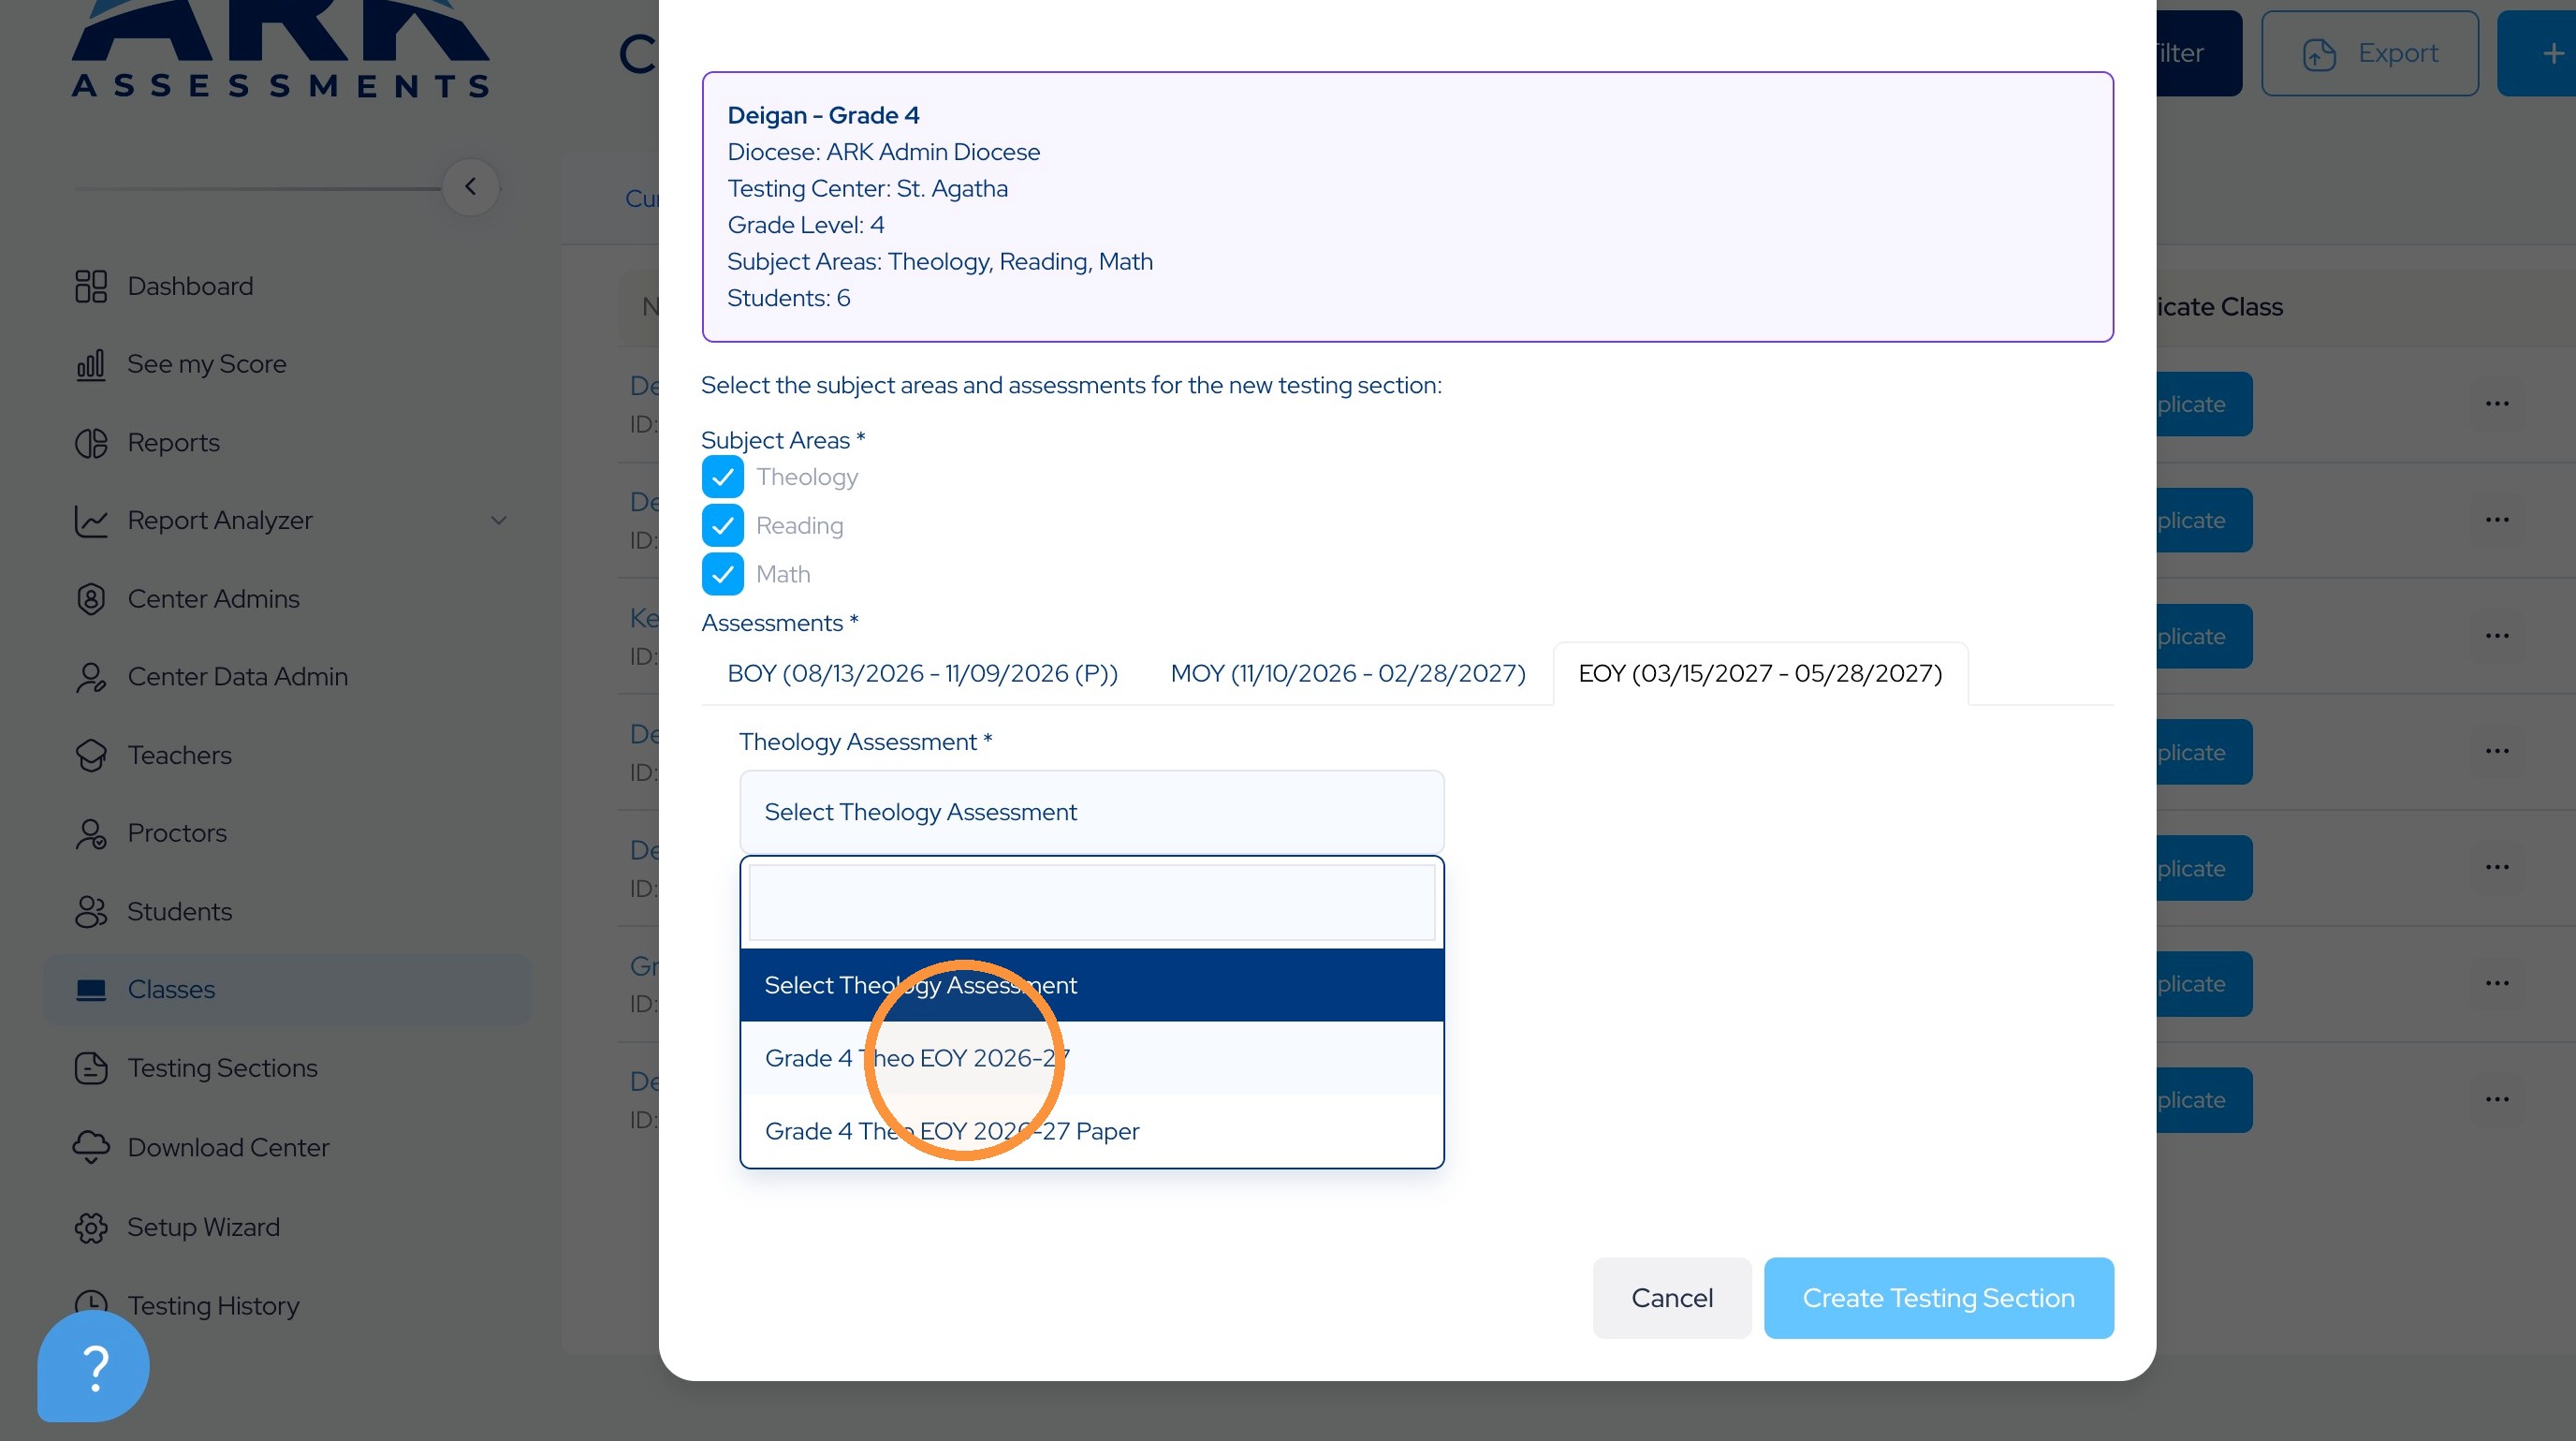
15. Click on the tab for the third testing window.
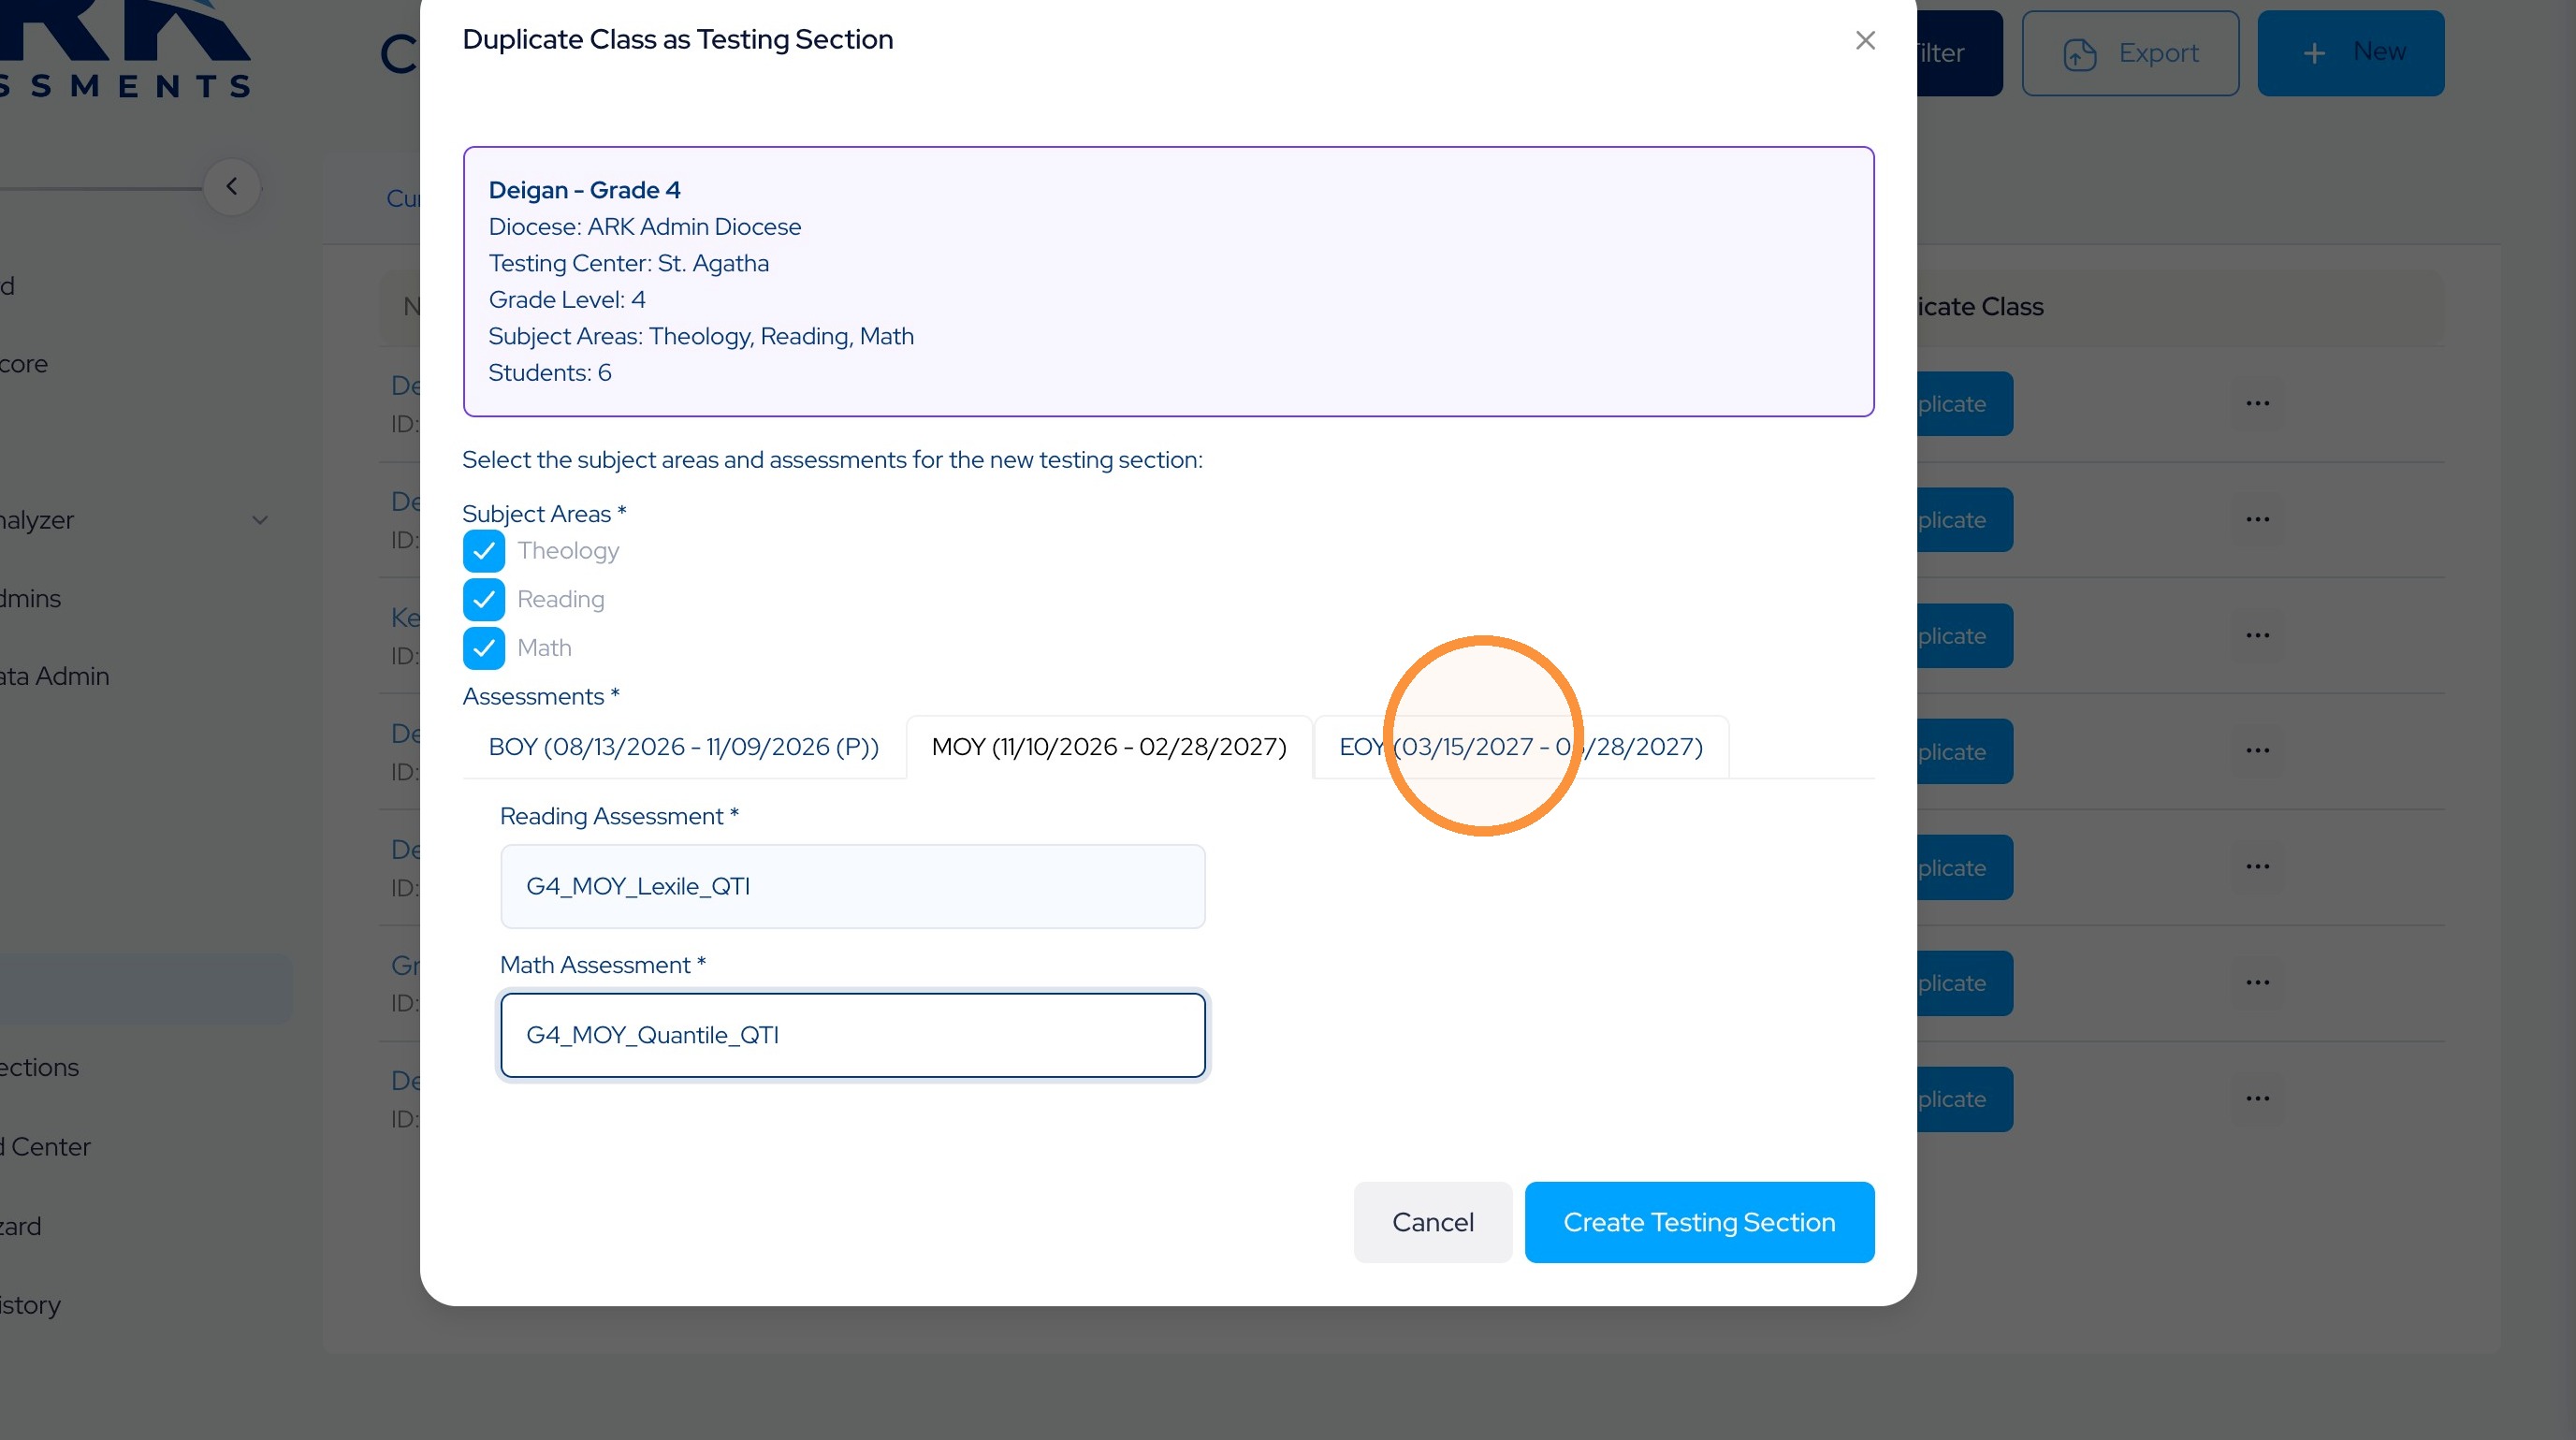
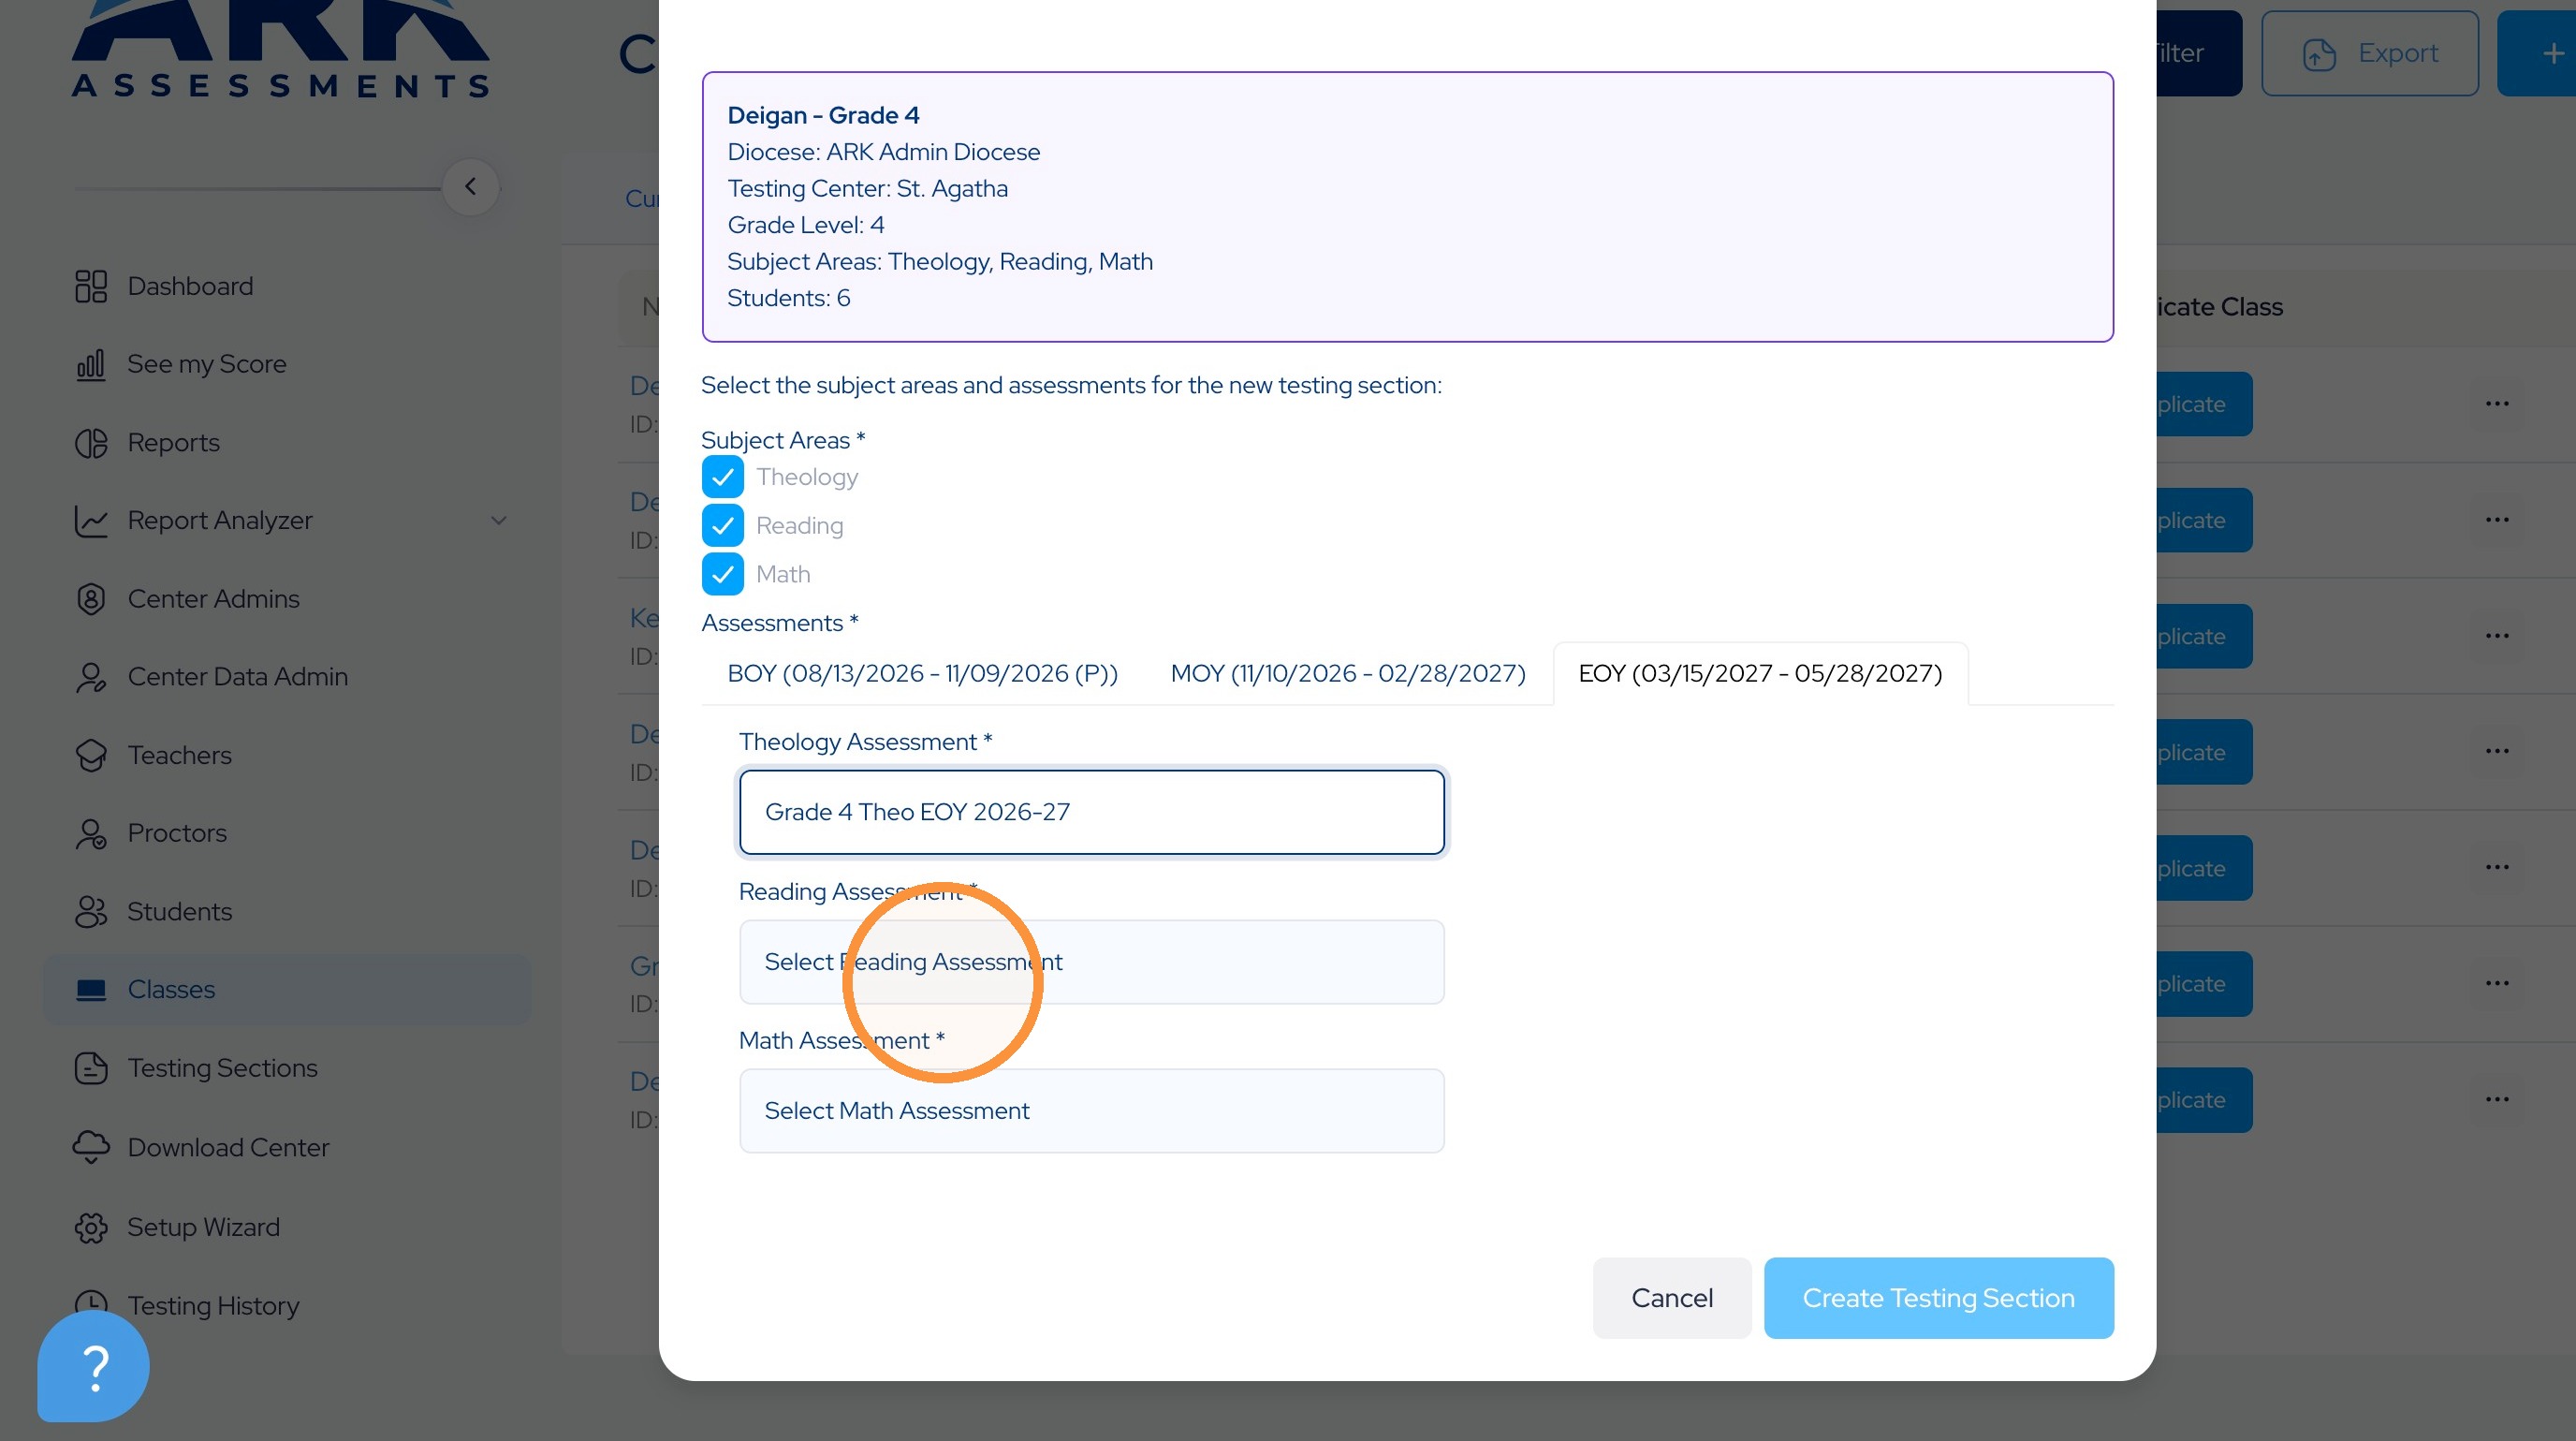
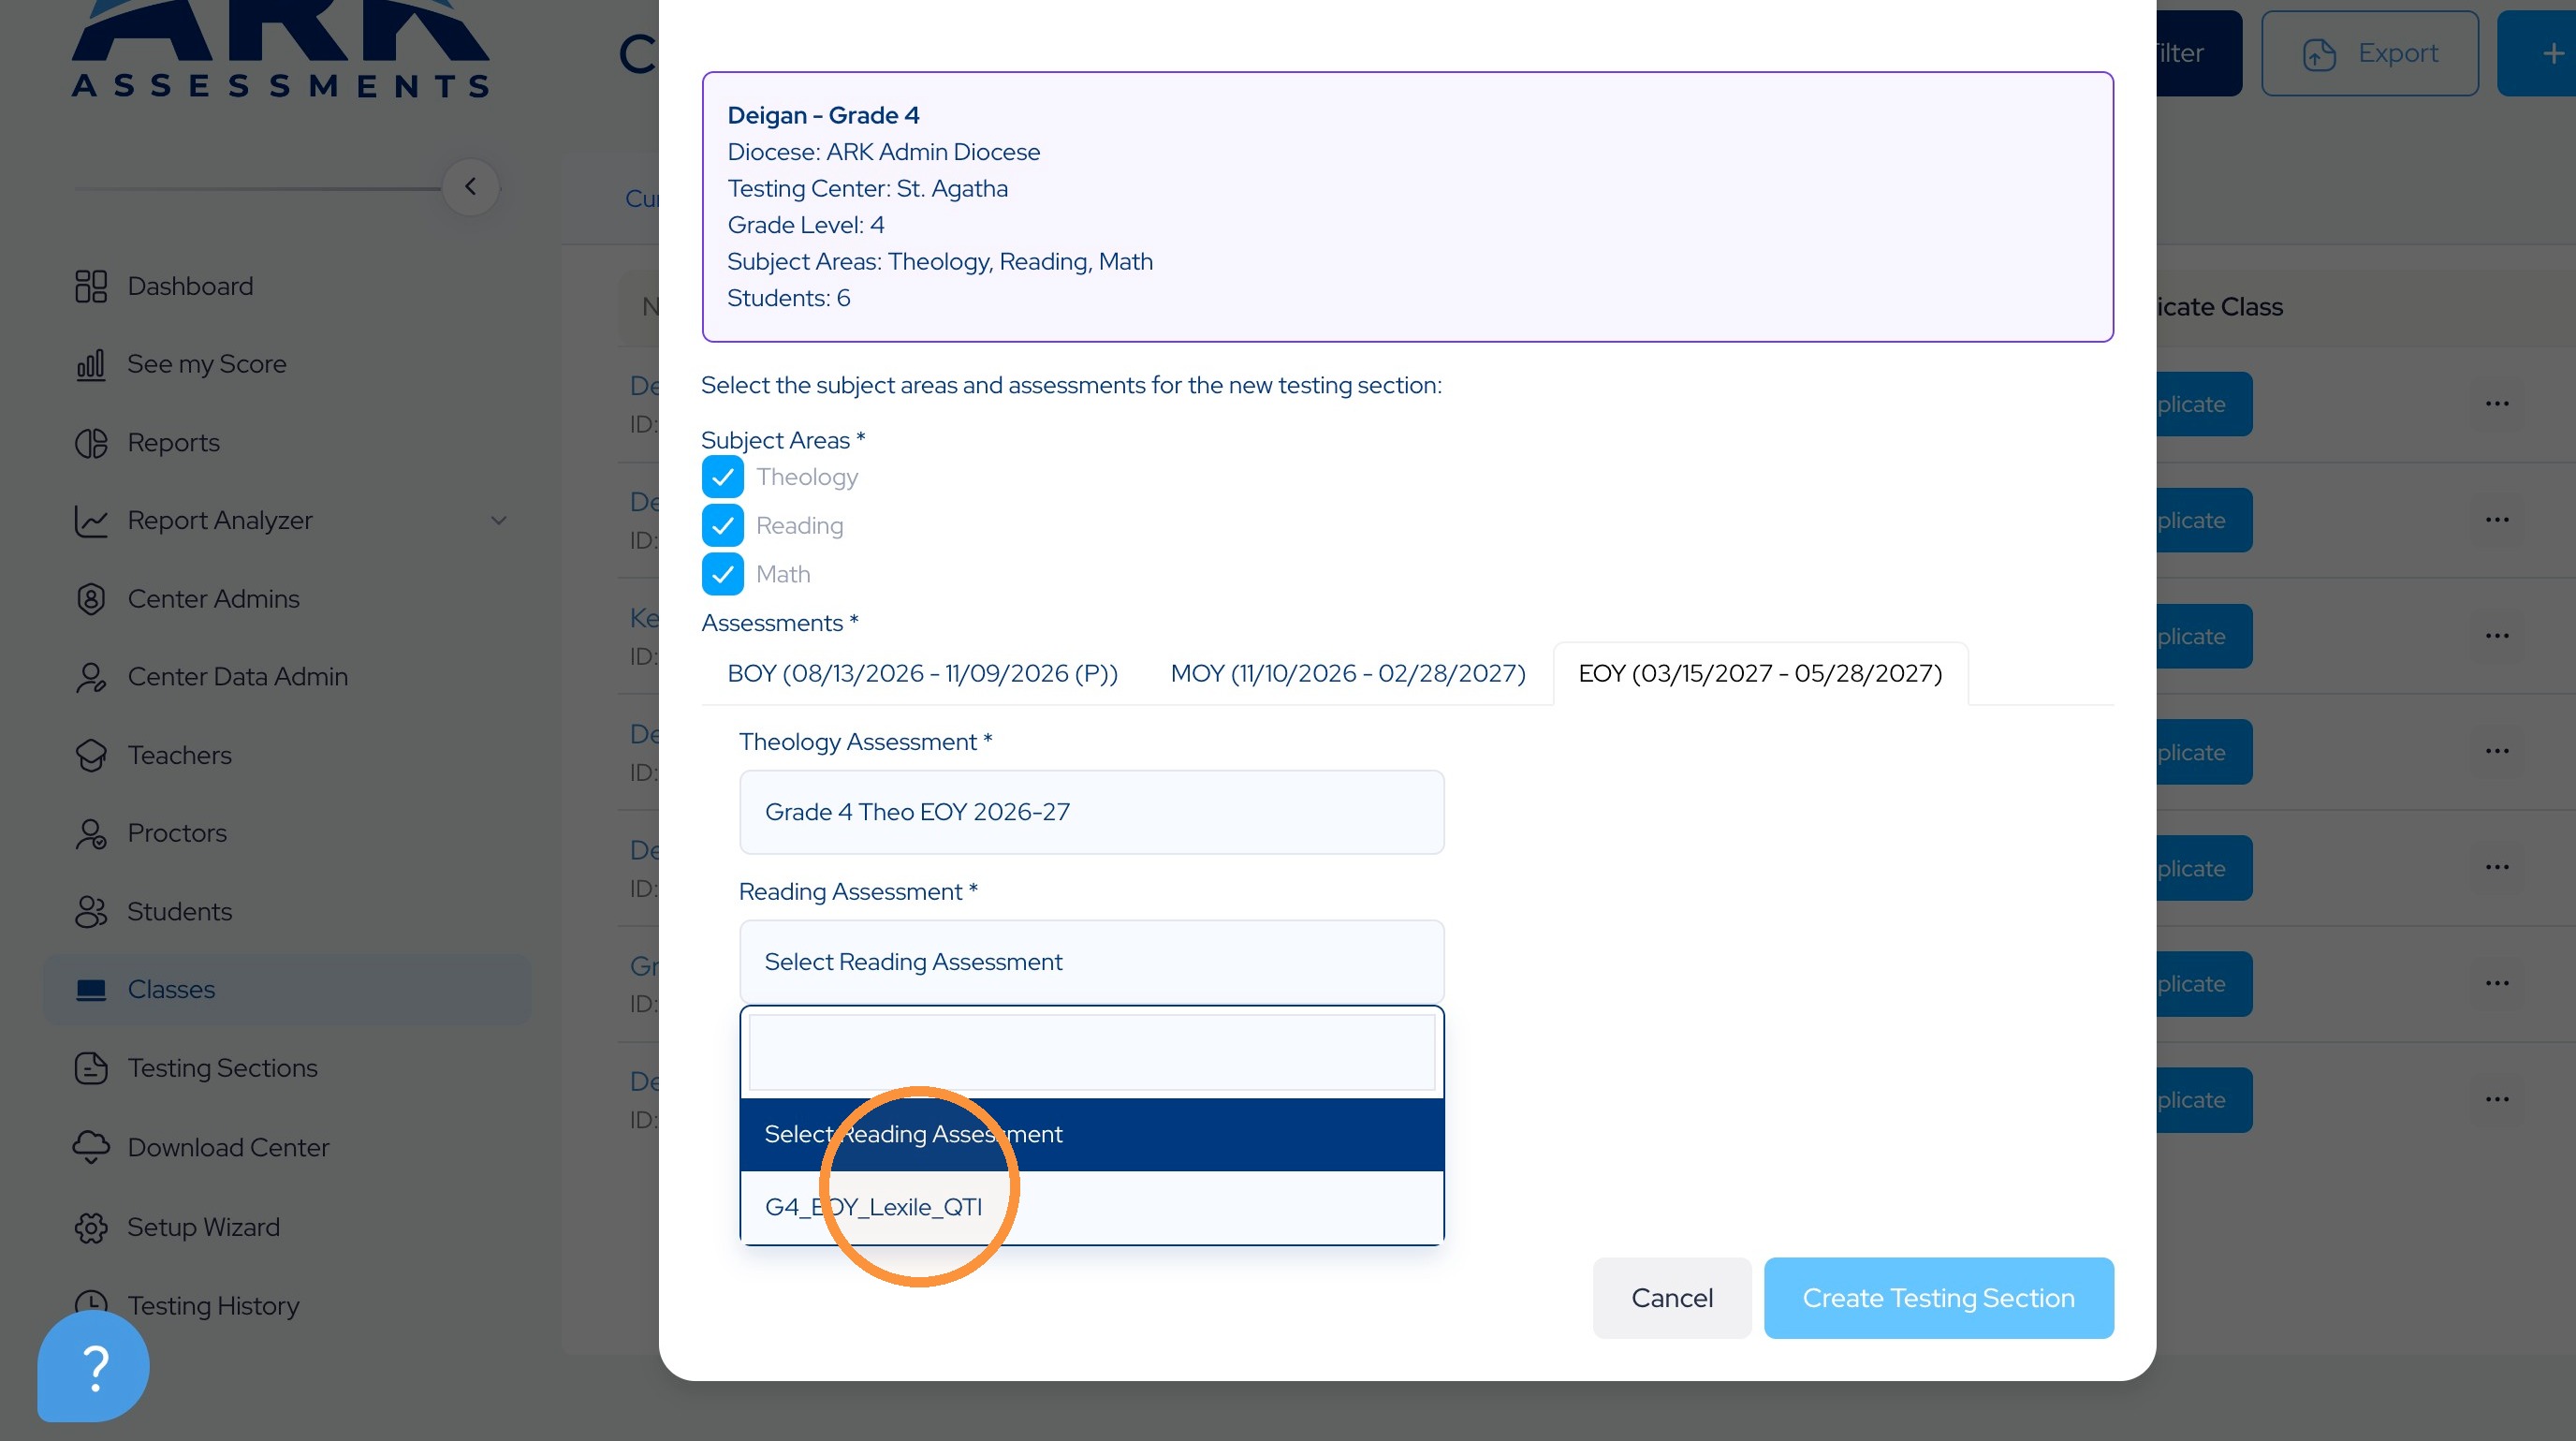
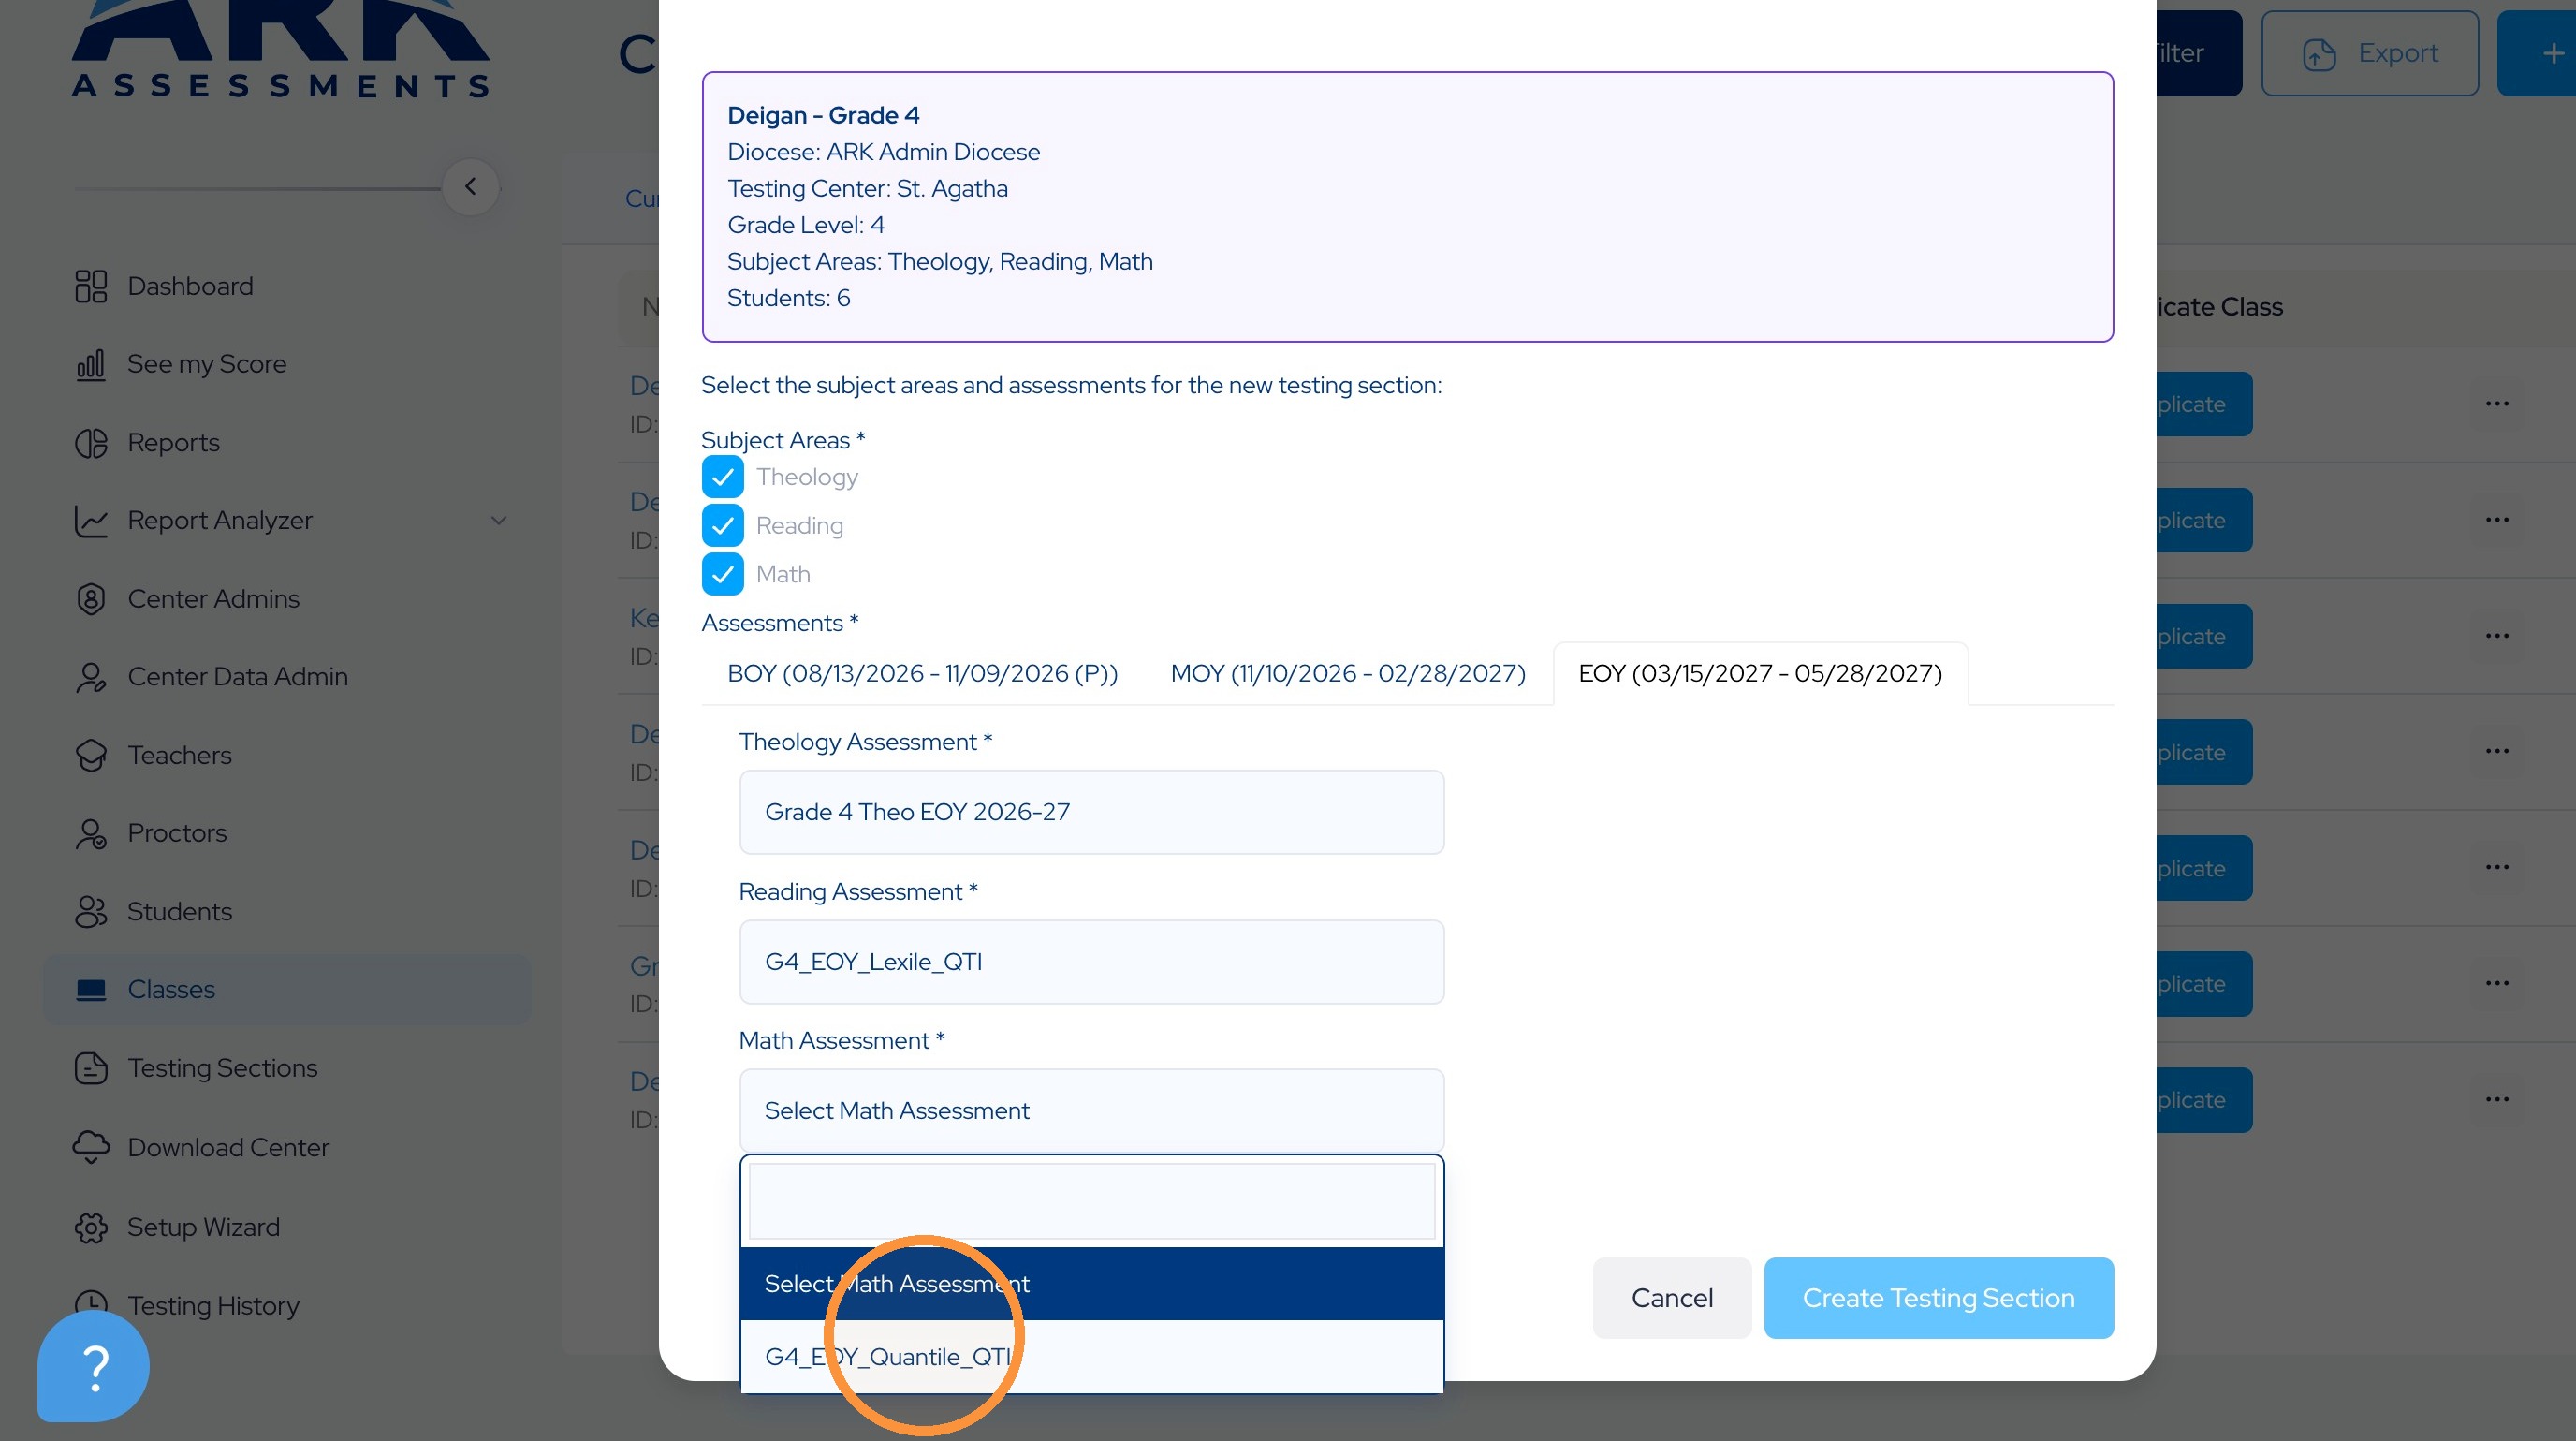
16. Select the assessment for each subject.
17. Note that if you've requested either paper - based or Spanish - based for the religion test the will be available in these options. You do have to ask the ARK helpdesk to get those enabled. Otherwise, you will default to the standard English tests.
18.
19.
20.
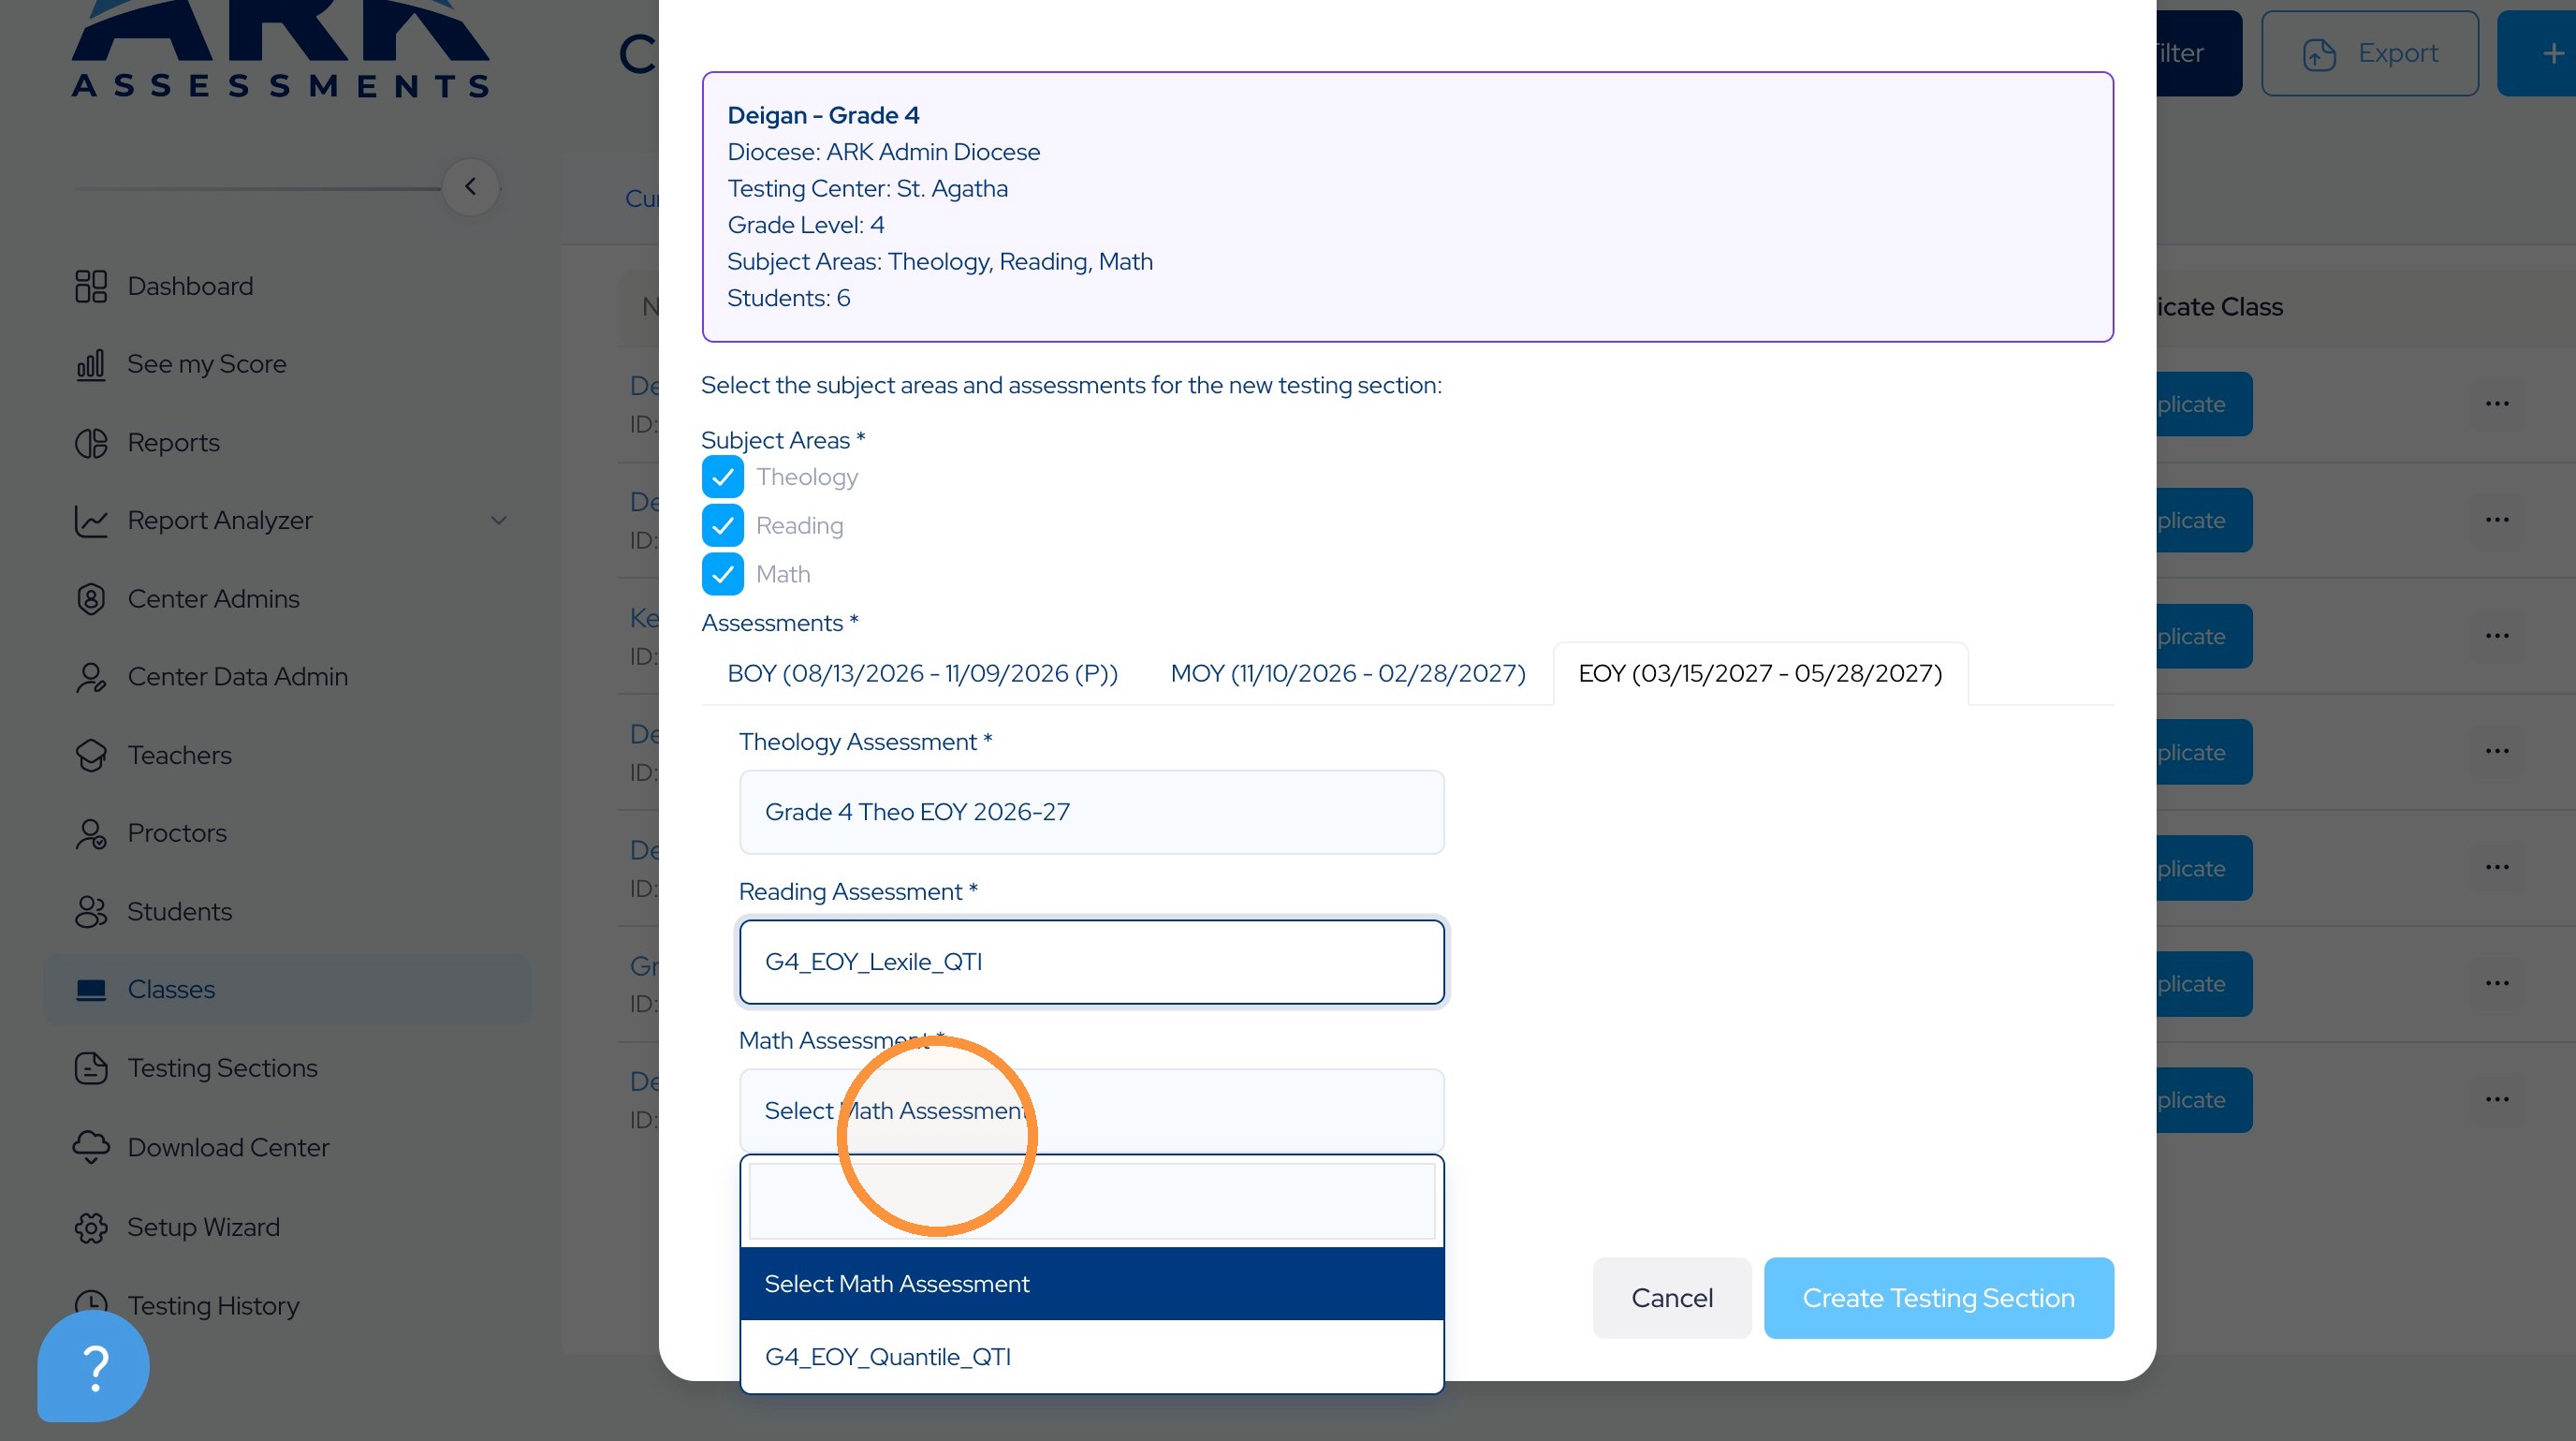
21.
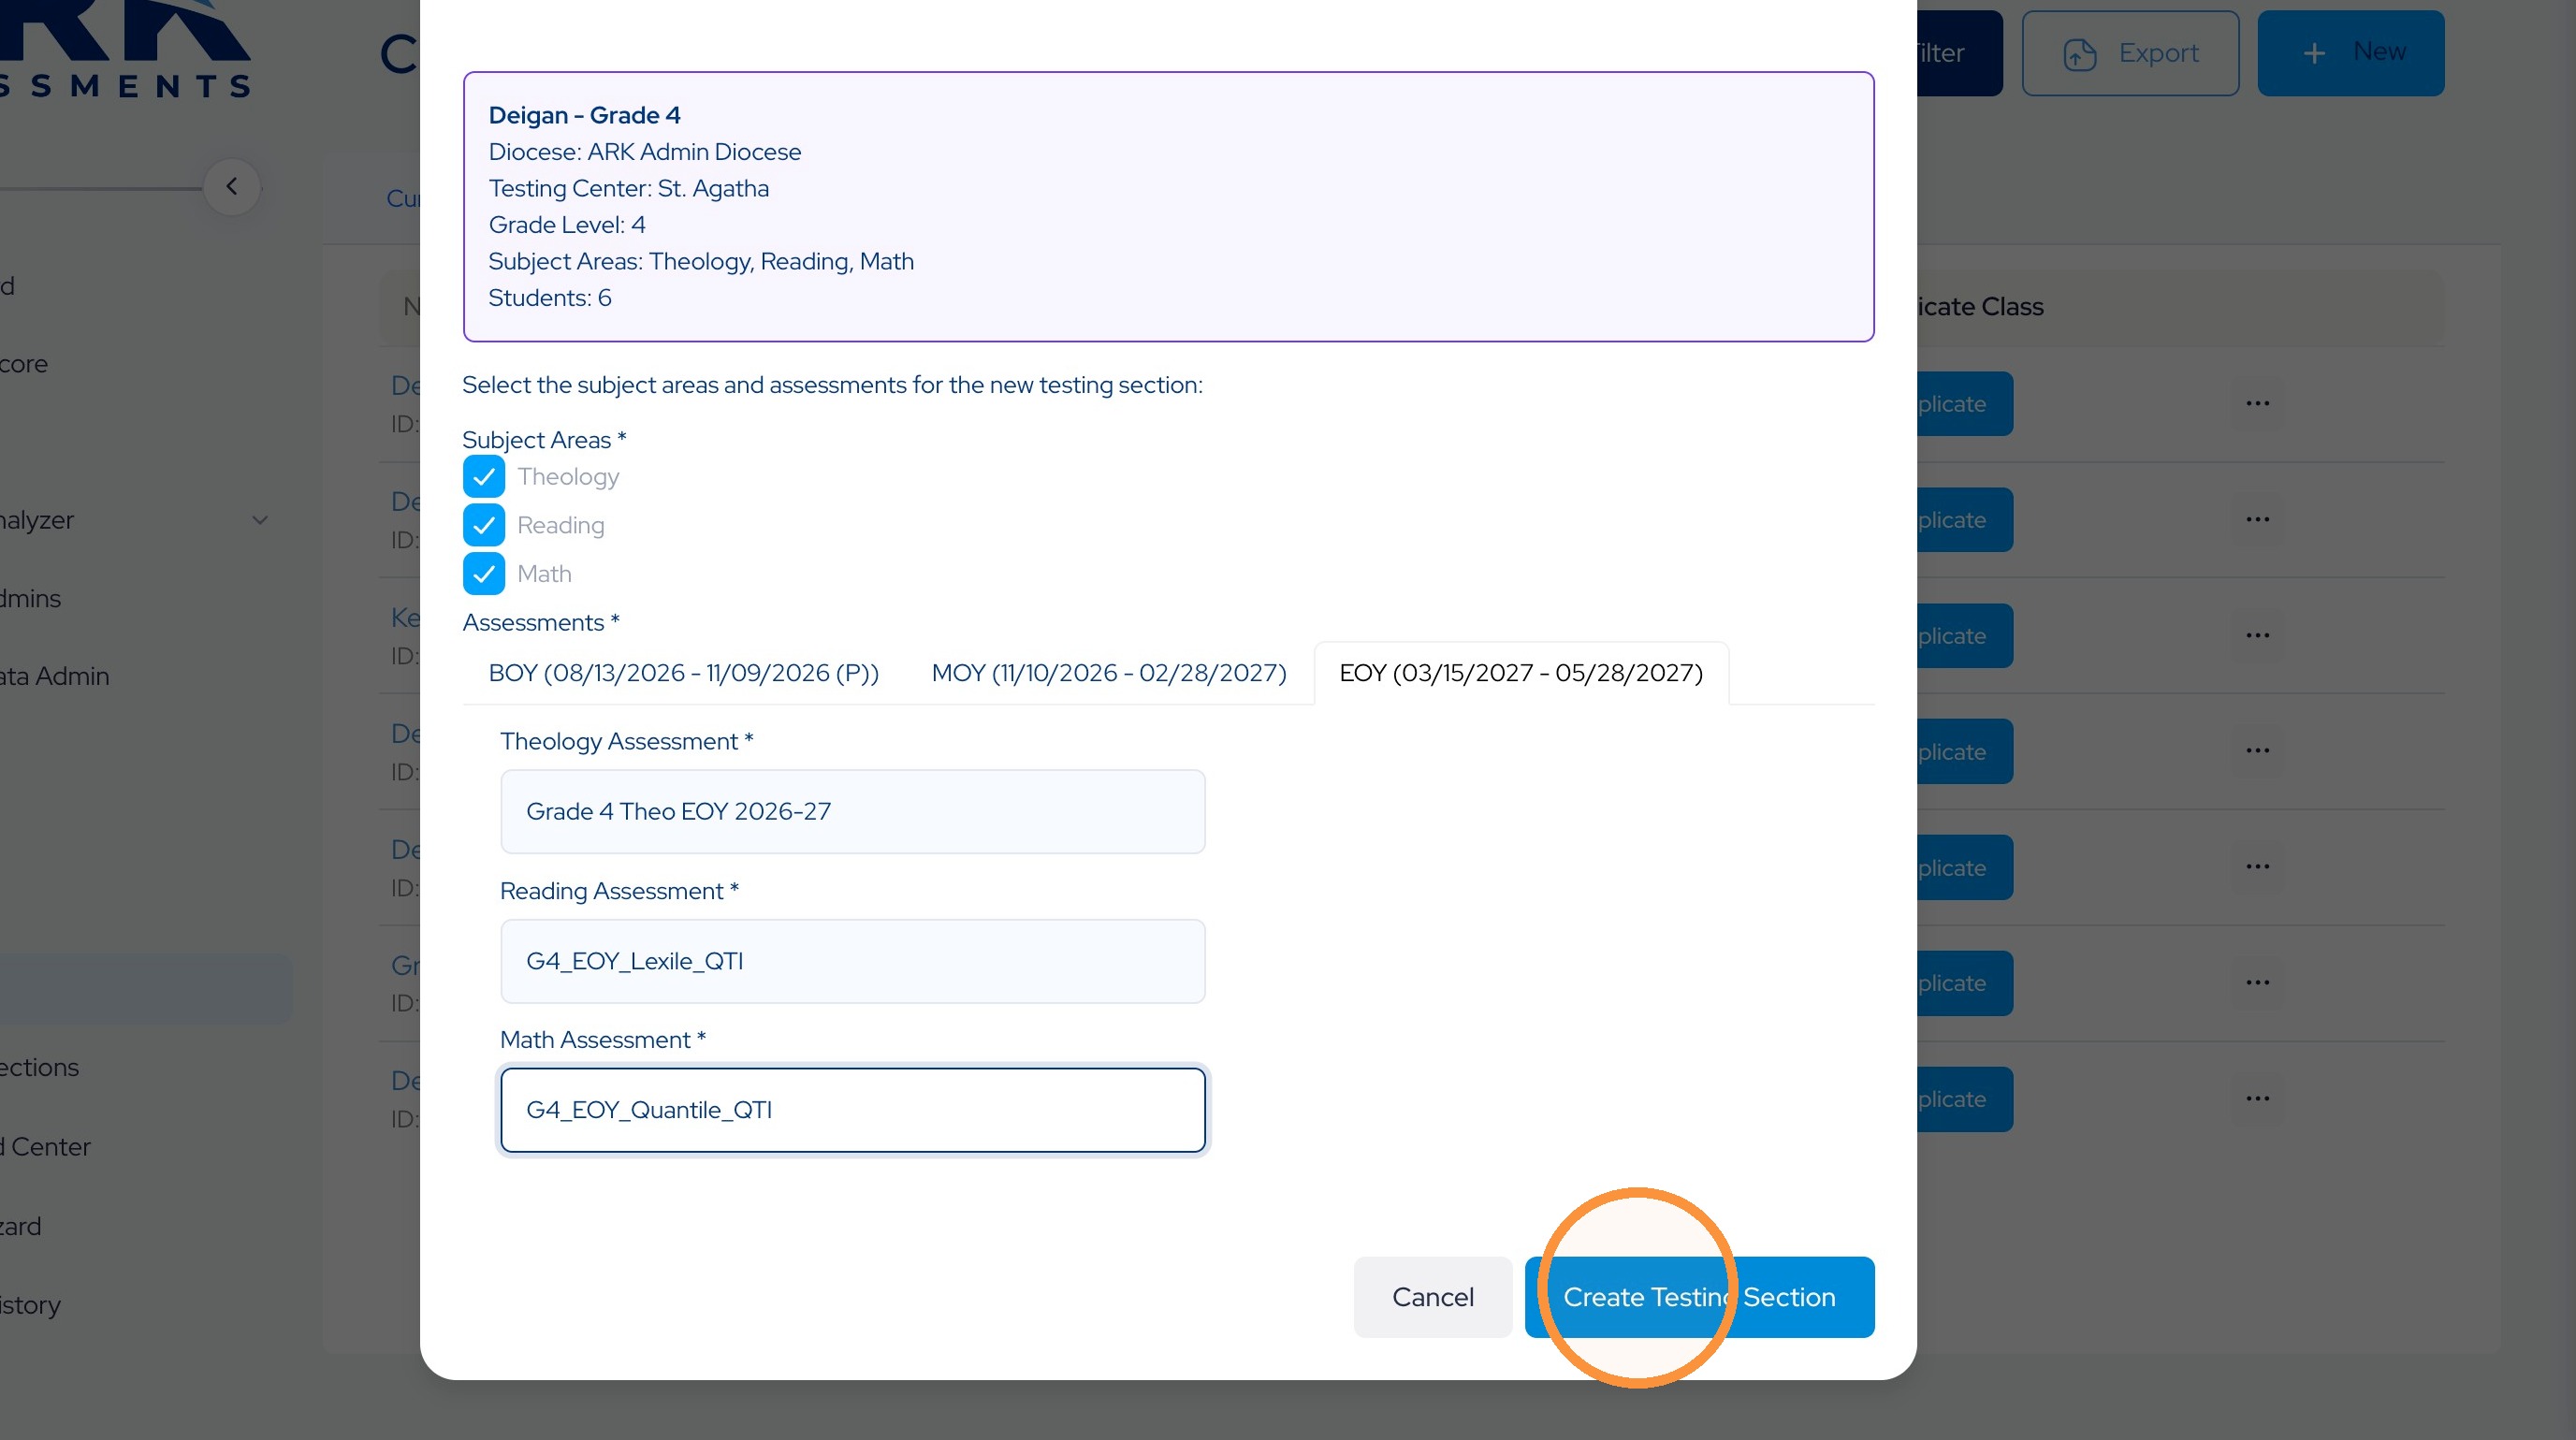
22. After all testing Windows and subjects have been assigned their tests, you click the Create Testing Section button
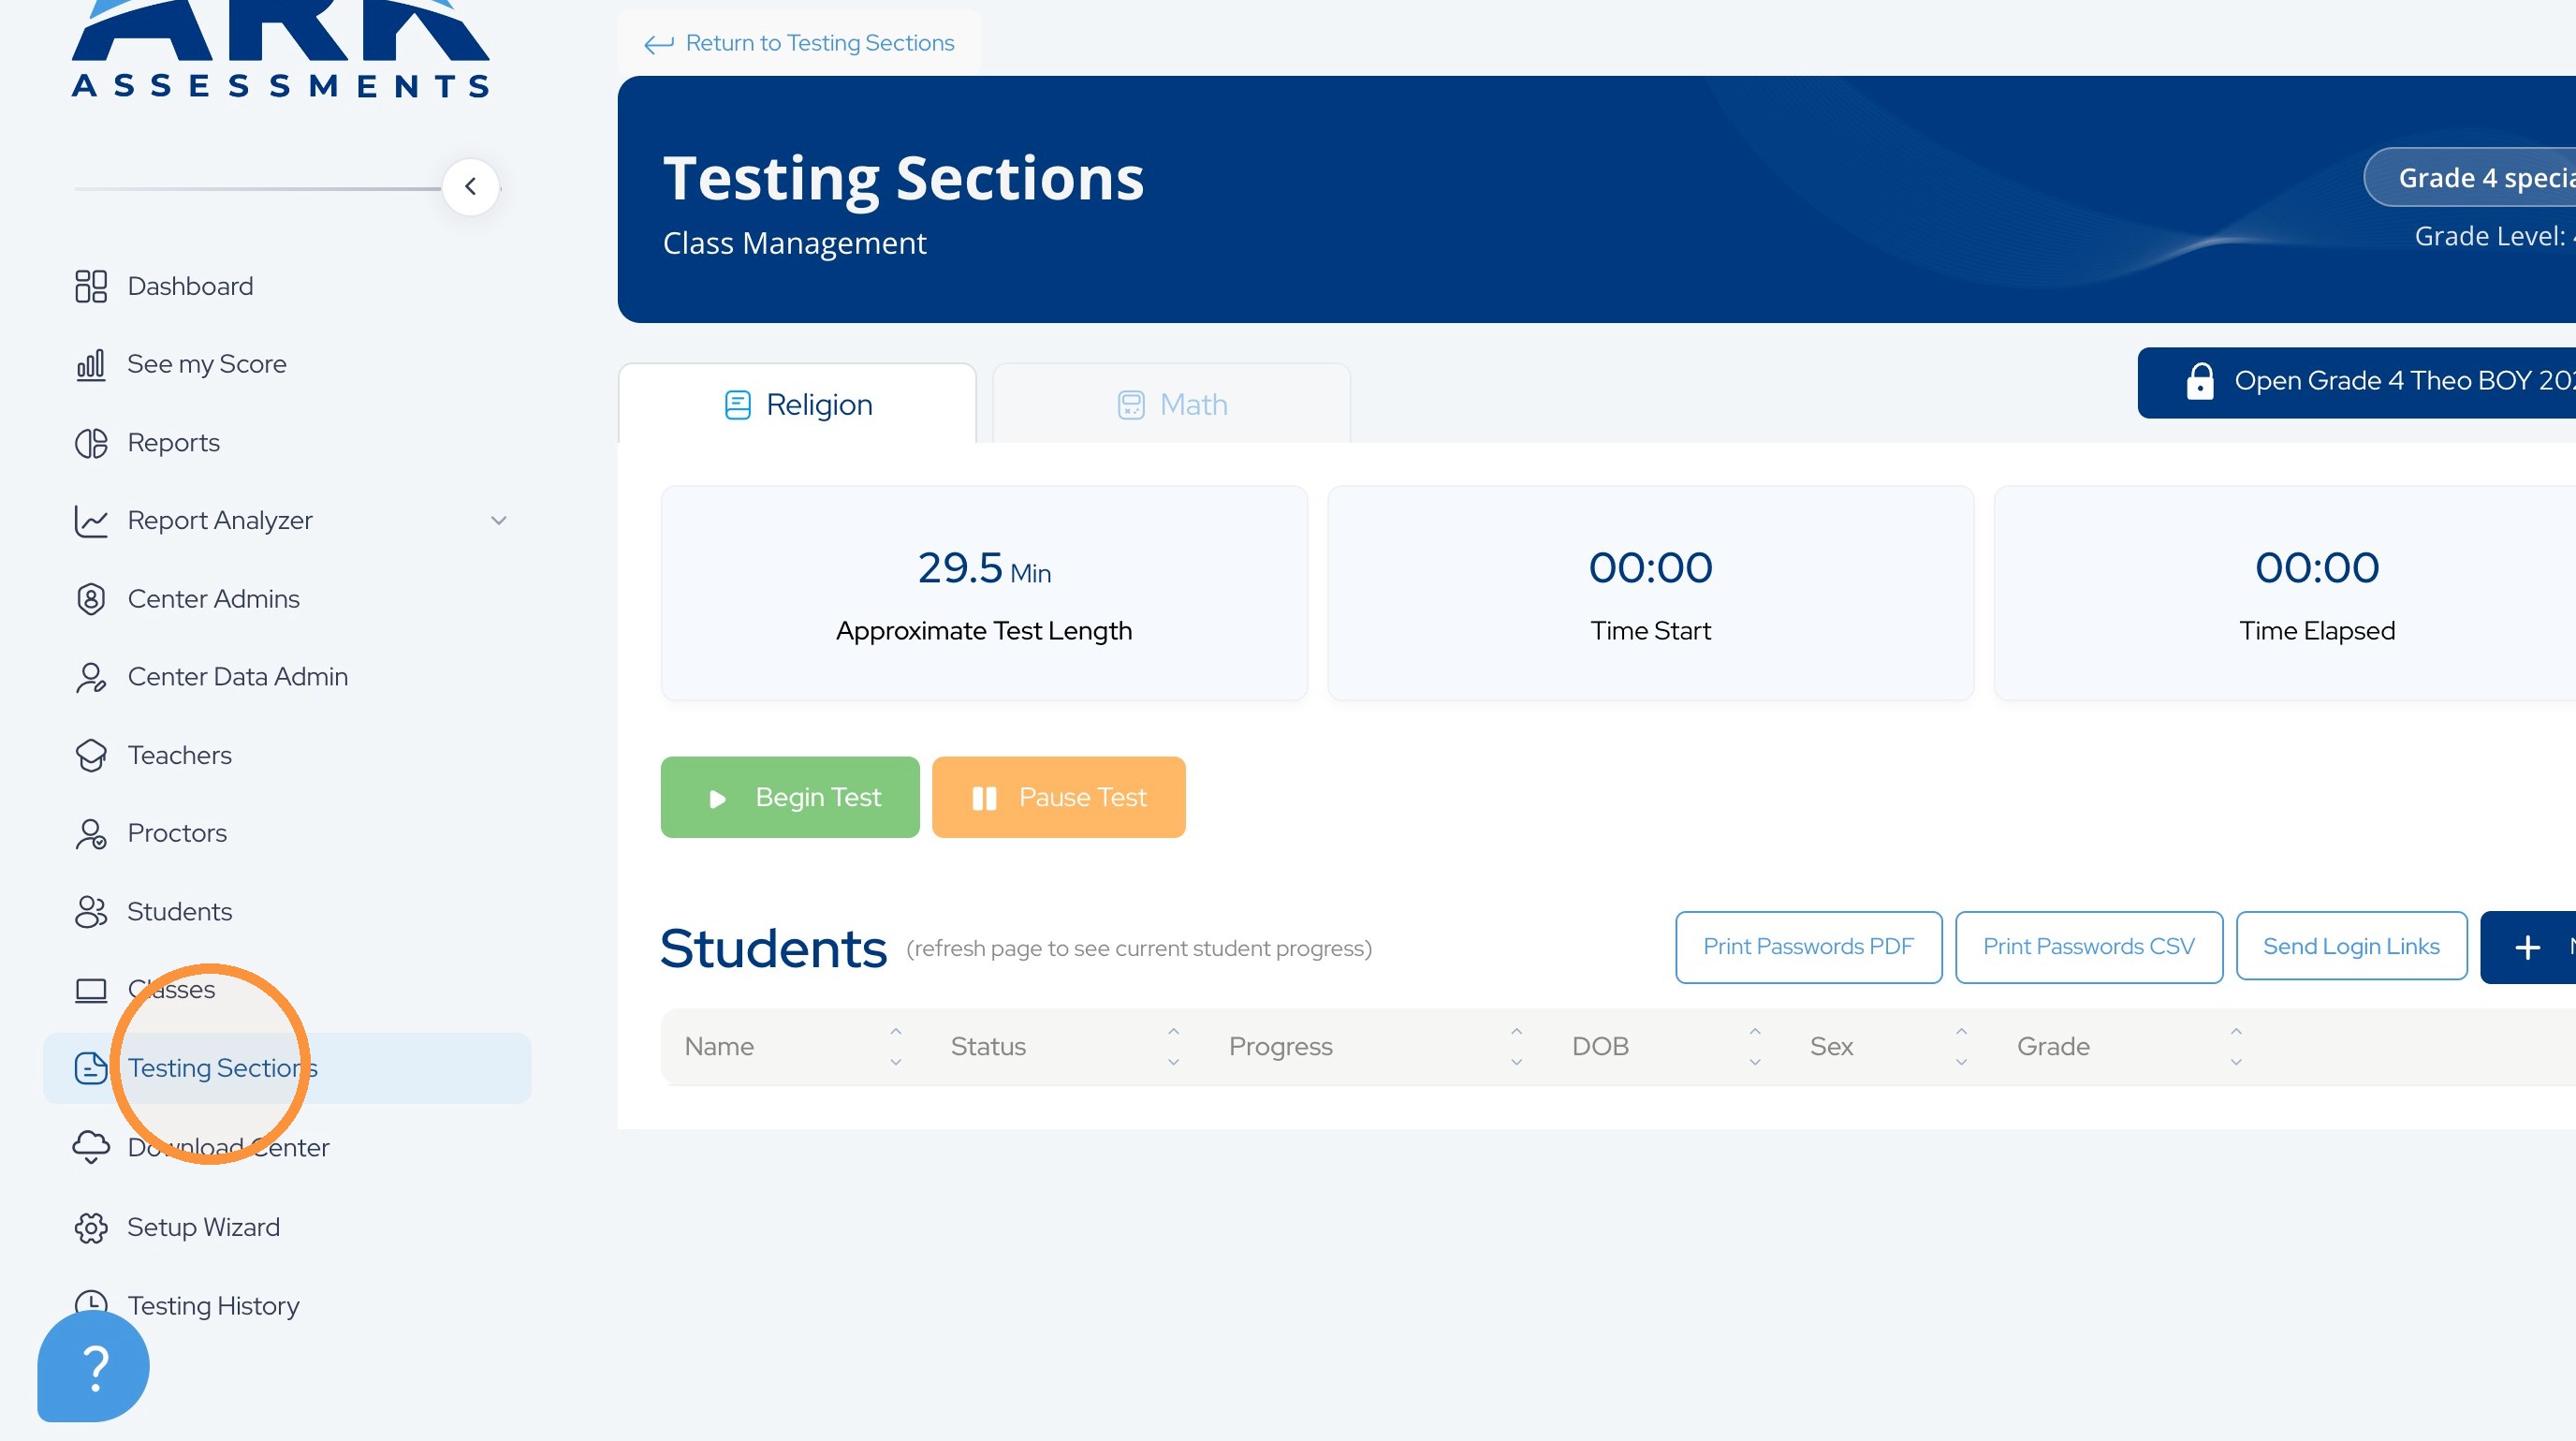
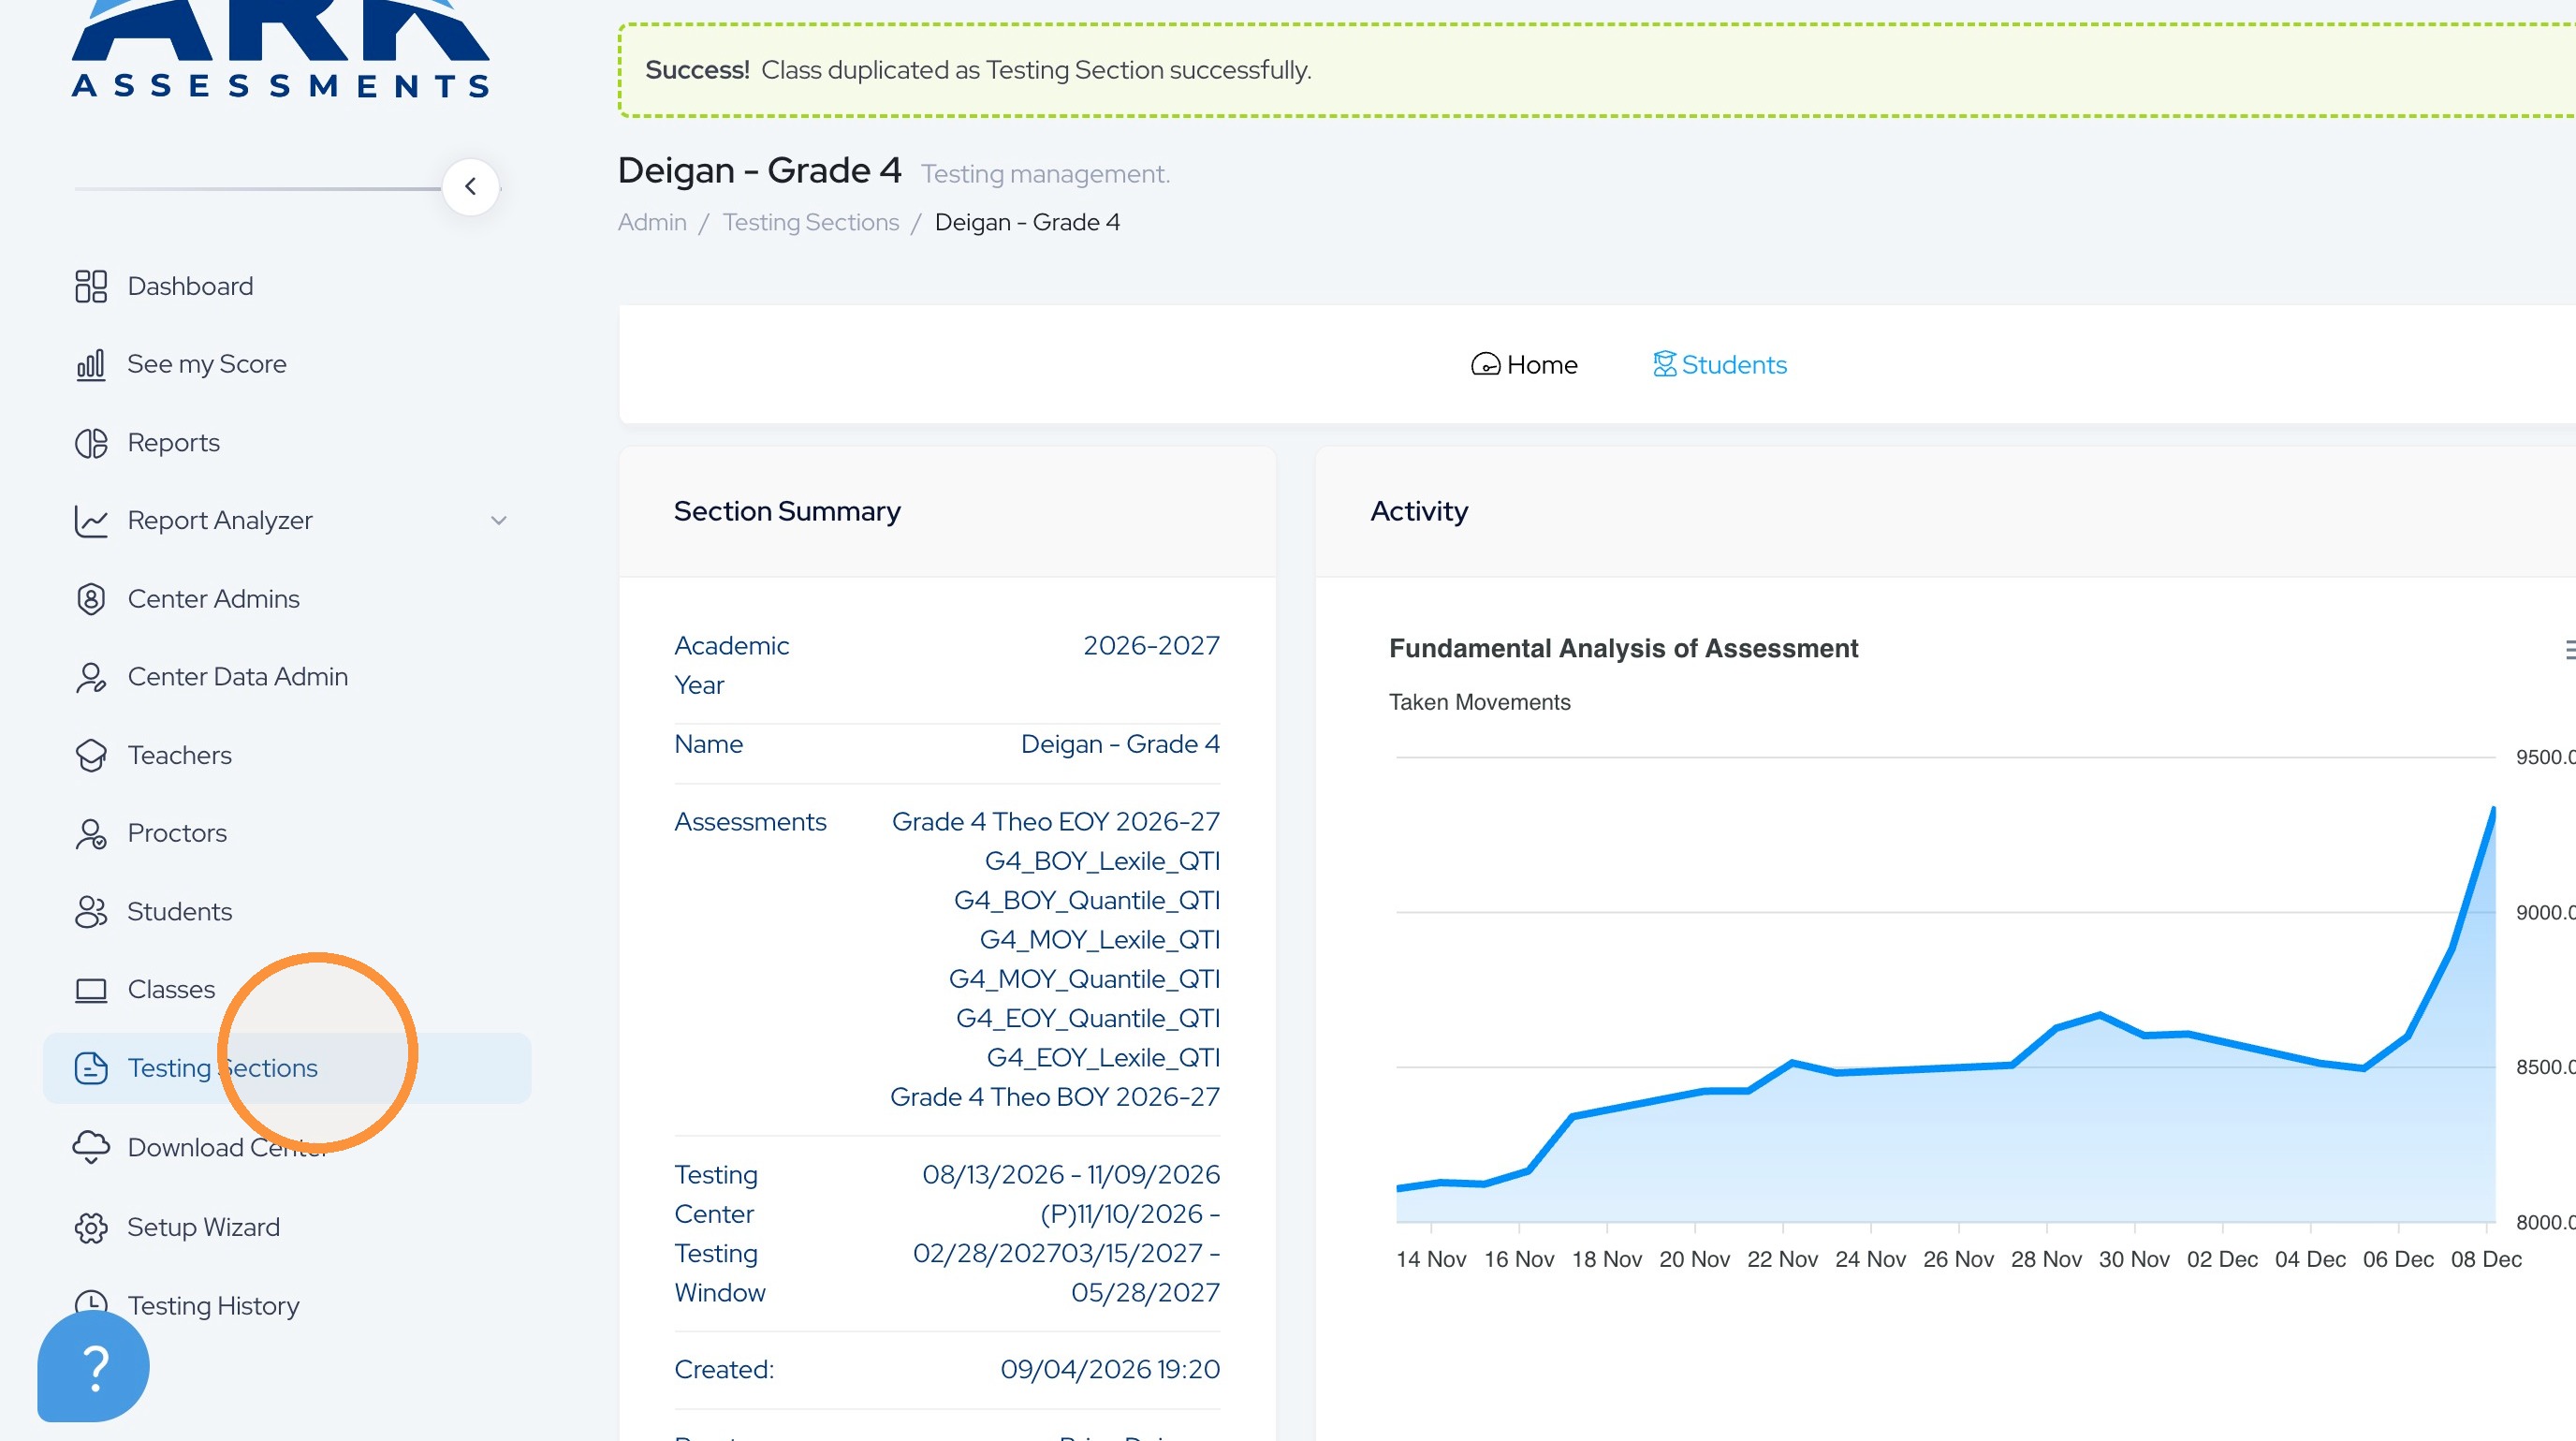
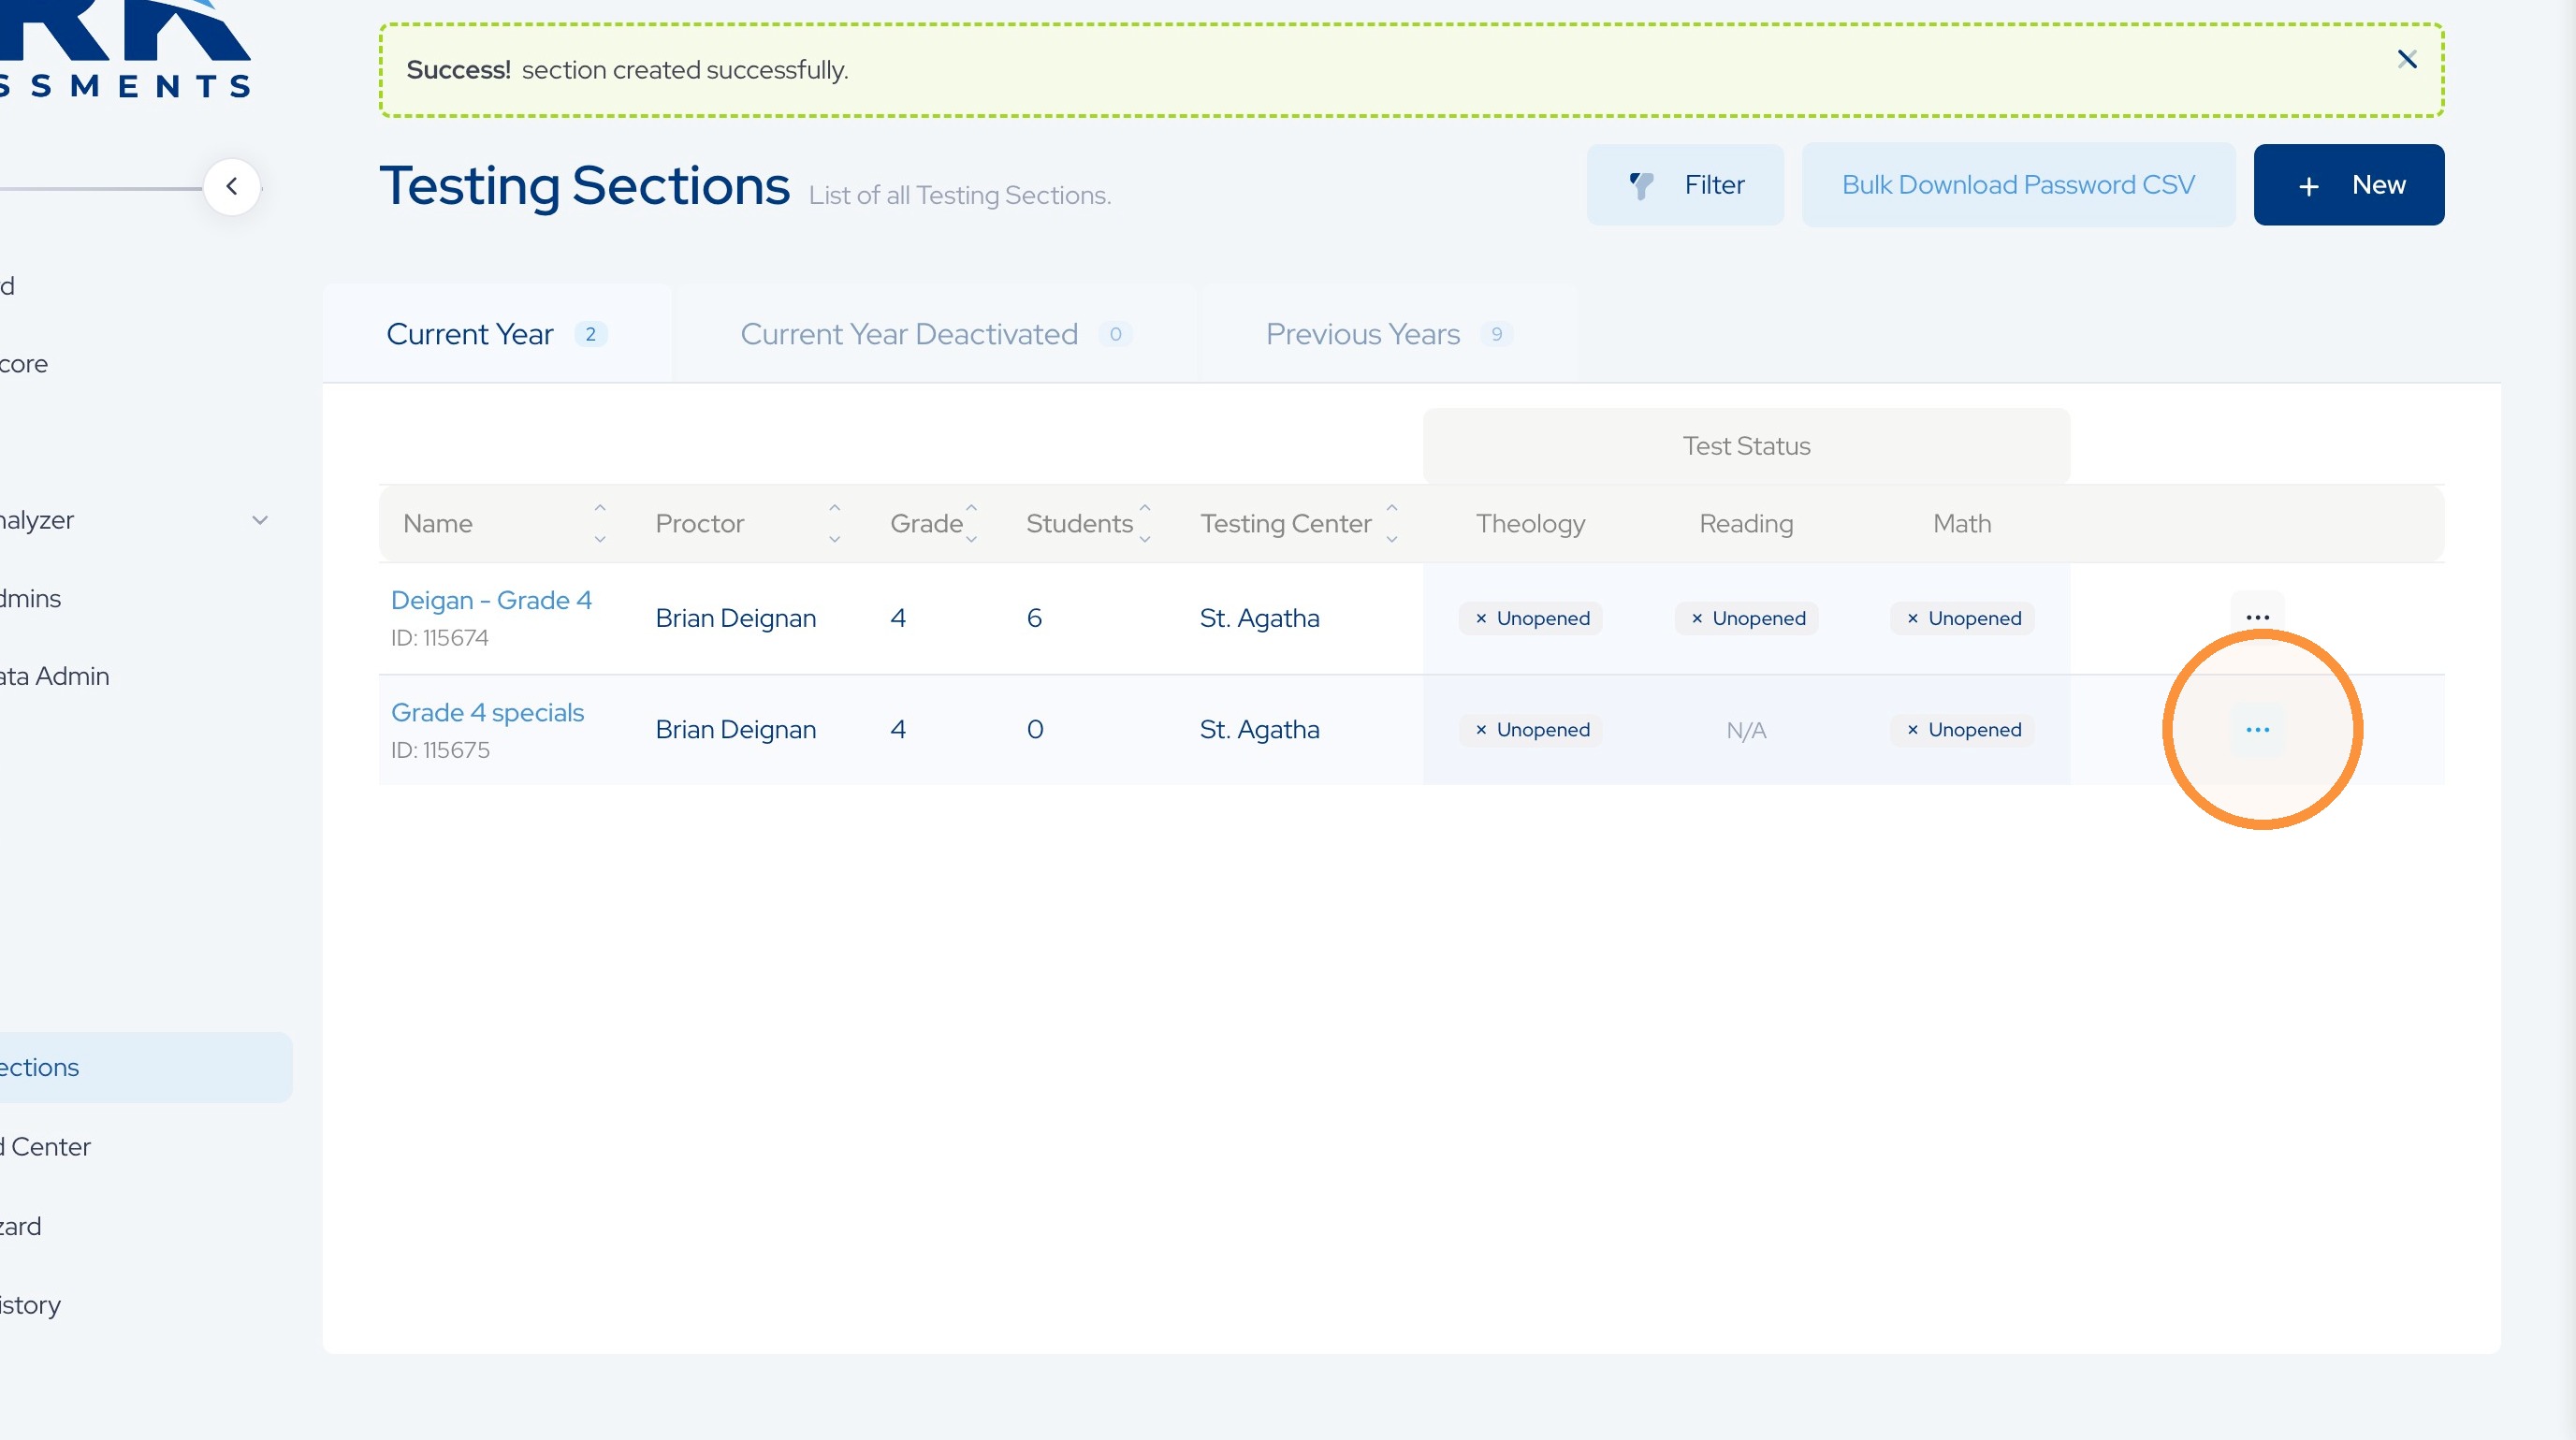
23. You're brought to the View Screen of the New Testing section. So you can see the assessments that are assigned. To view the dashboard, click on Testing Sections in the left sidebar menu.
24.
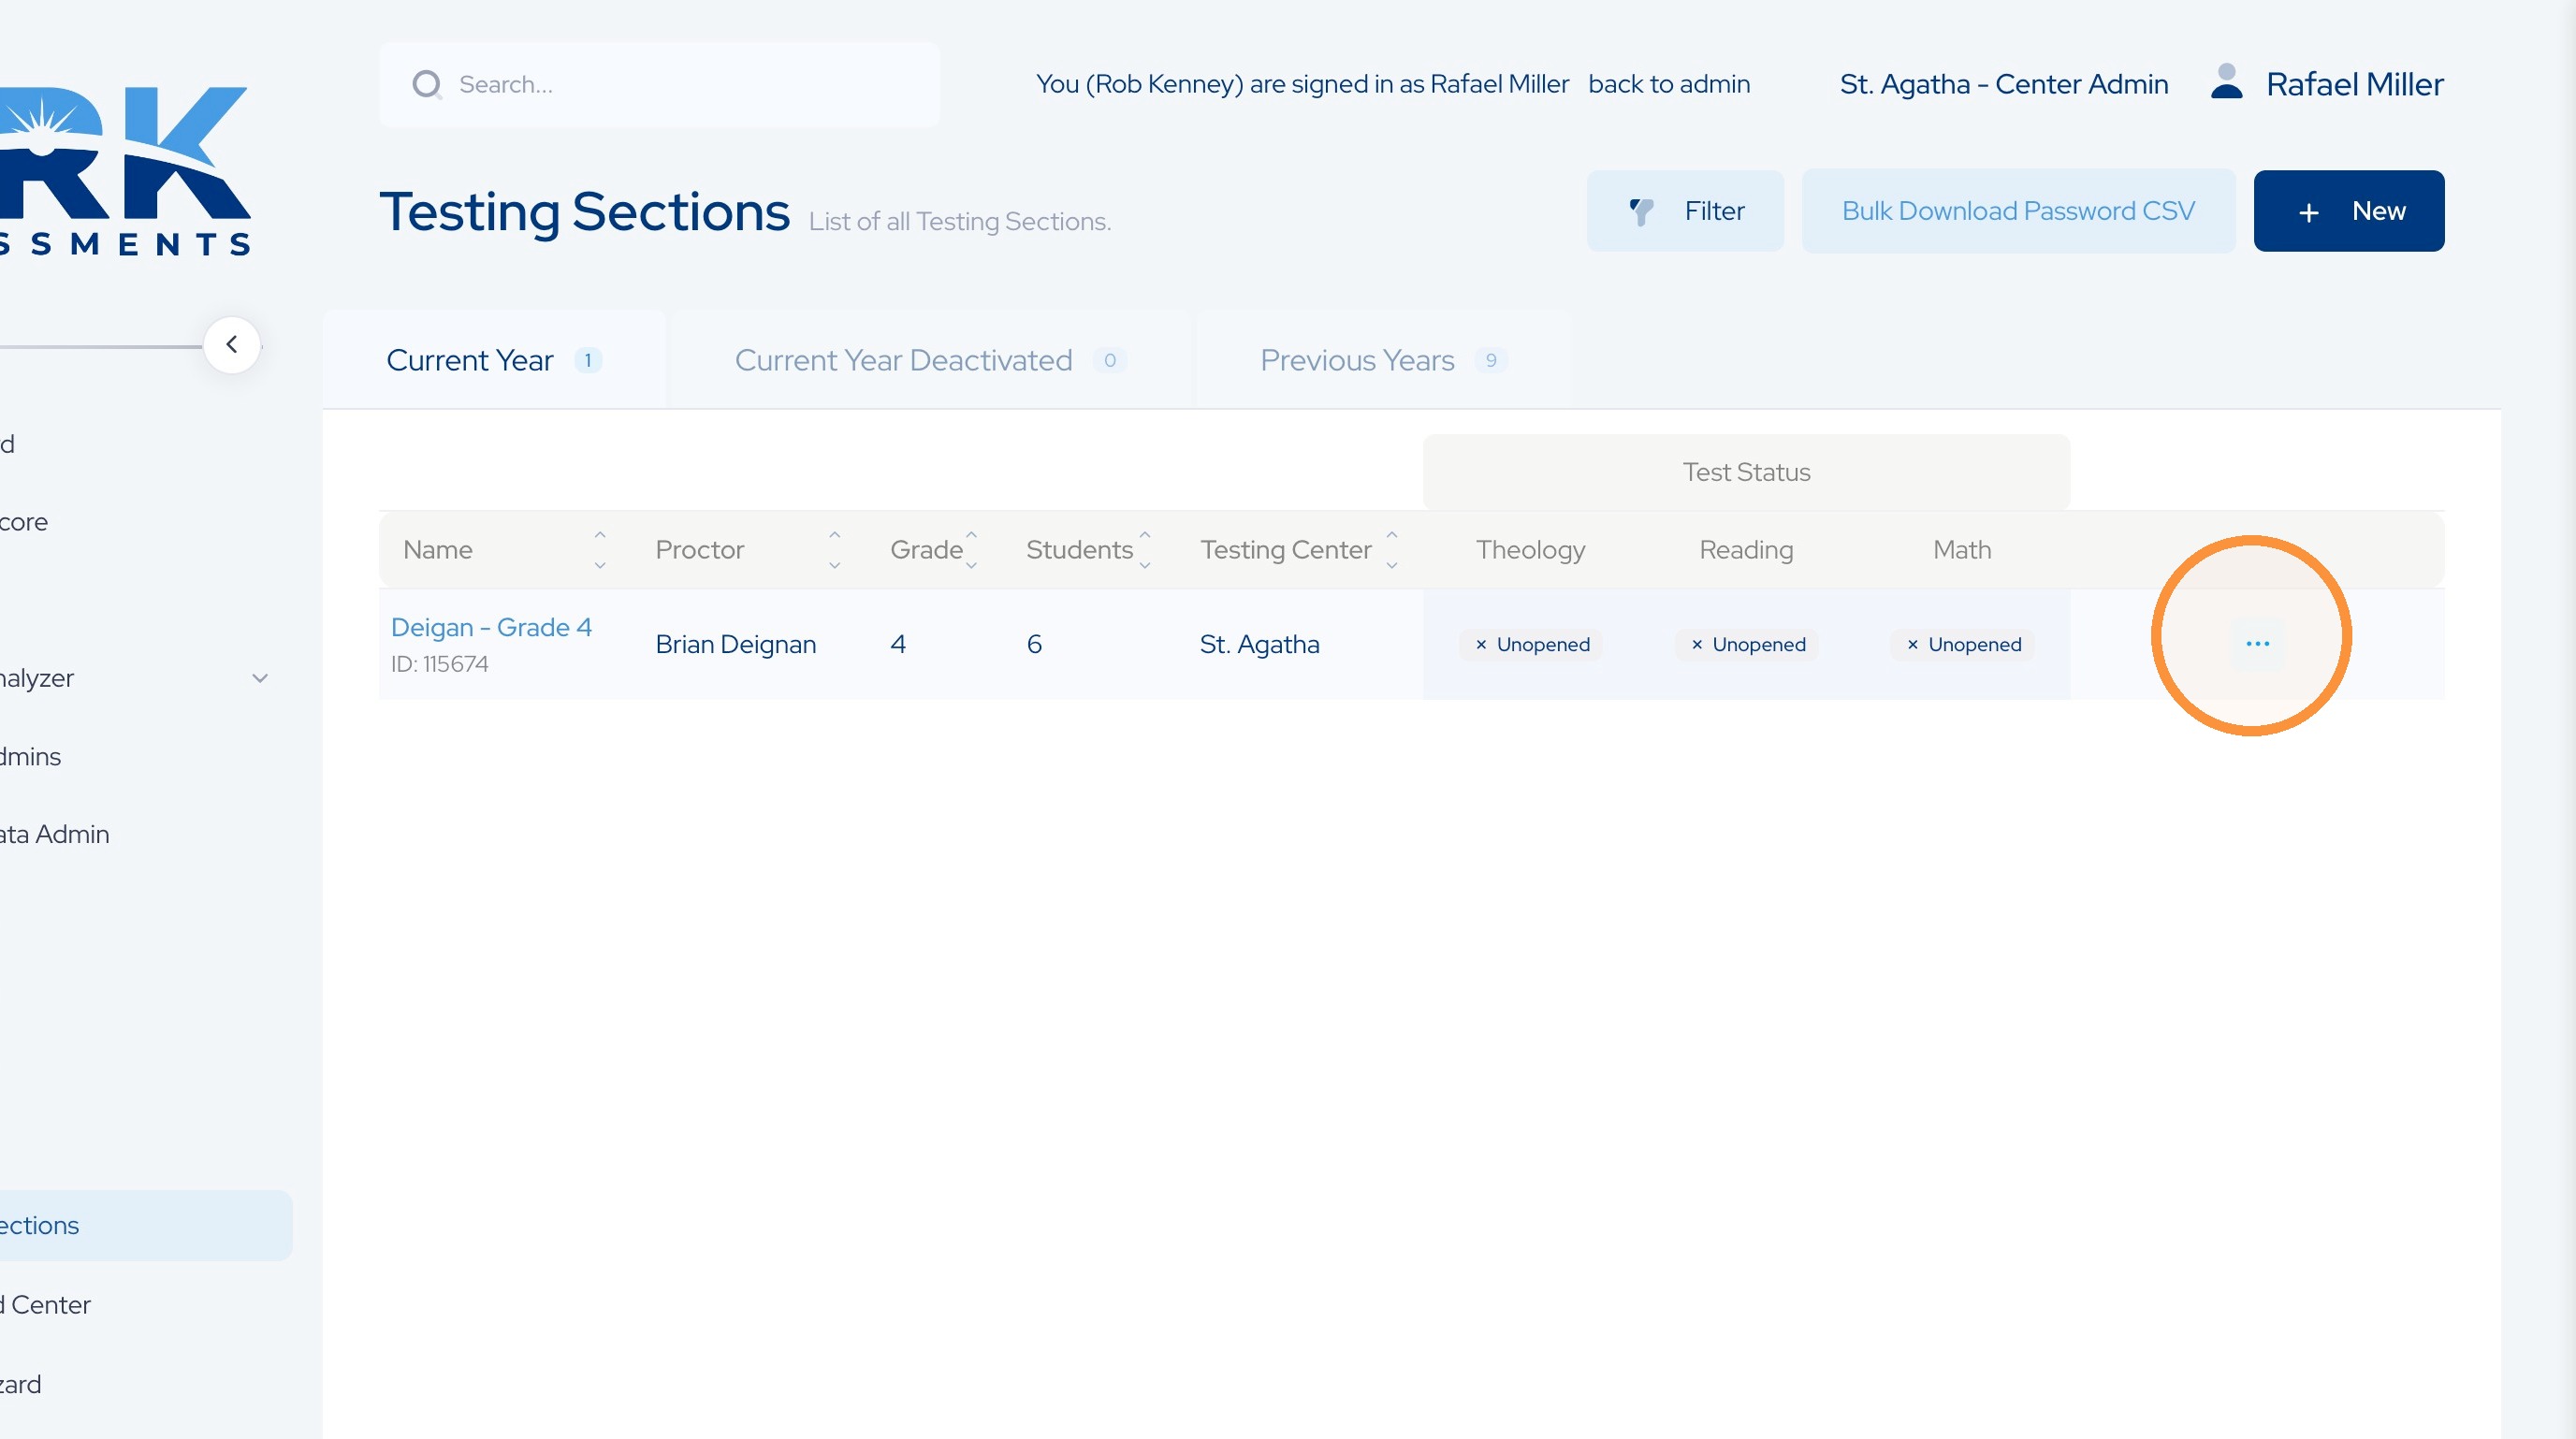
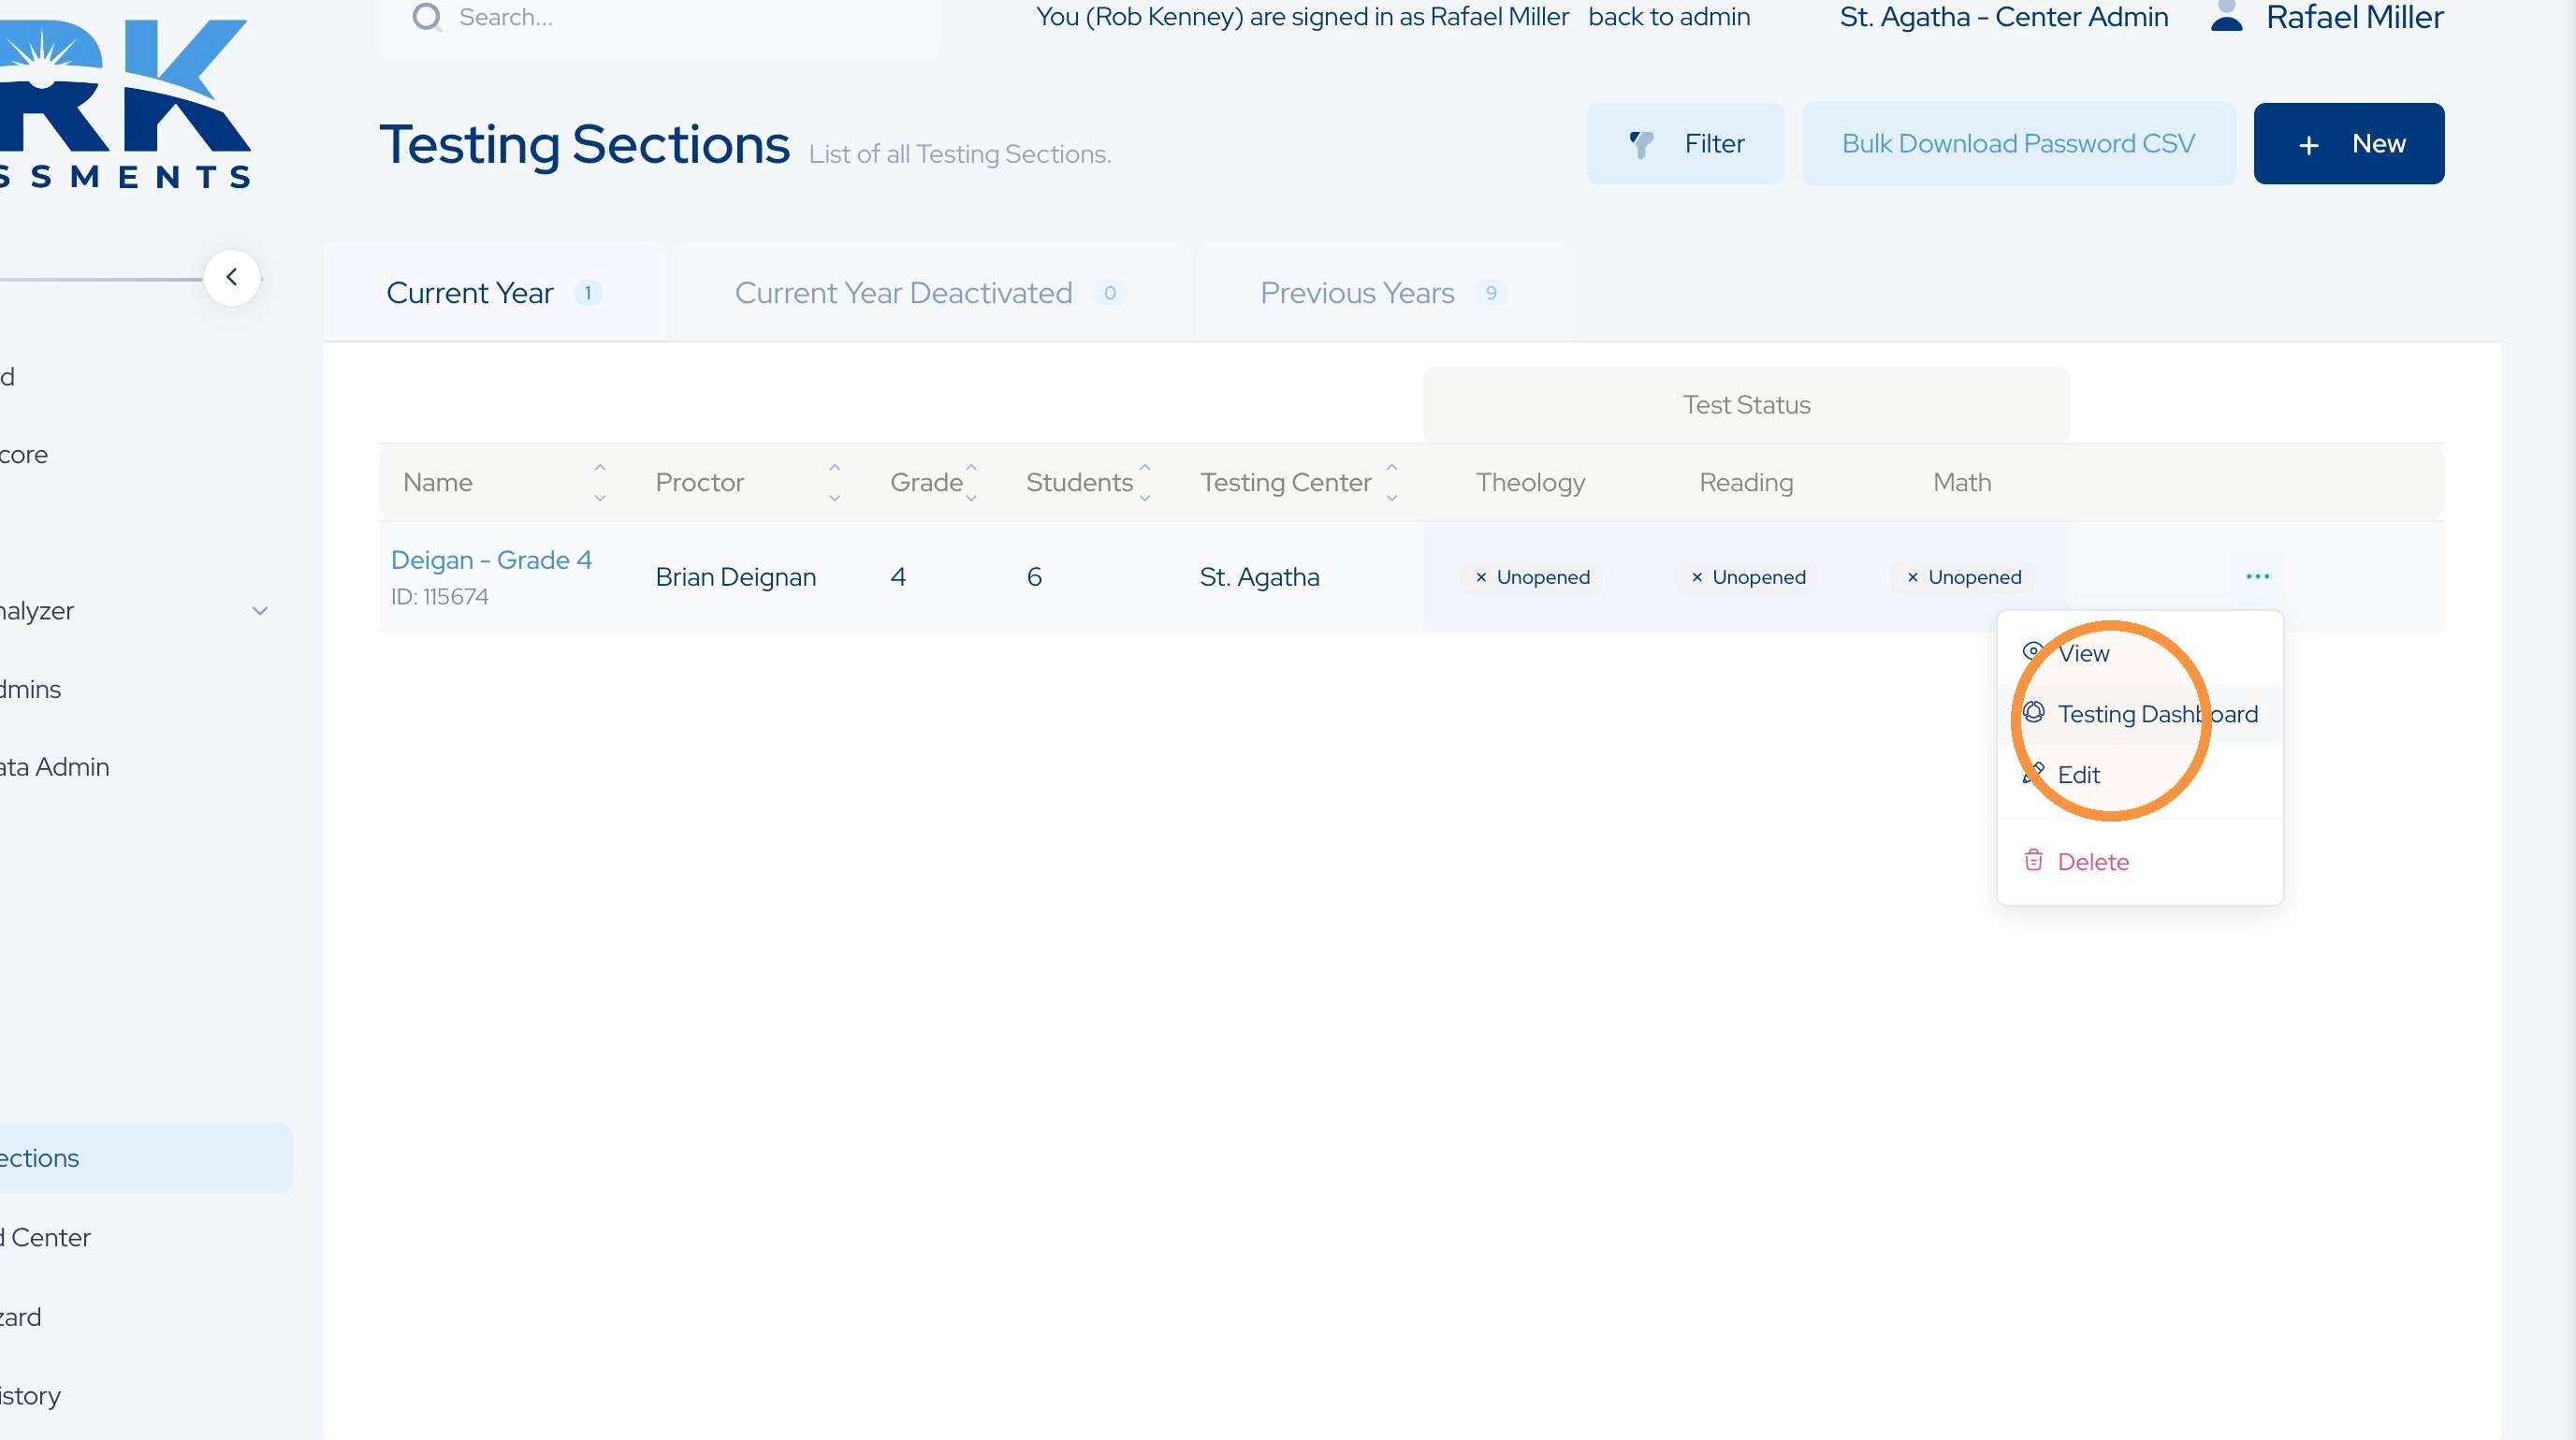
25. and click on Testing Dashboard to view it.
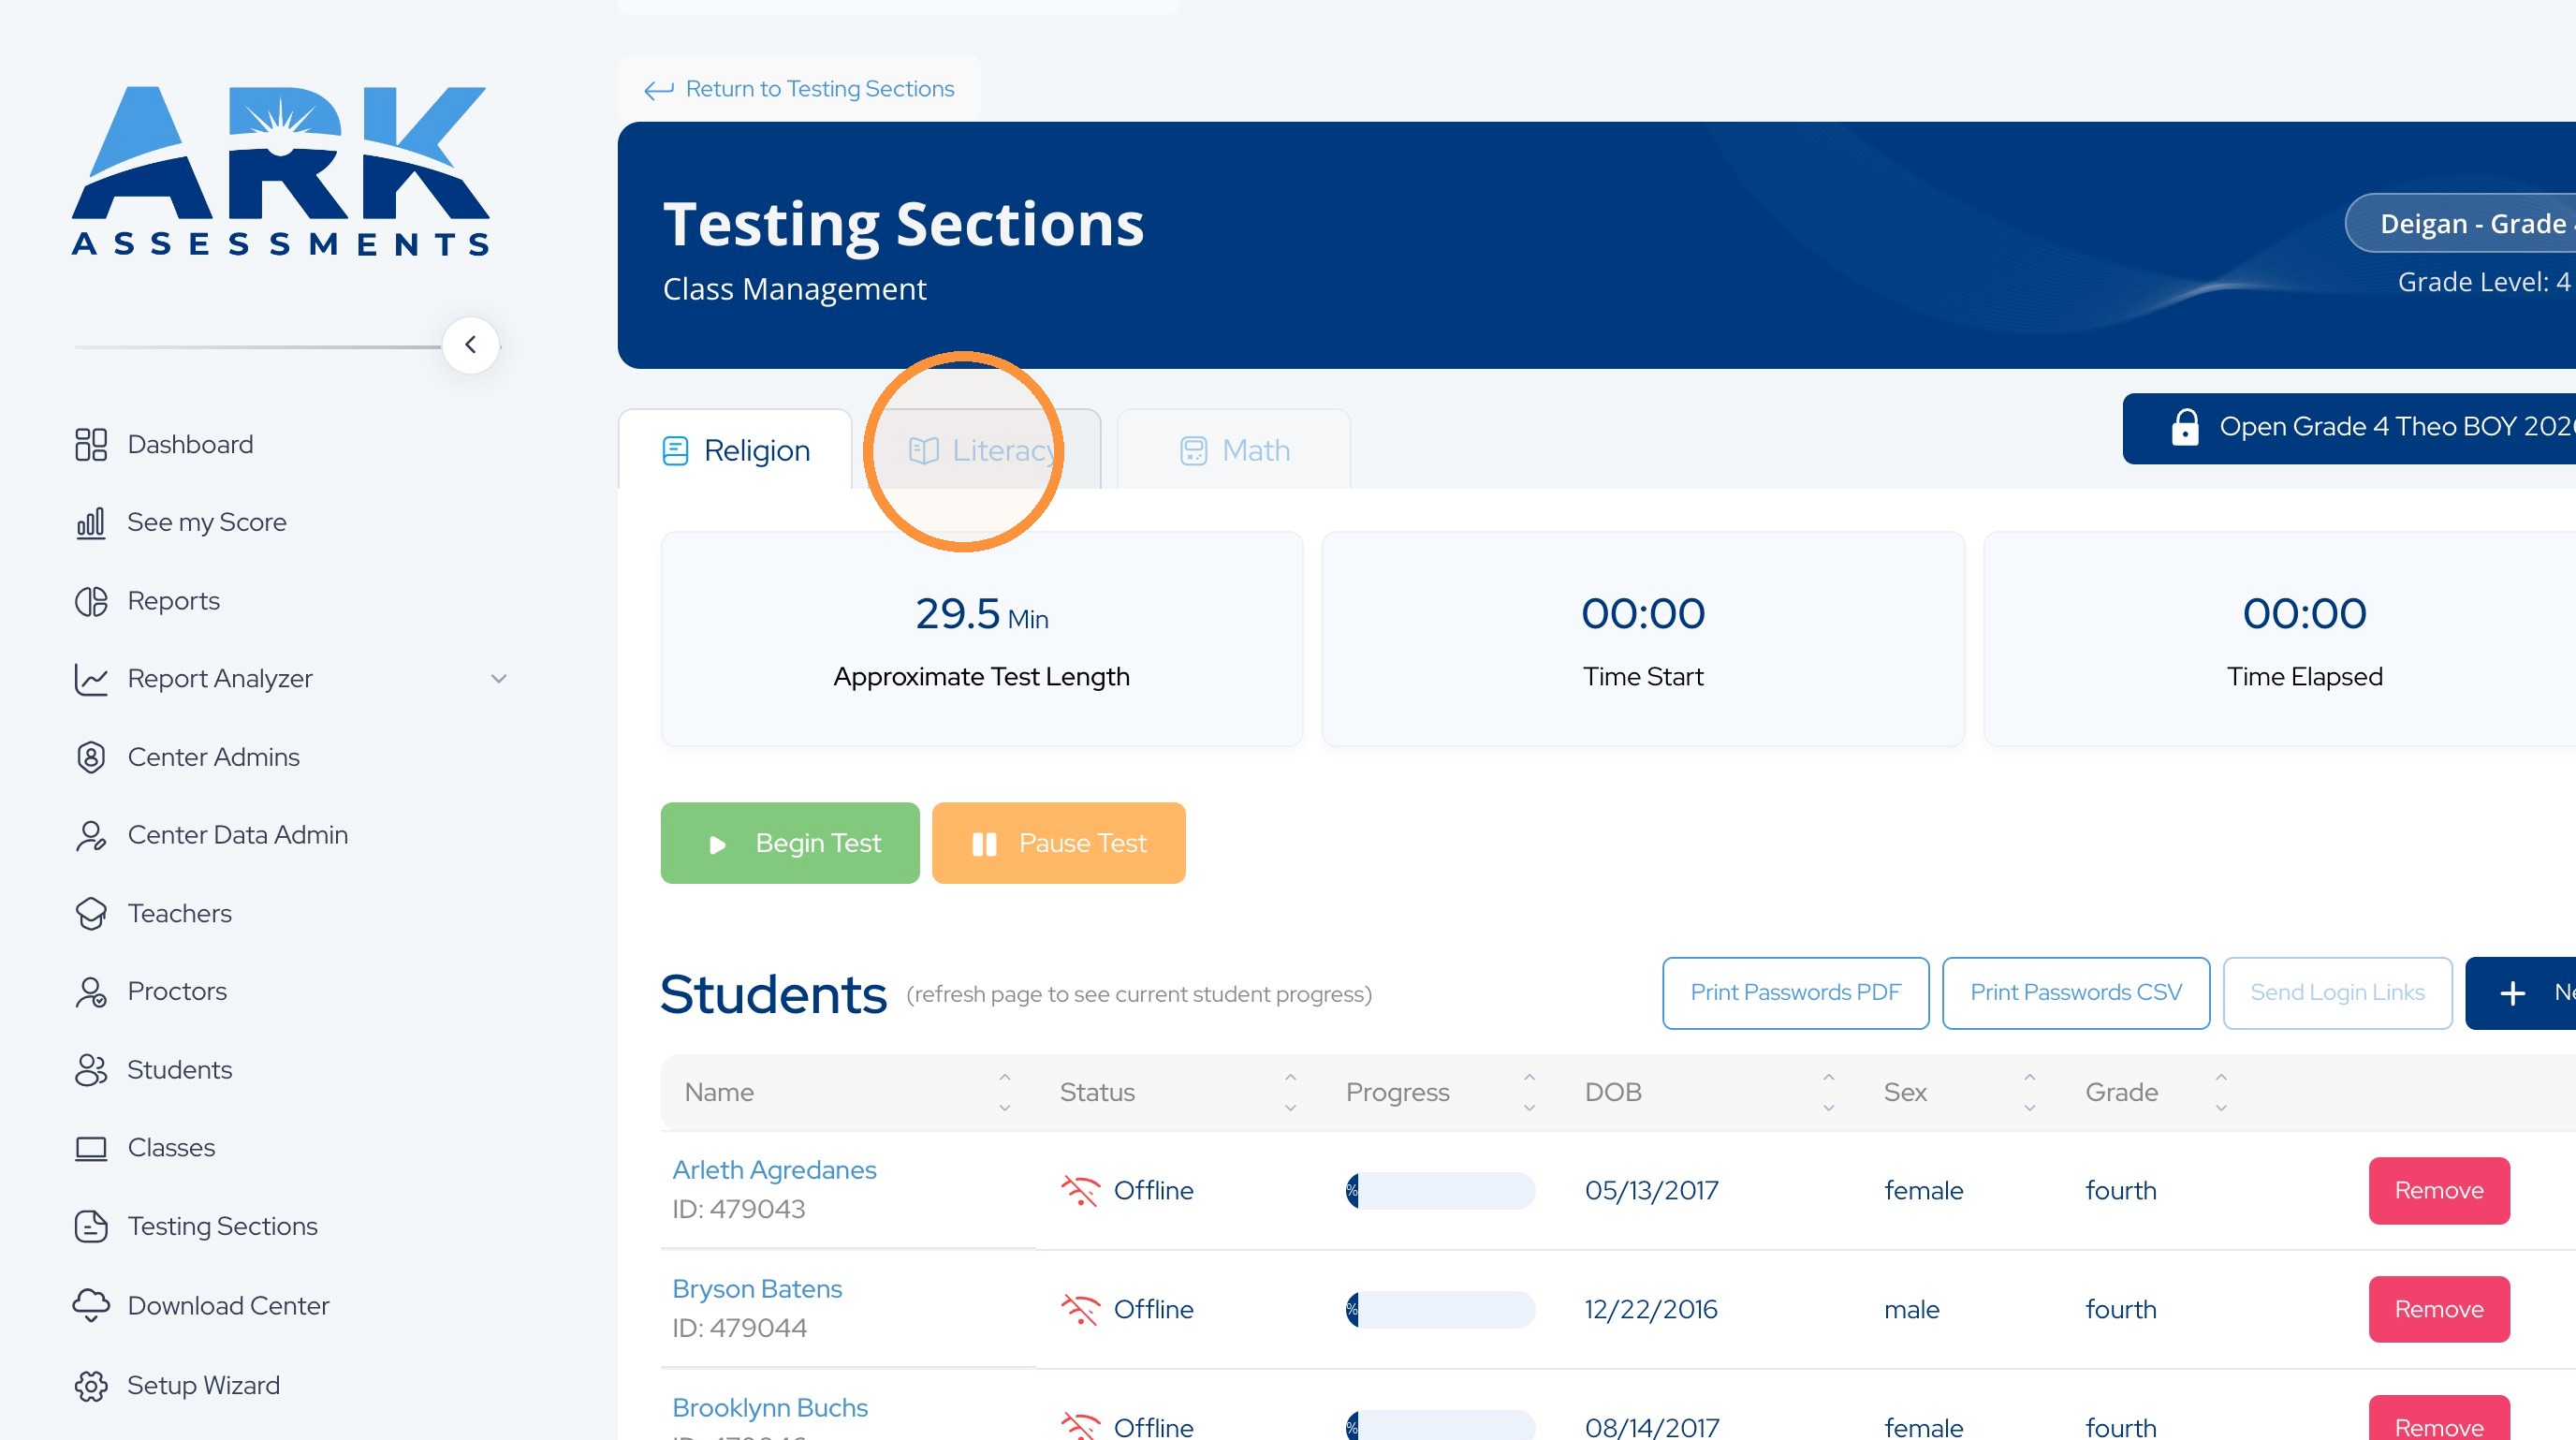
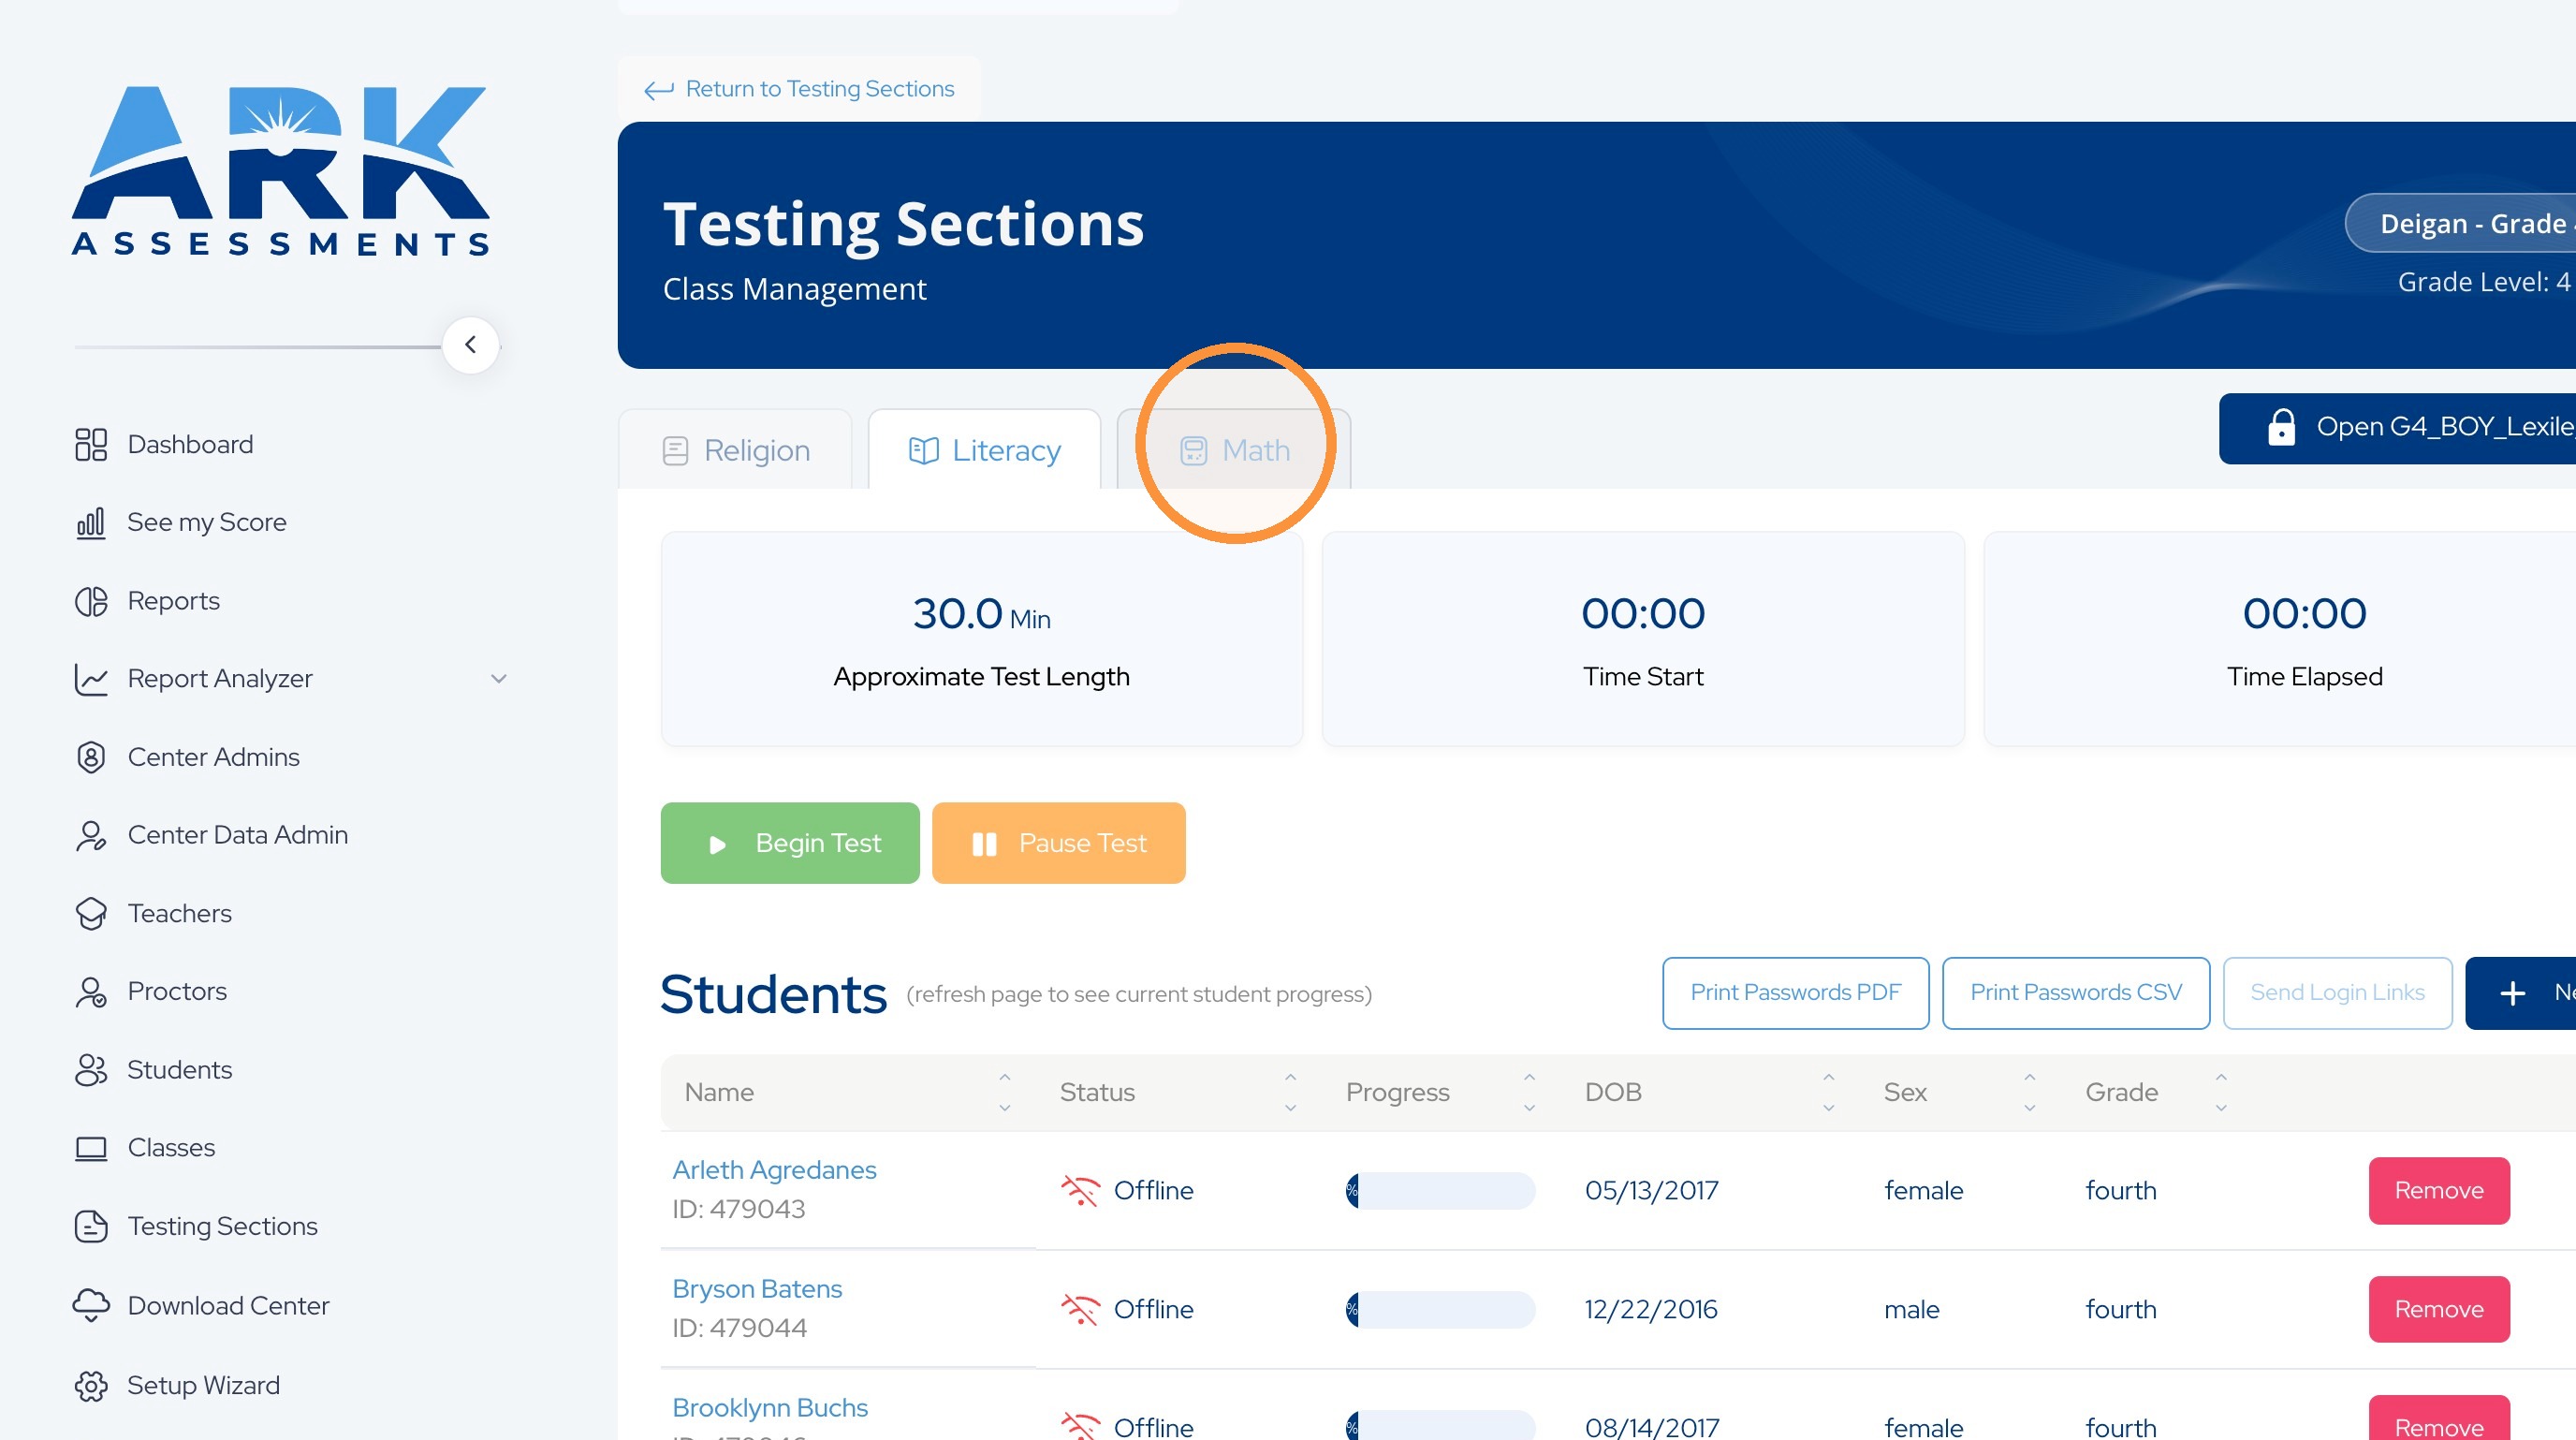
26. If all assessments are assigned correctly, you will see, by default, the current window and the assessments allowing you to navigate between subject-area assessments.
27.
28. To create a new or special testing section, start by navigating to the Testing Sections list on the left sidebar.
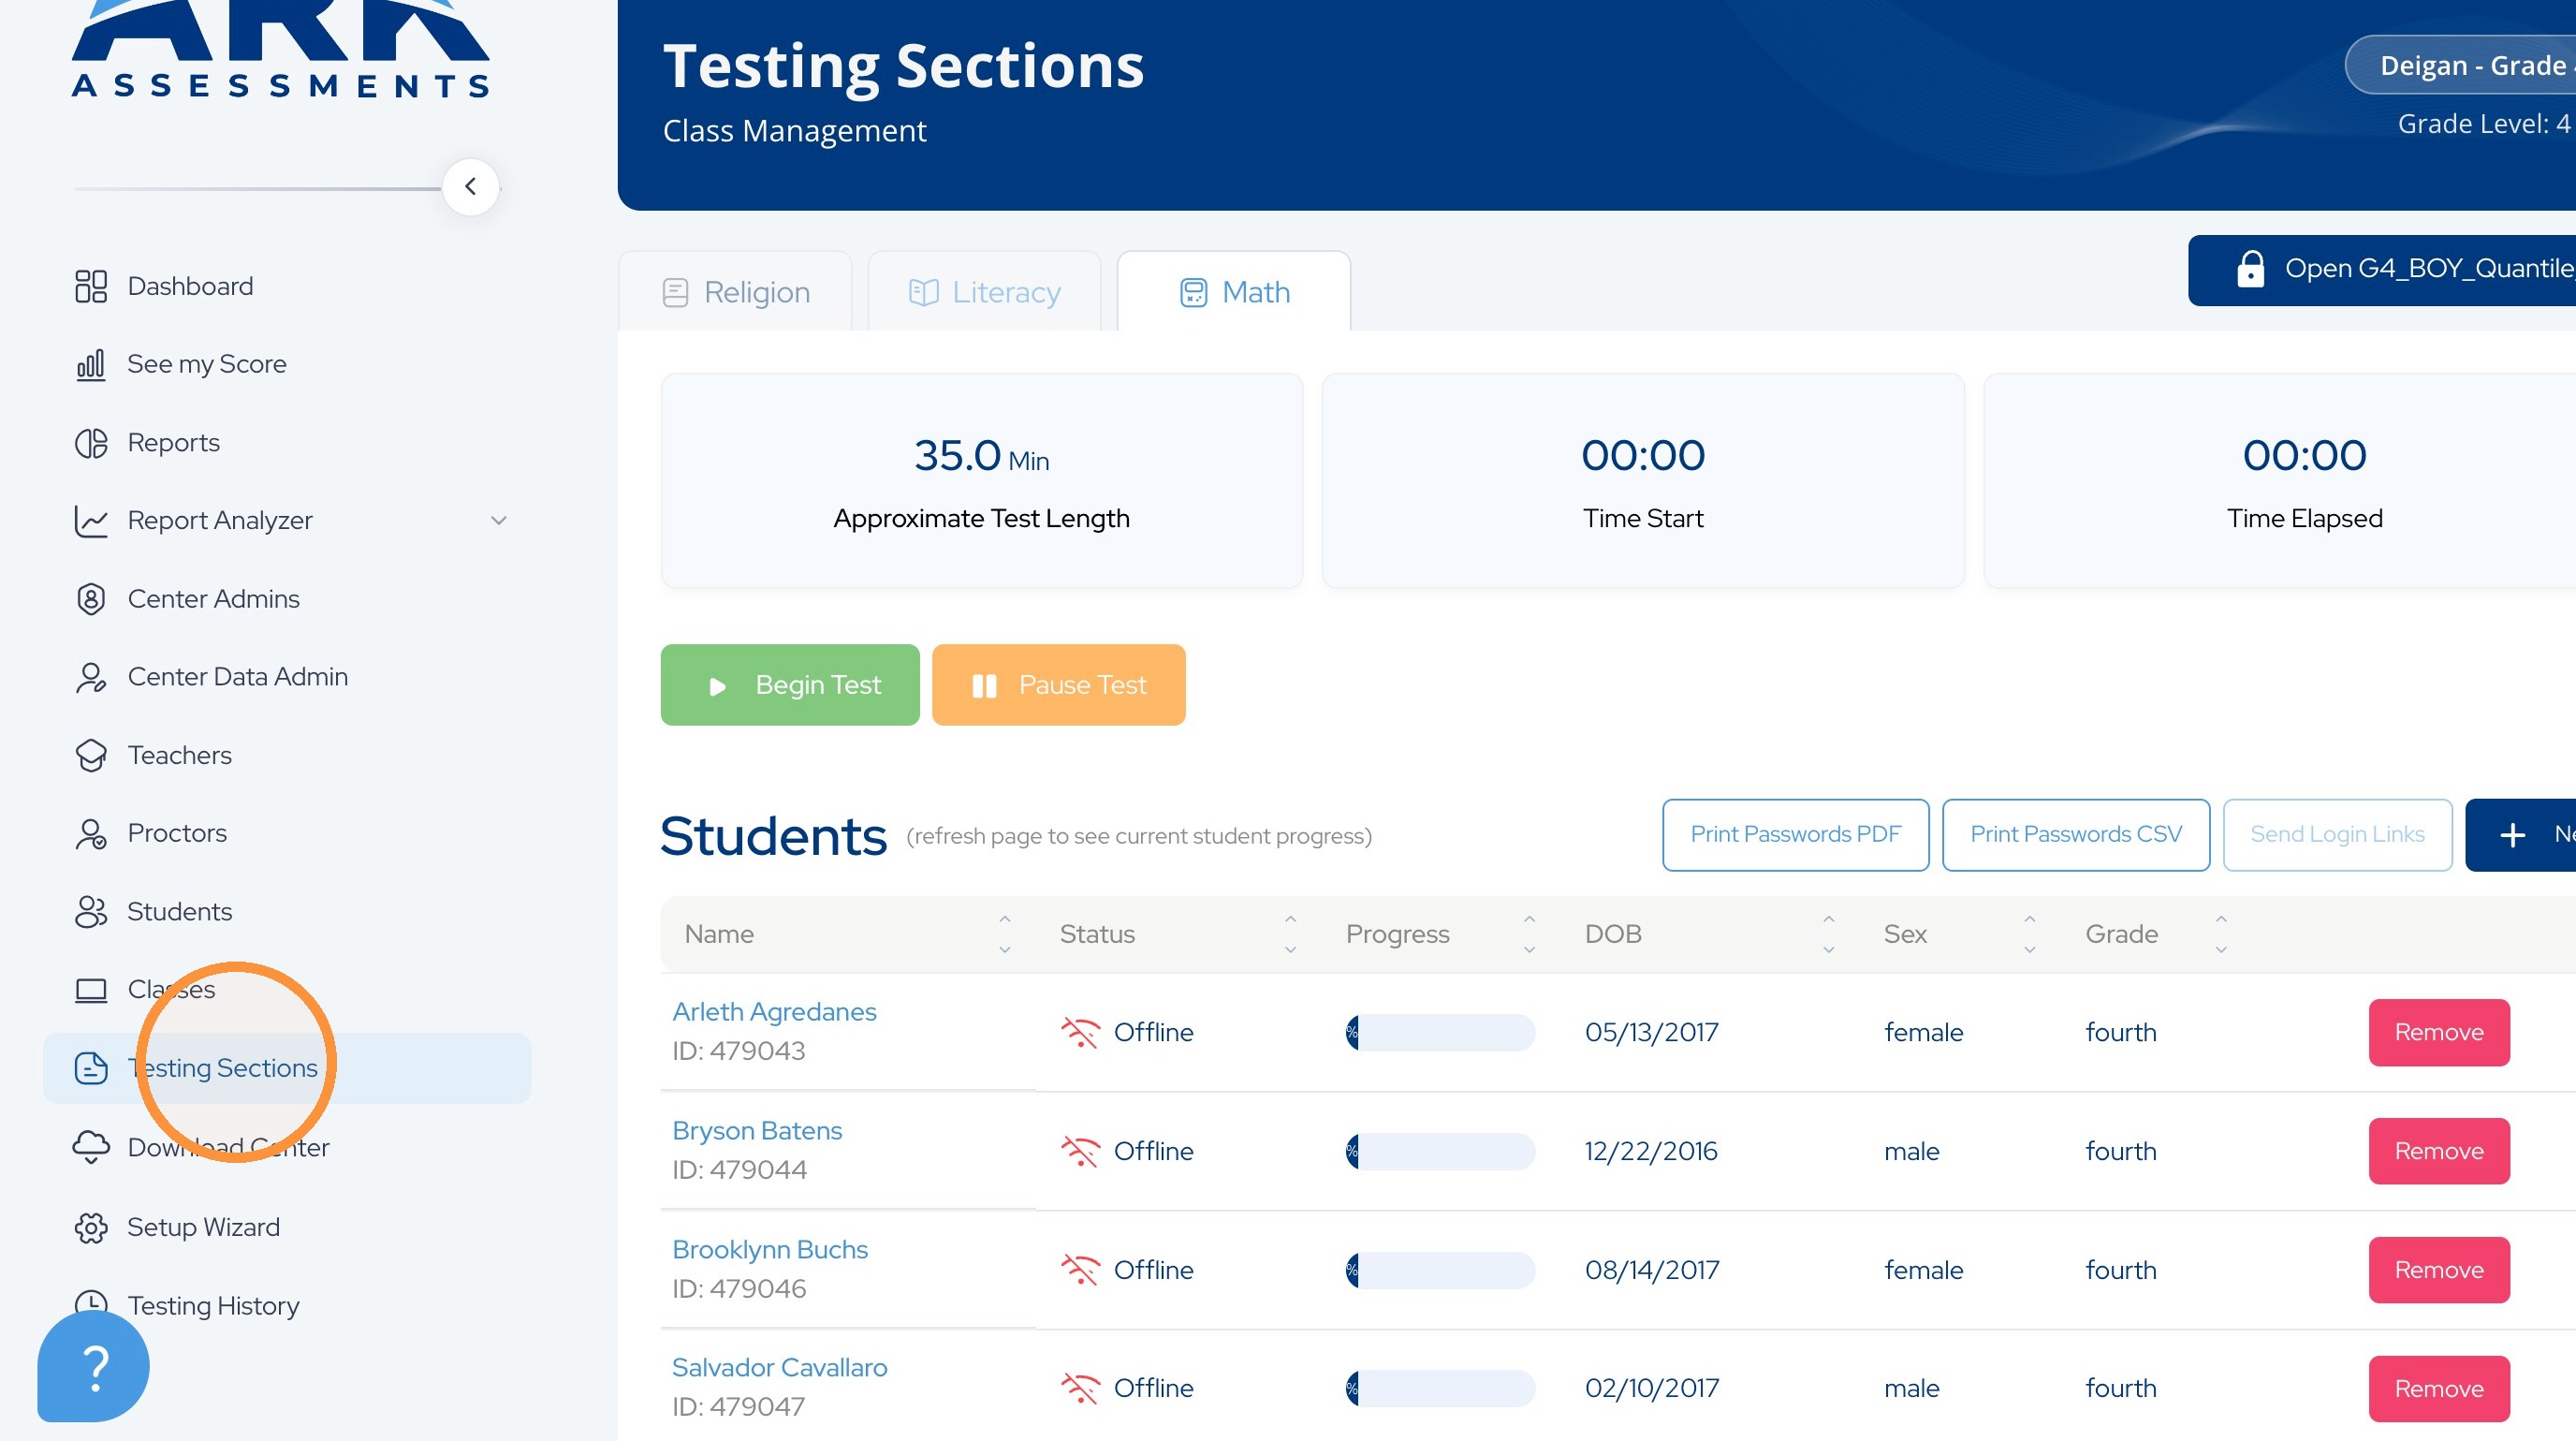
29. Press the "+ New" button. In the upper right hand corner.
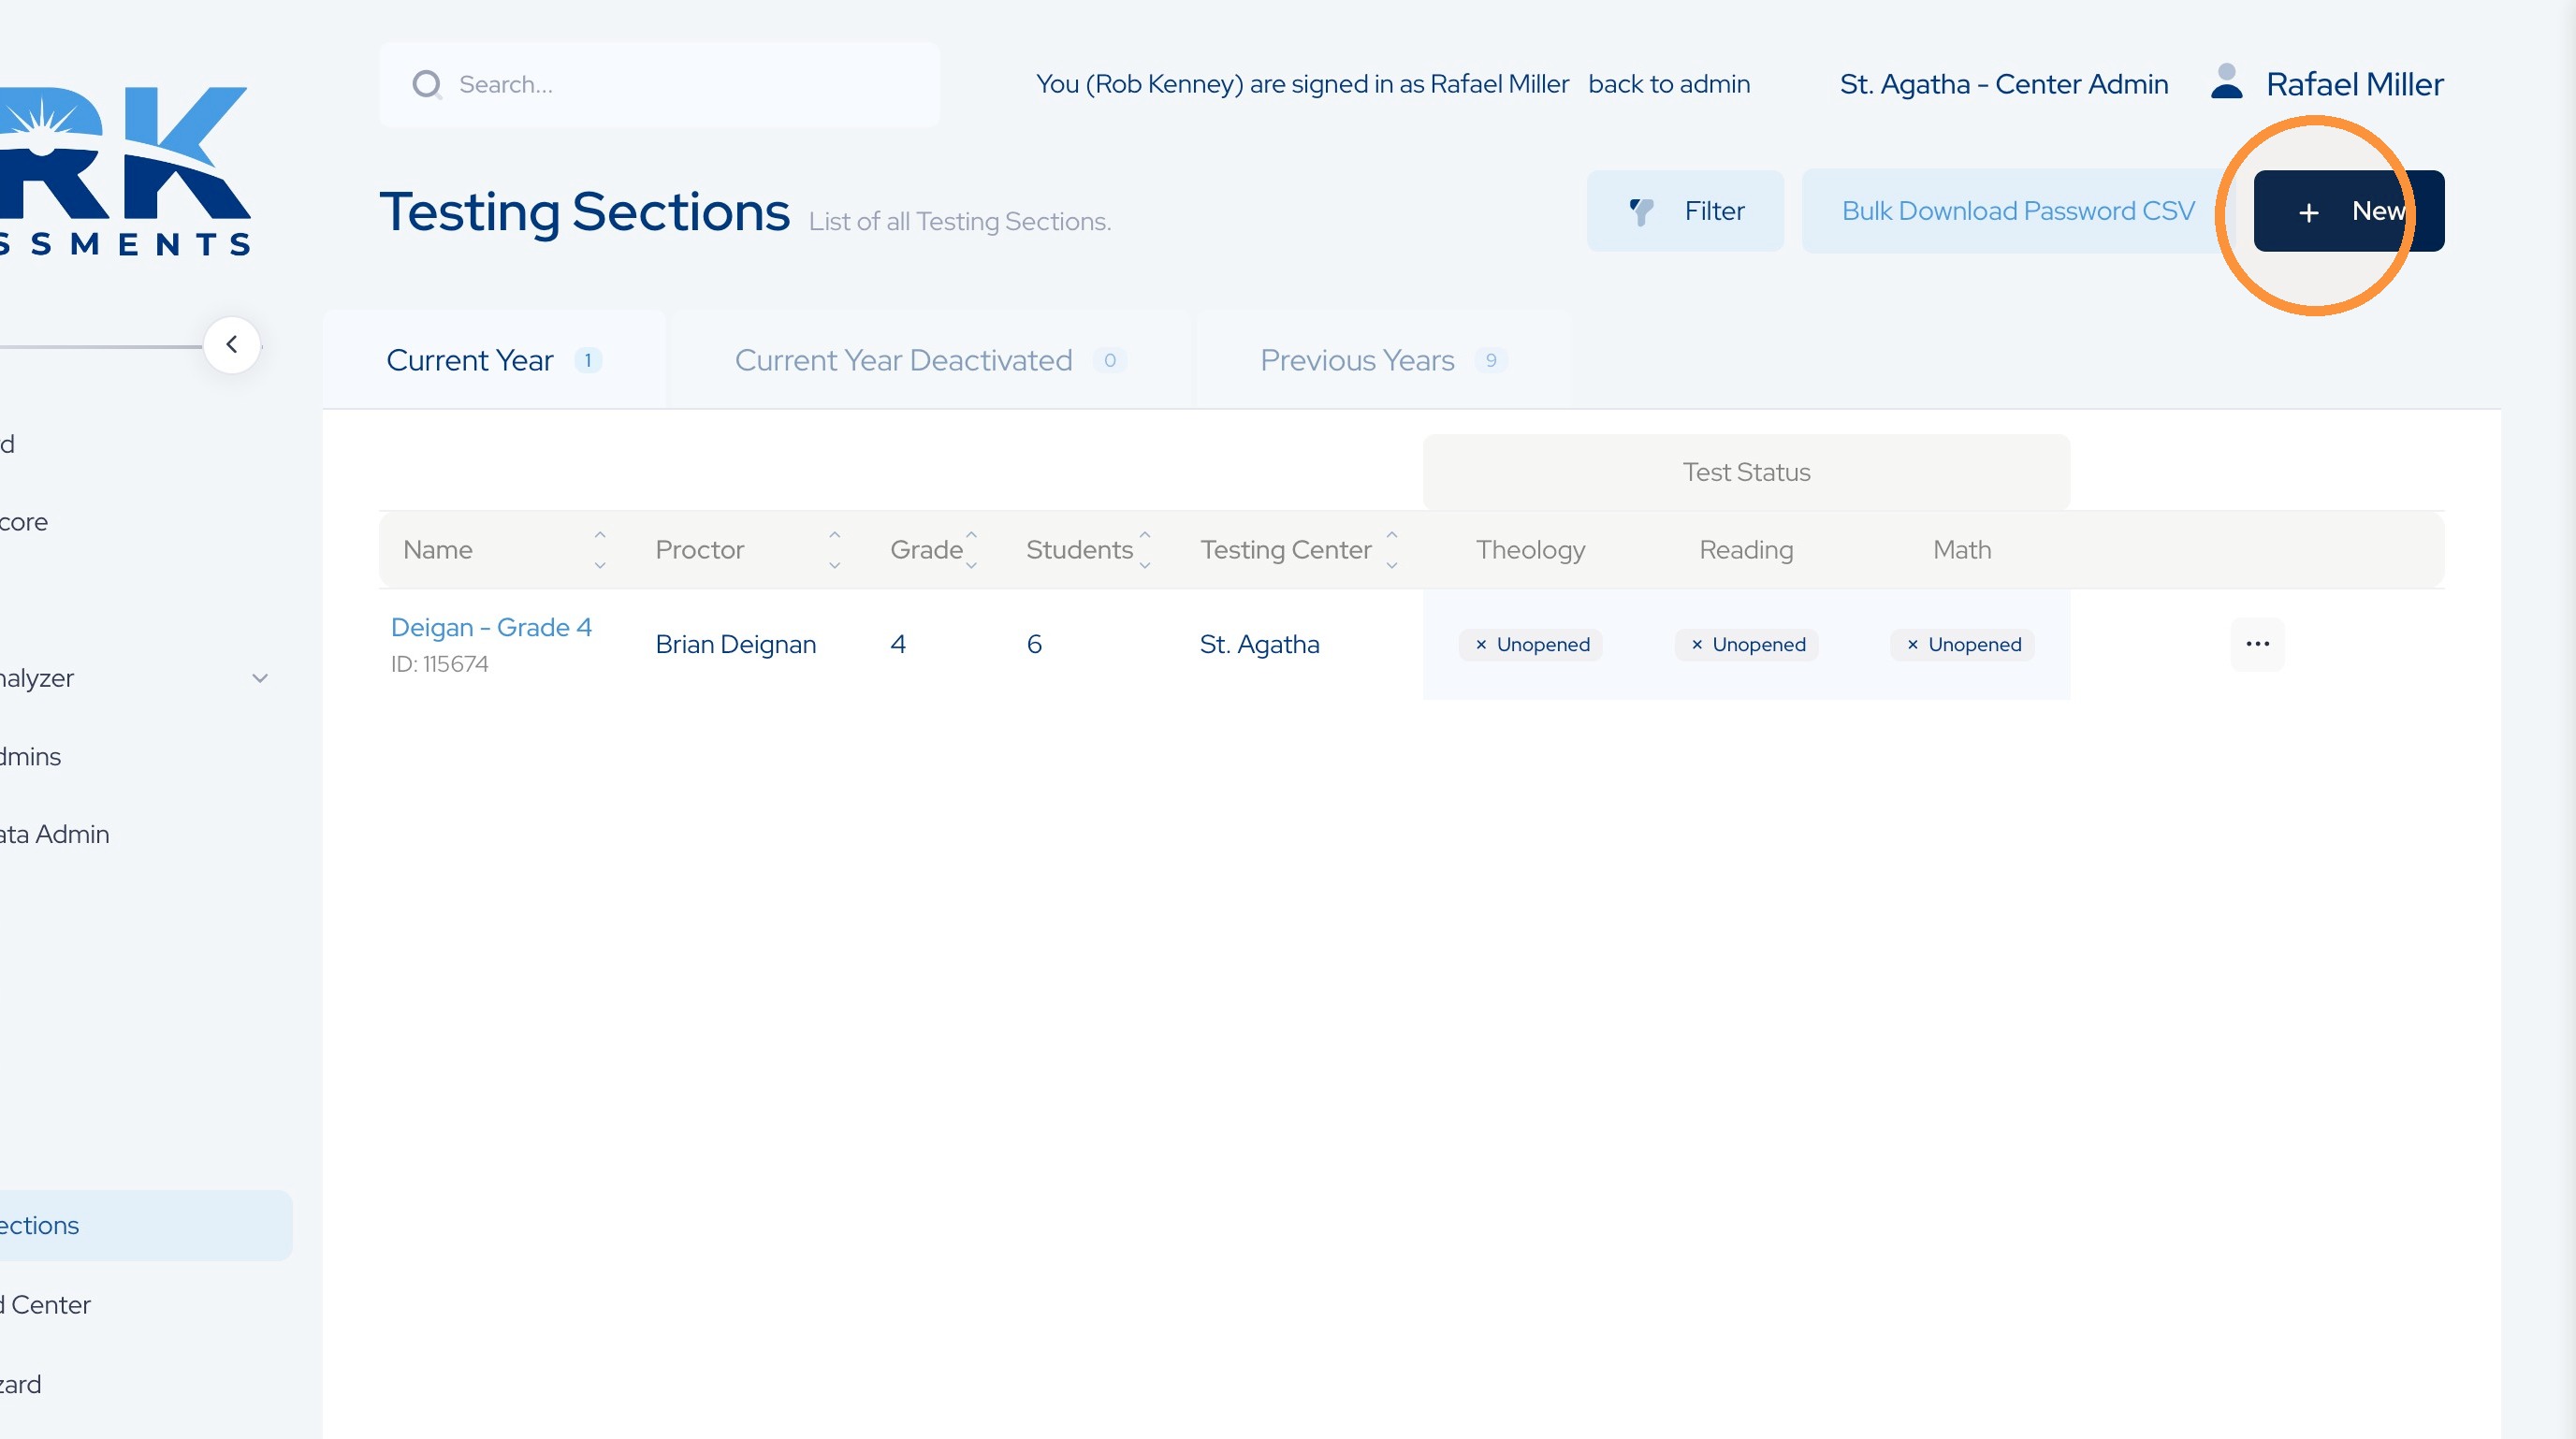
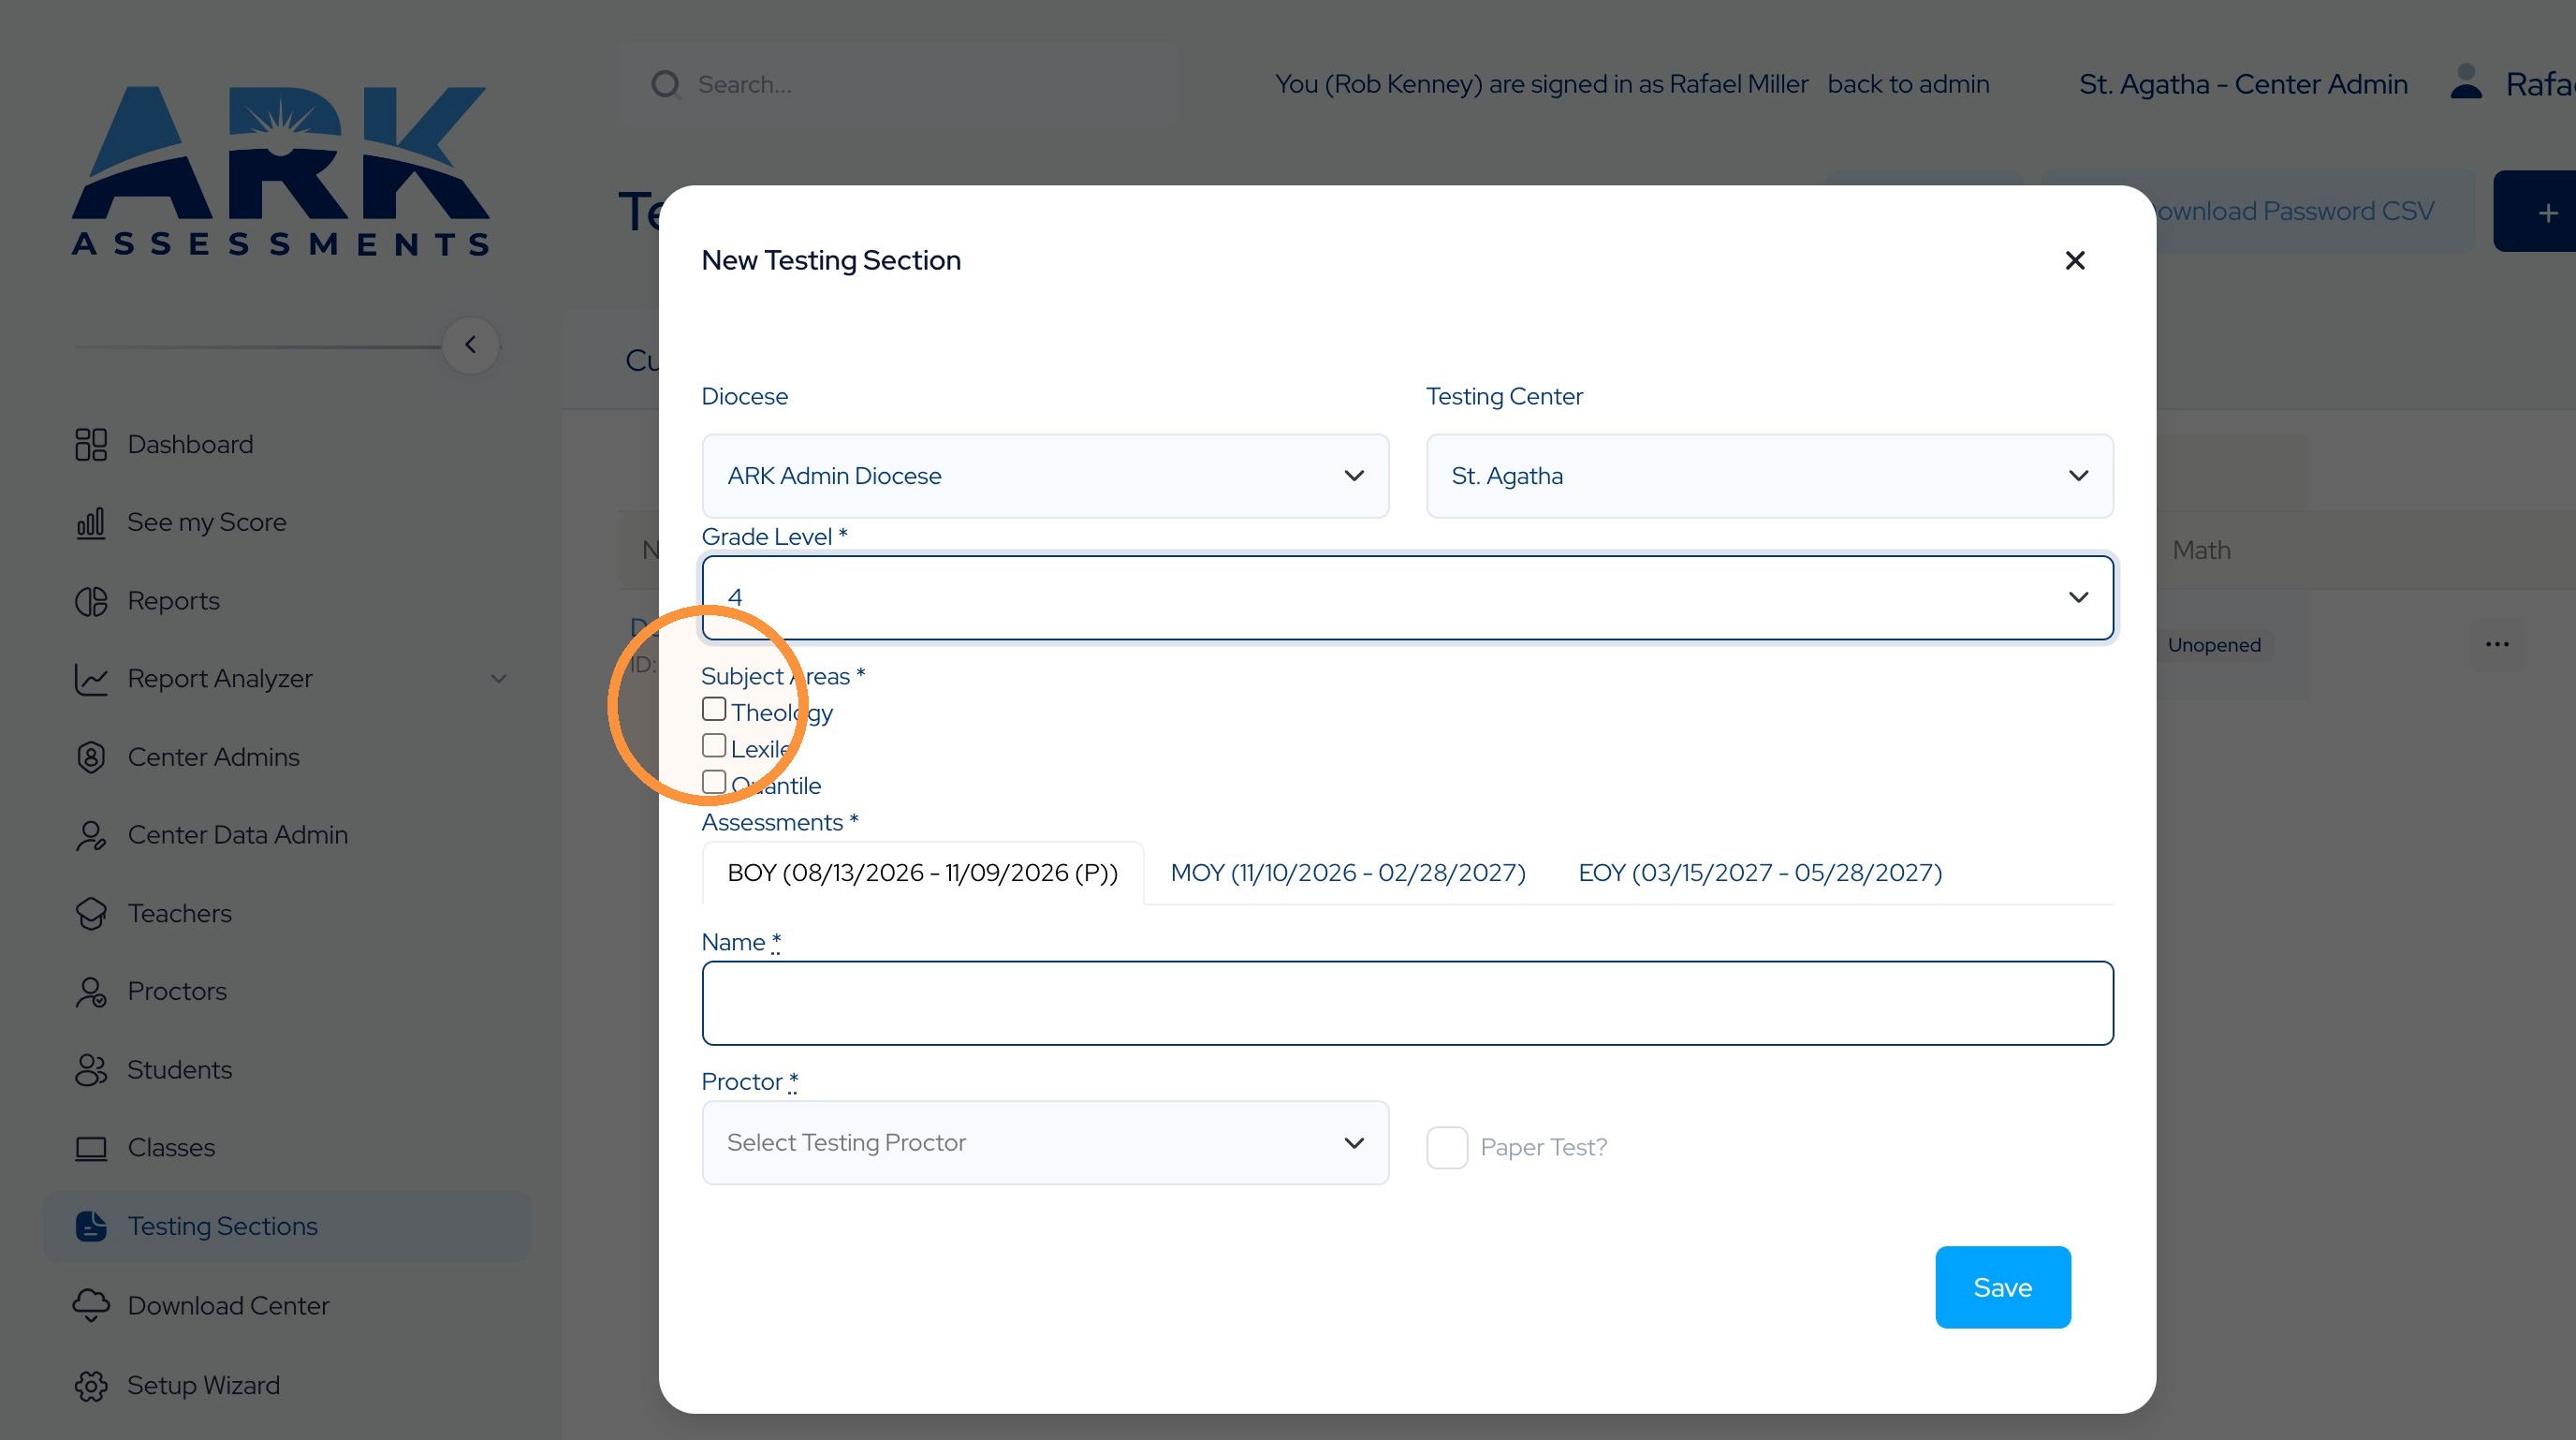
30. You'll be presented with a new Testing Section screen.
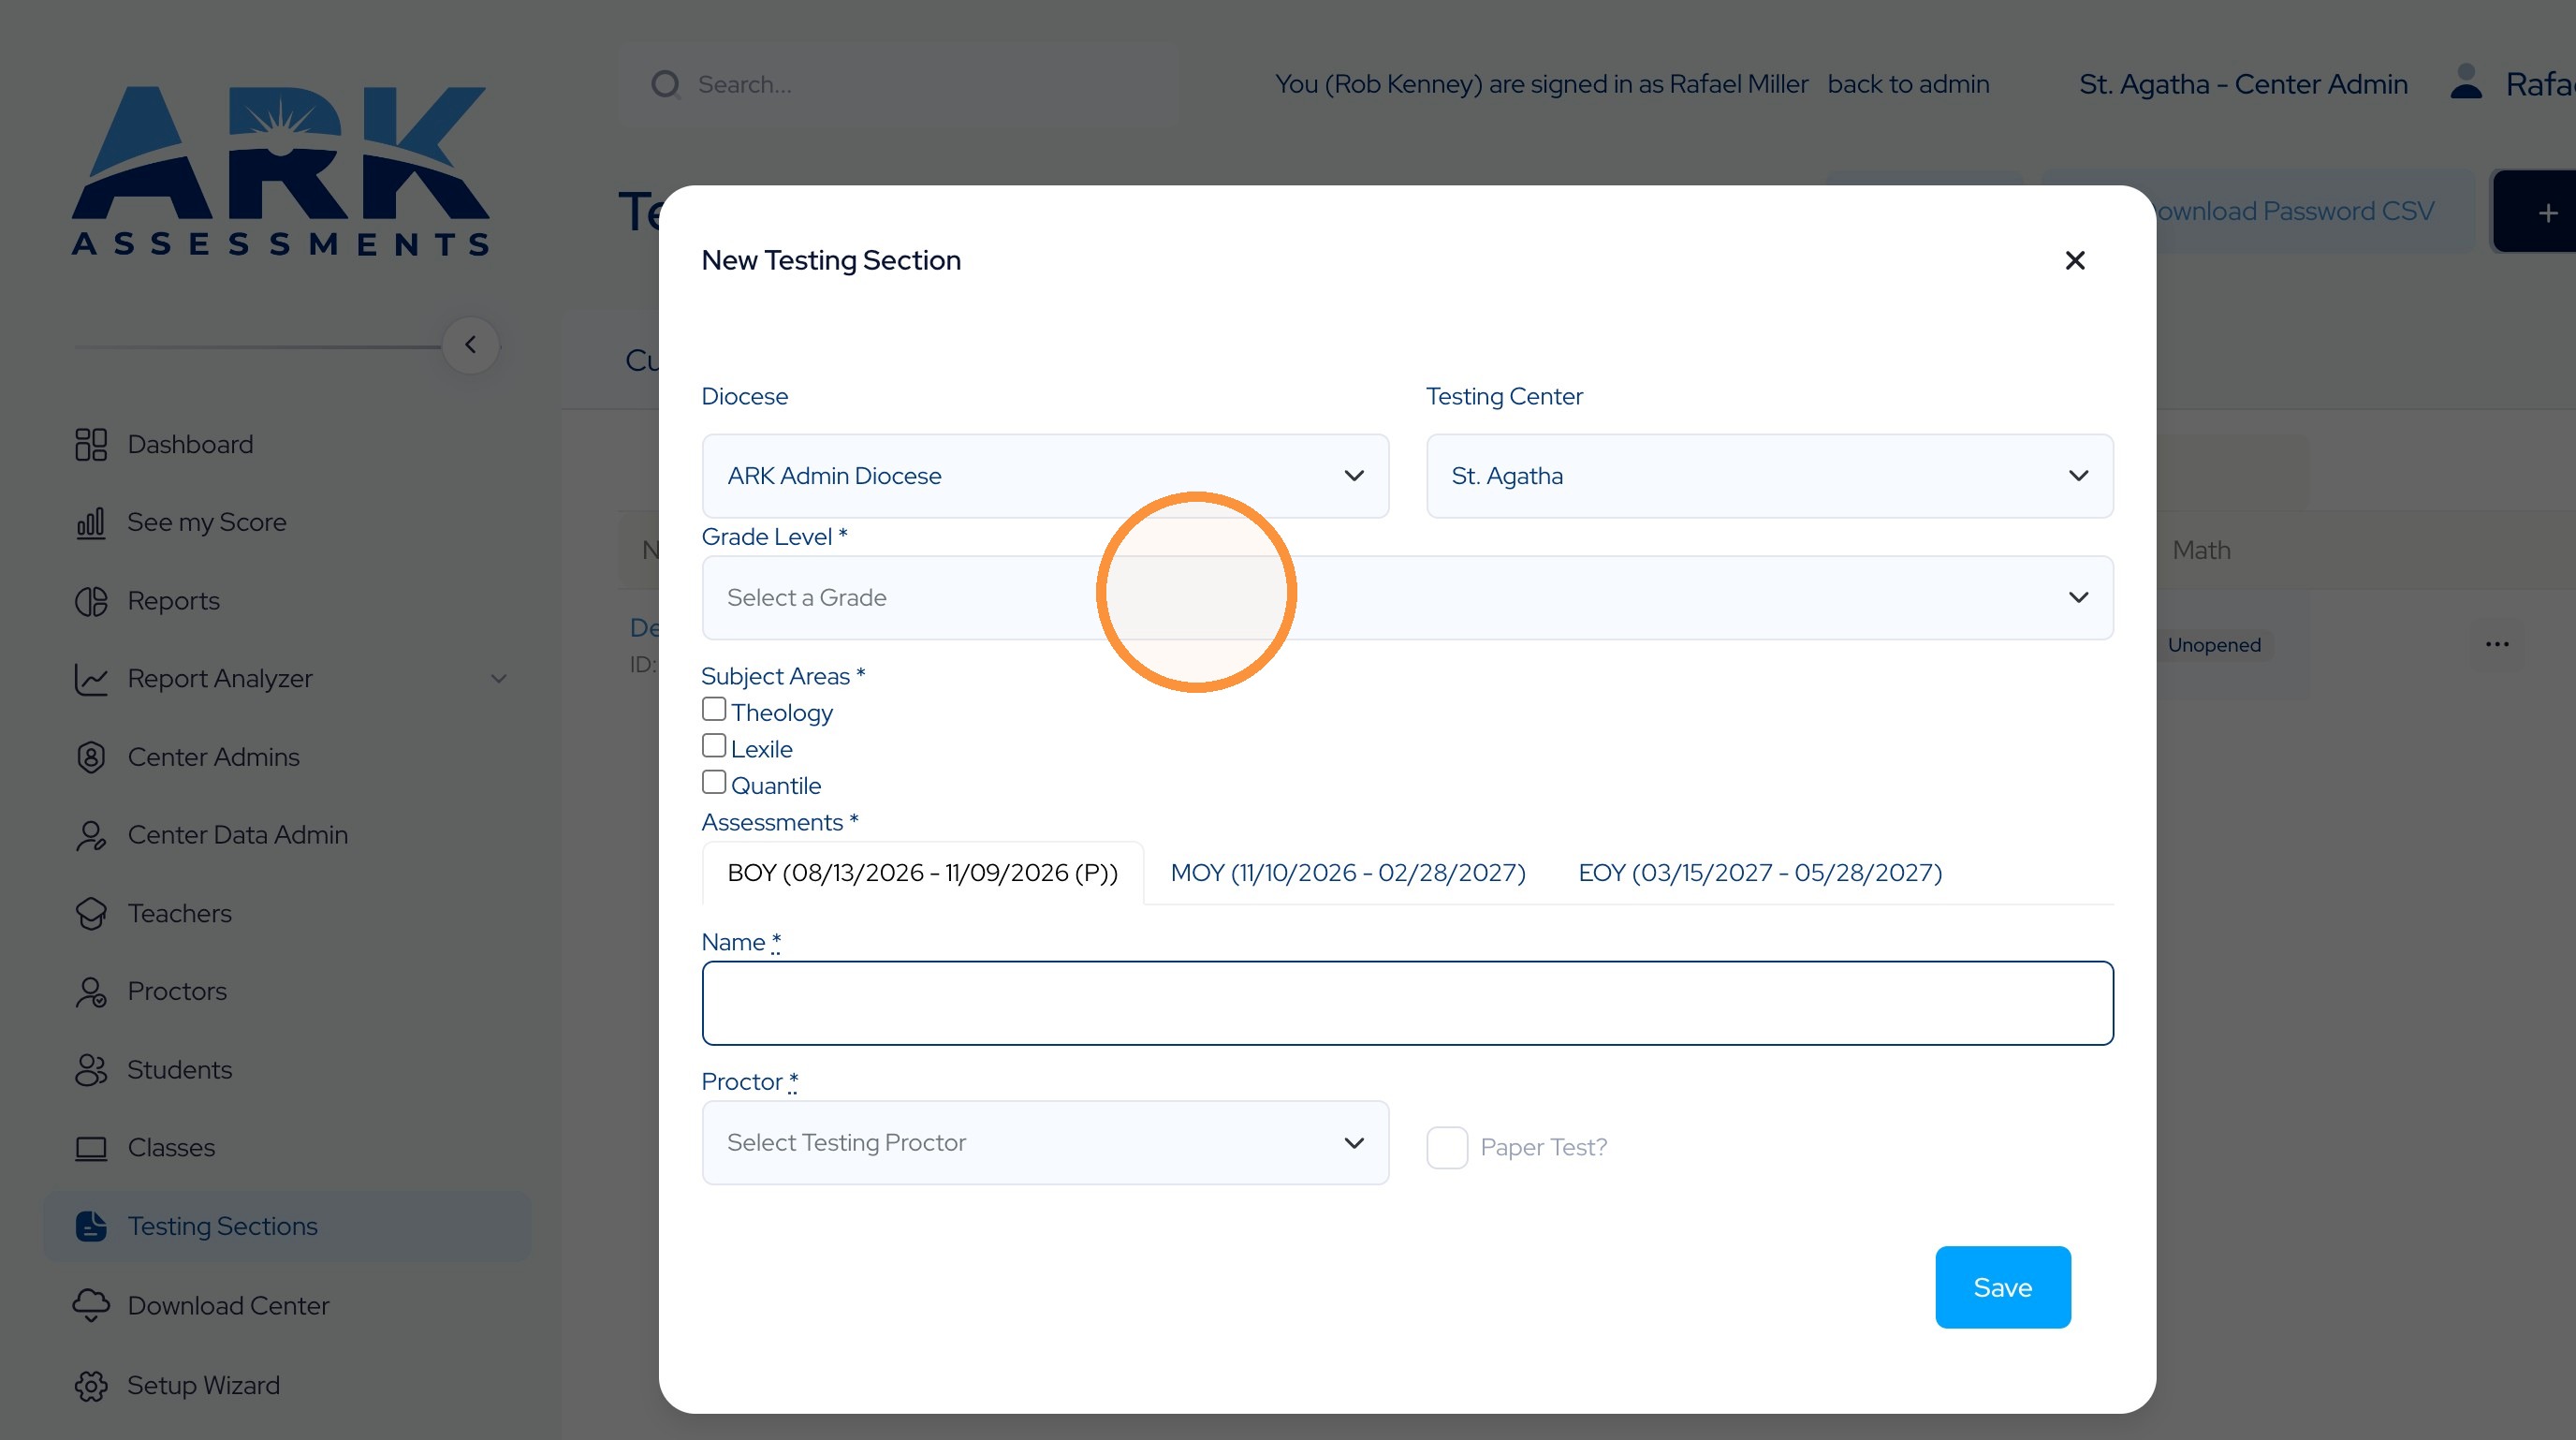
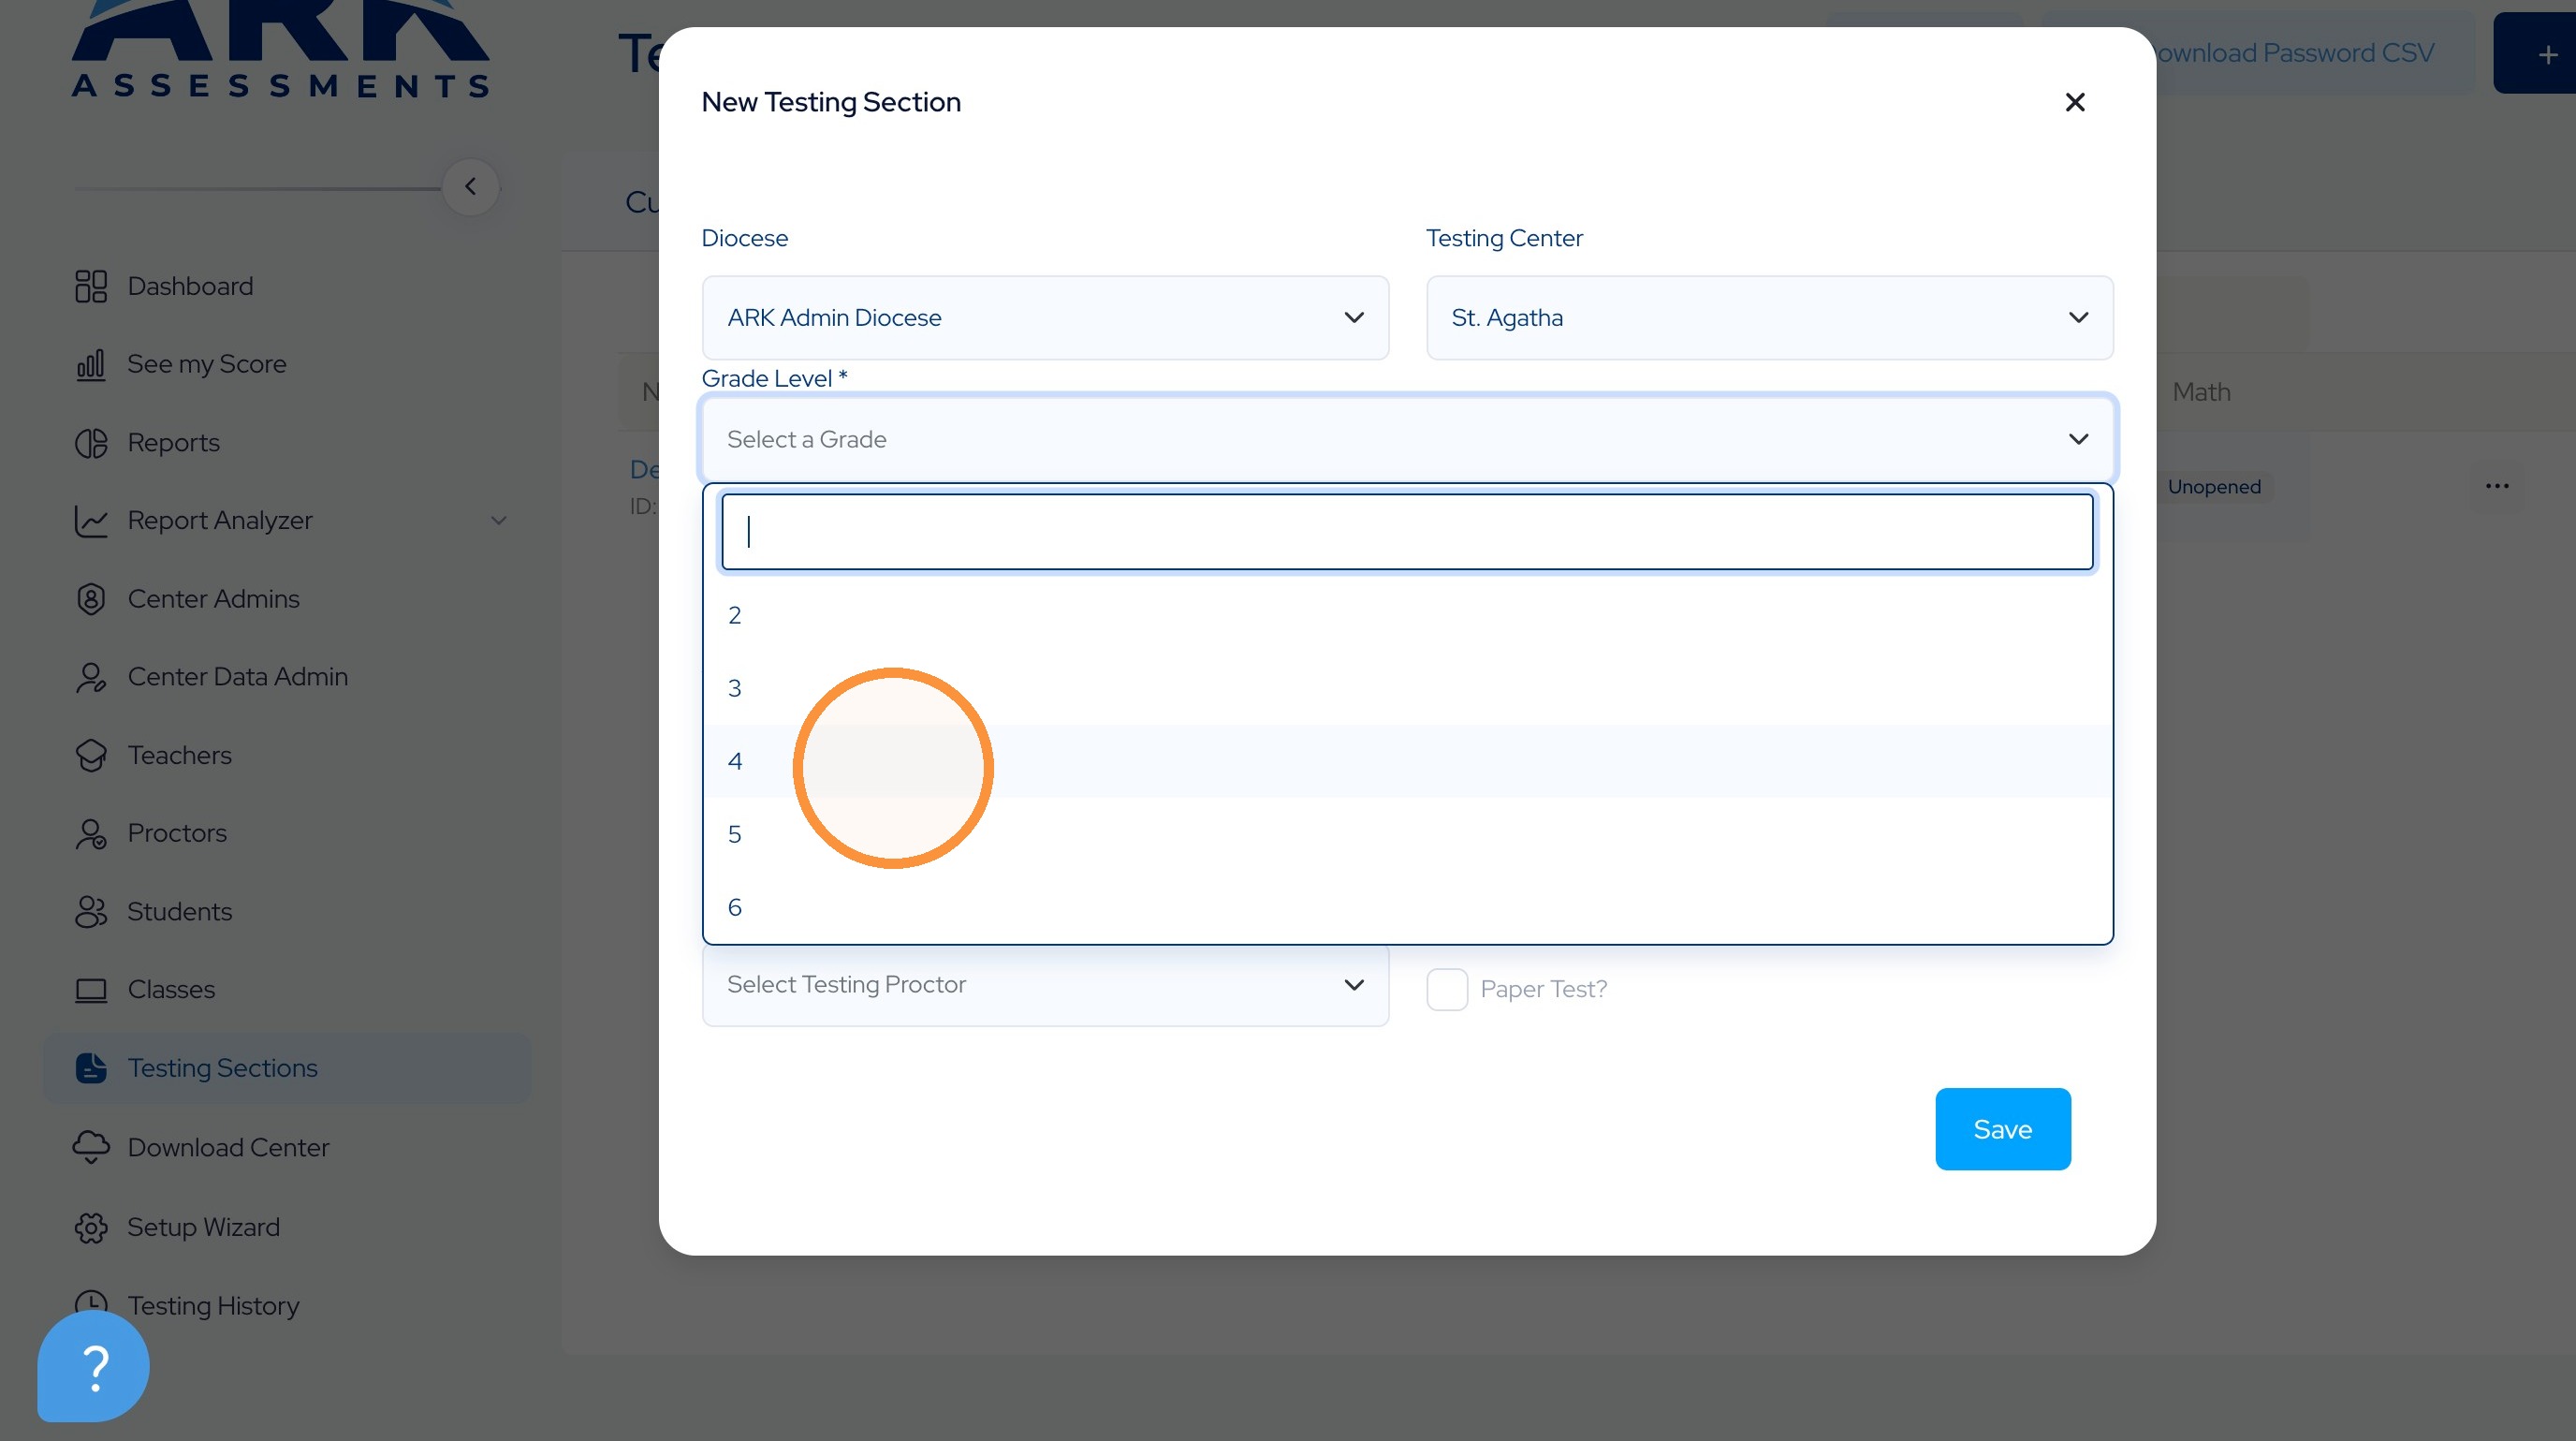
31. Enter the Grade Level.
32. Select the relevant subjects for this section.
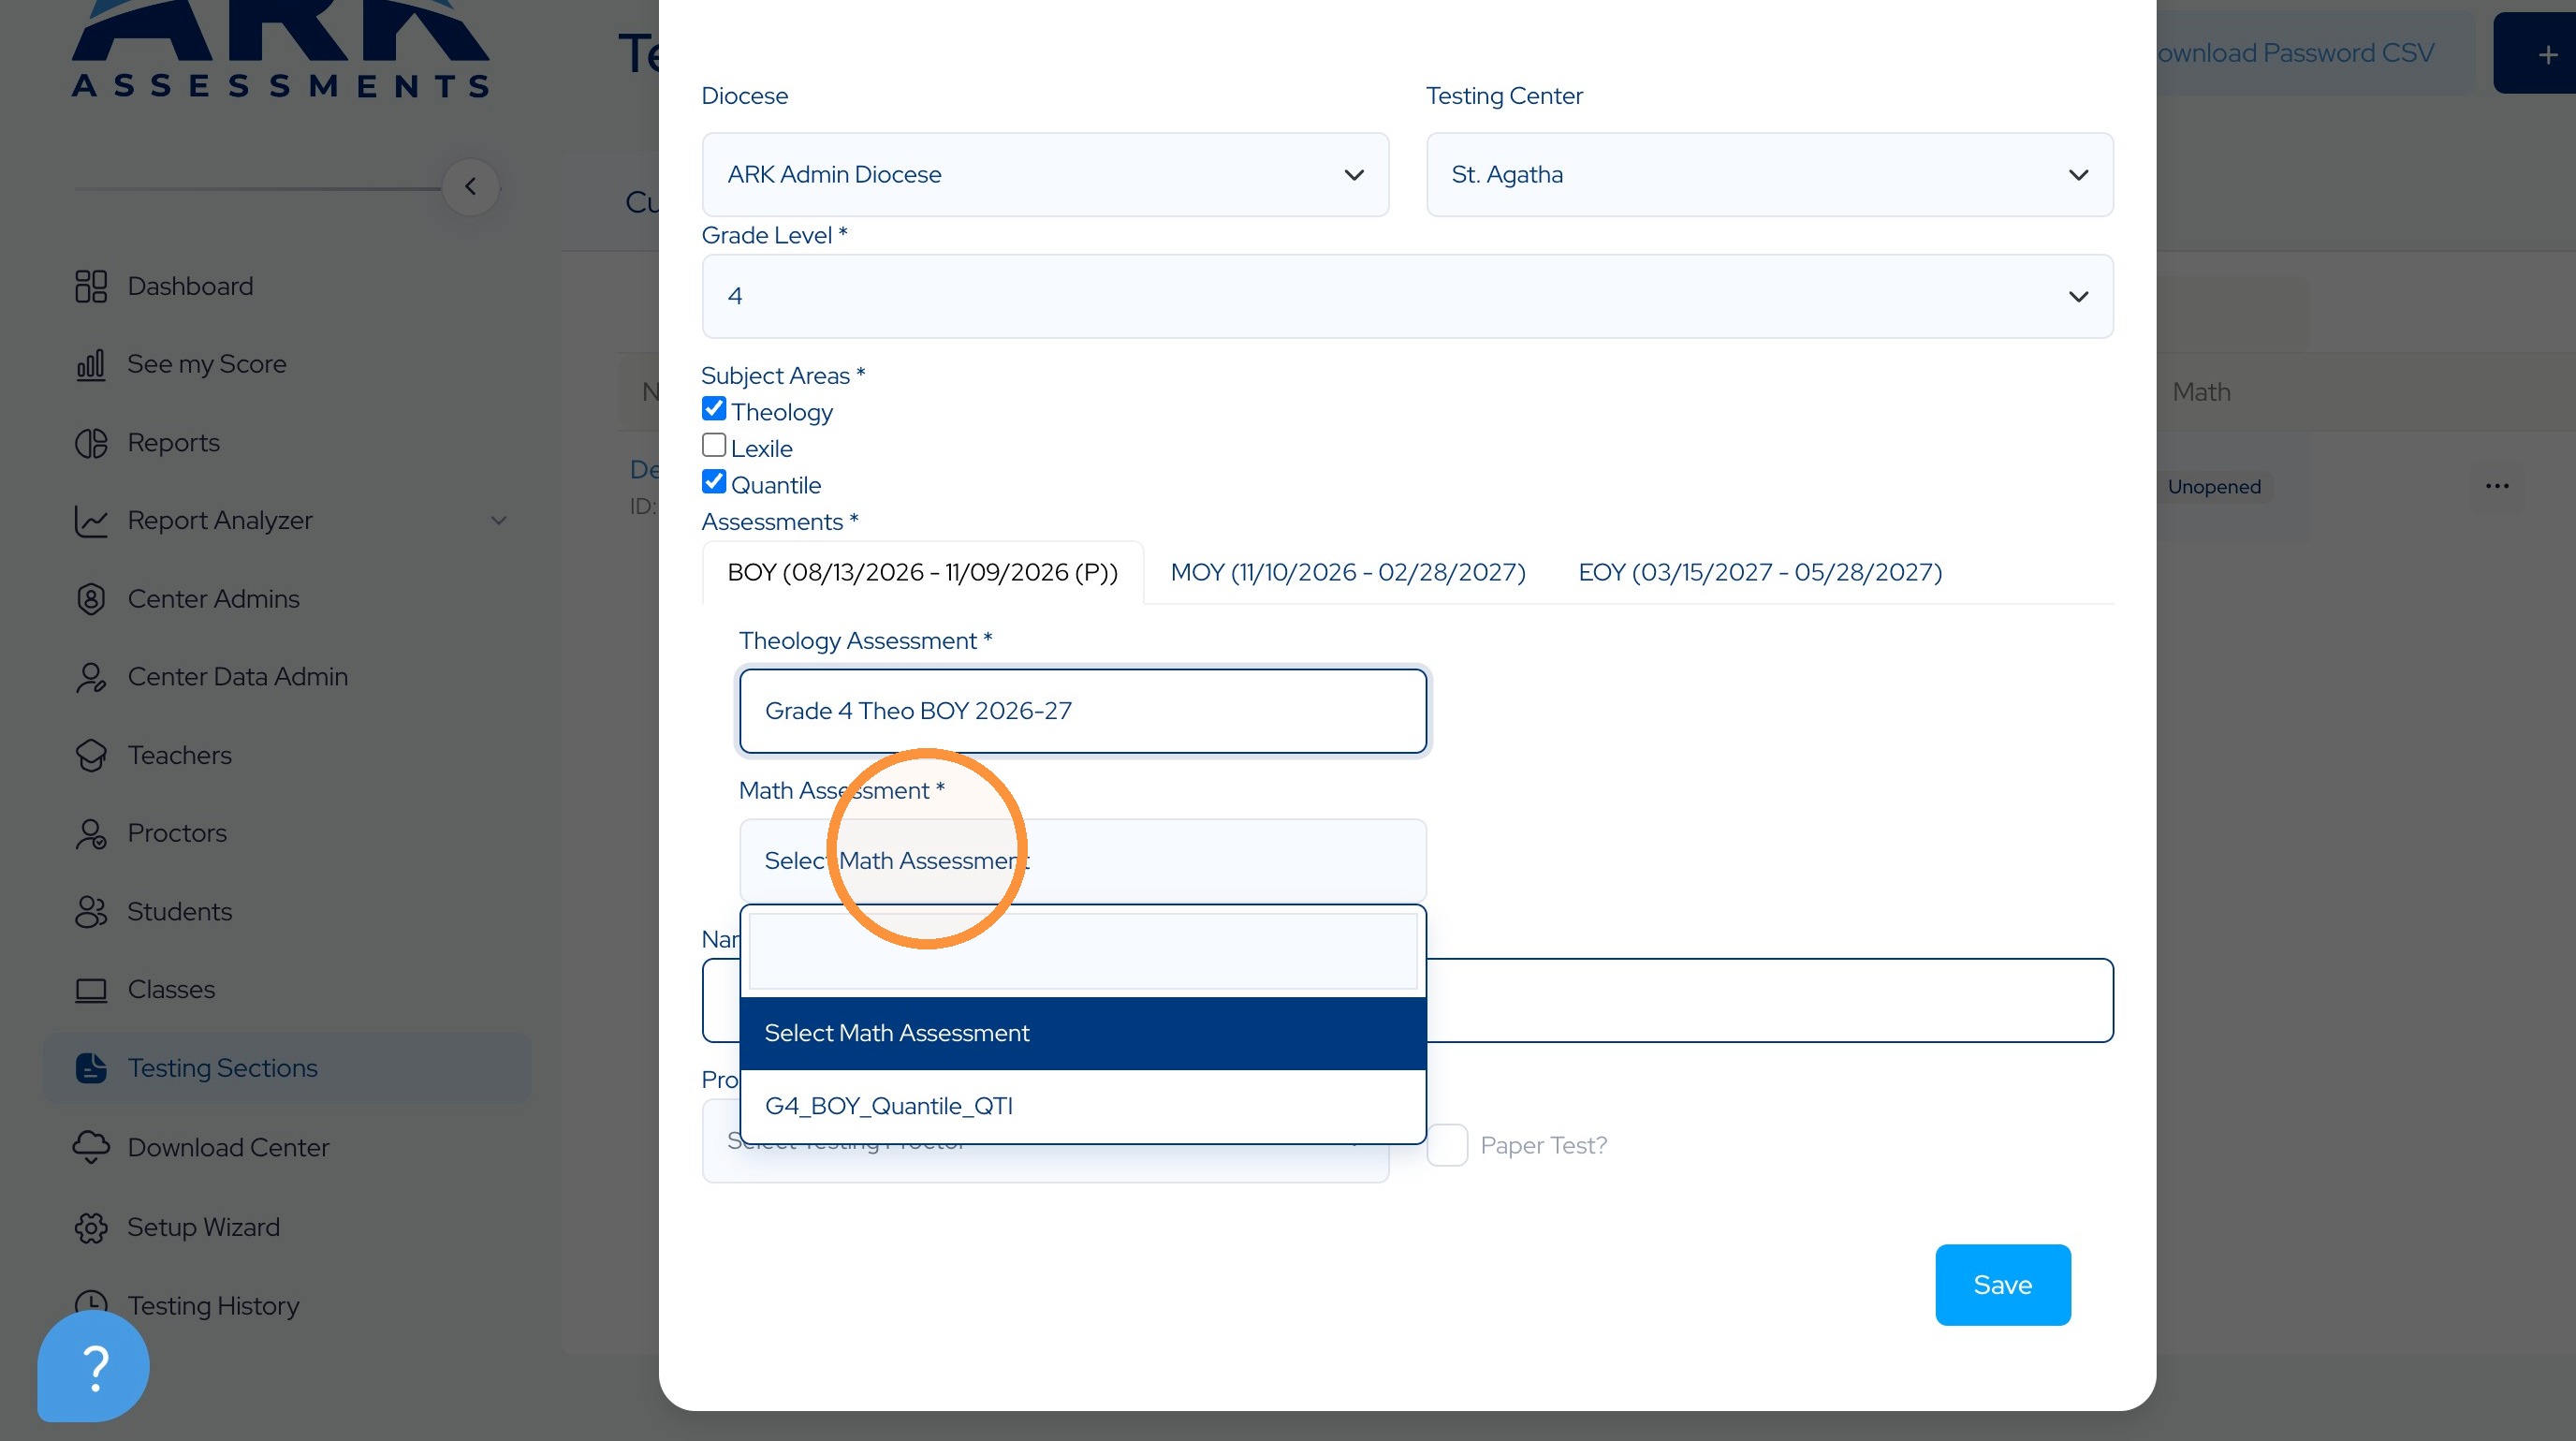
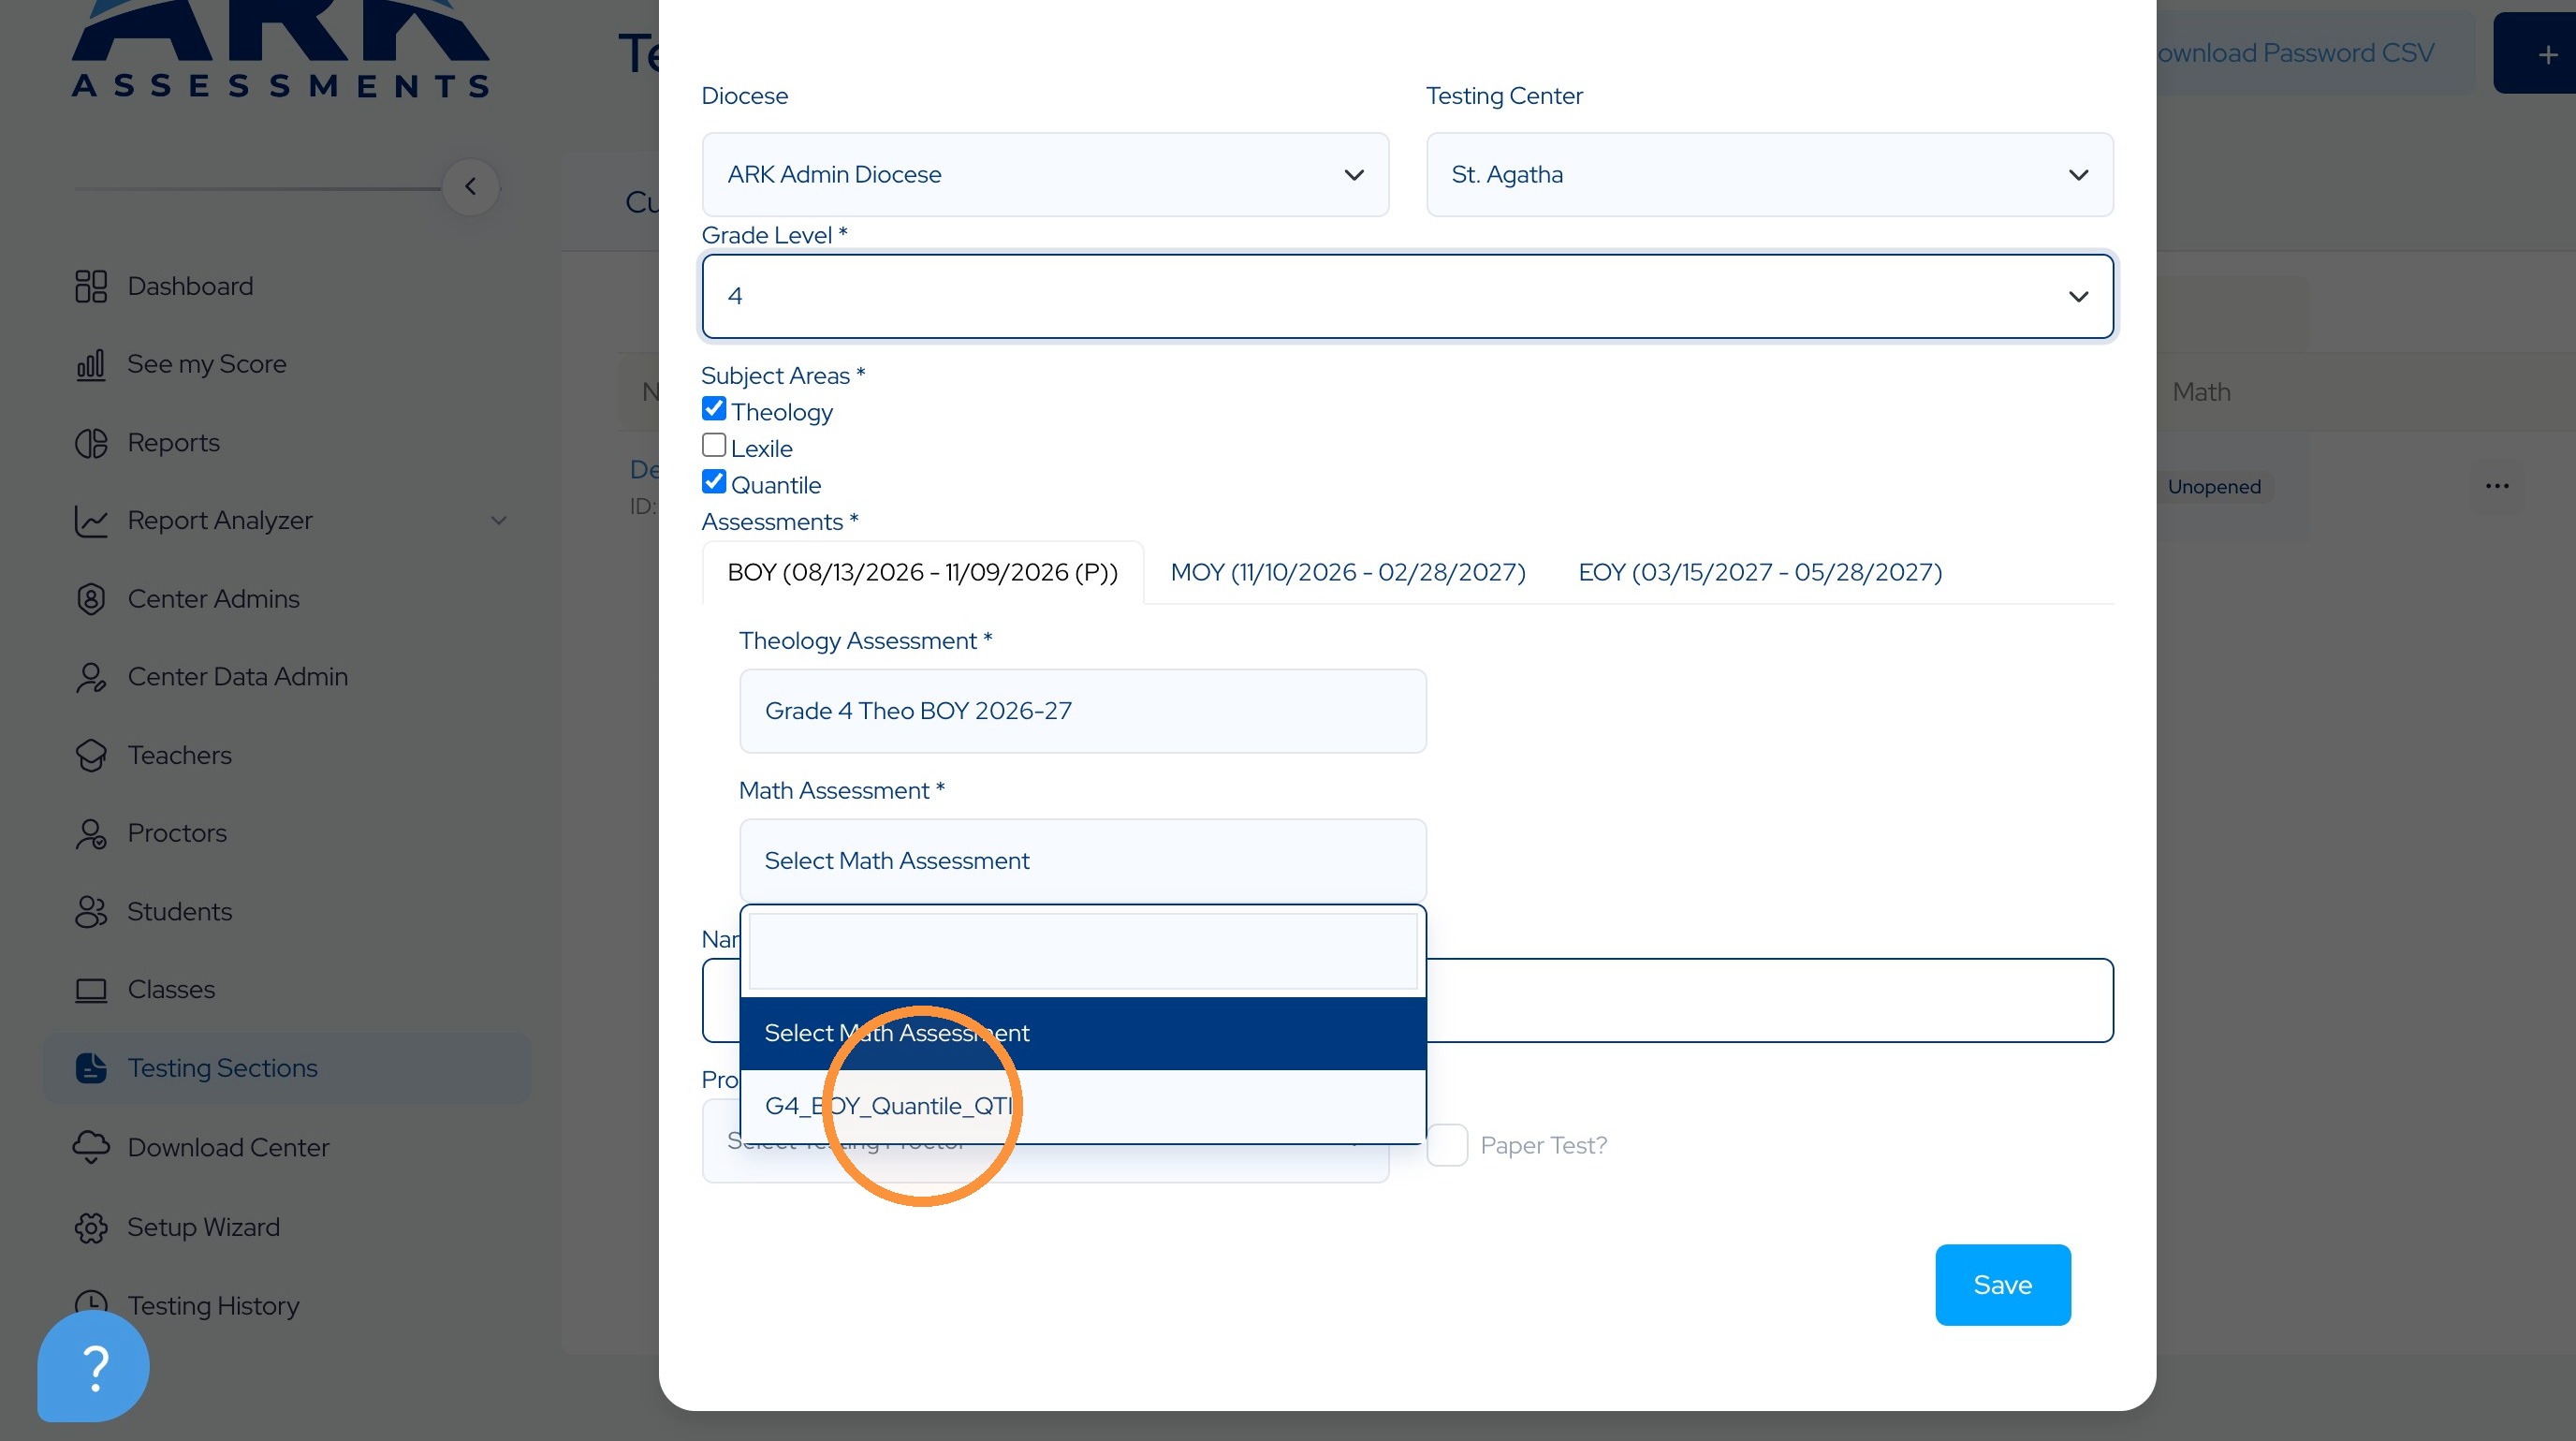
33.
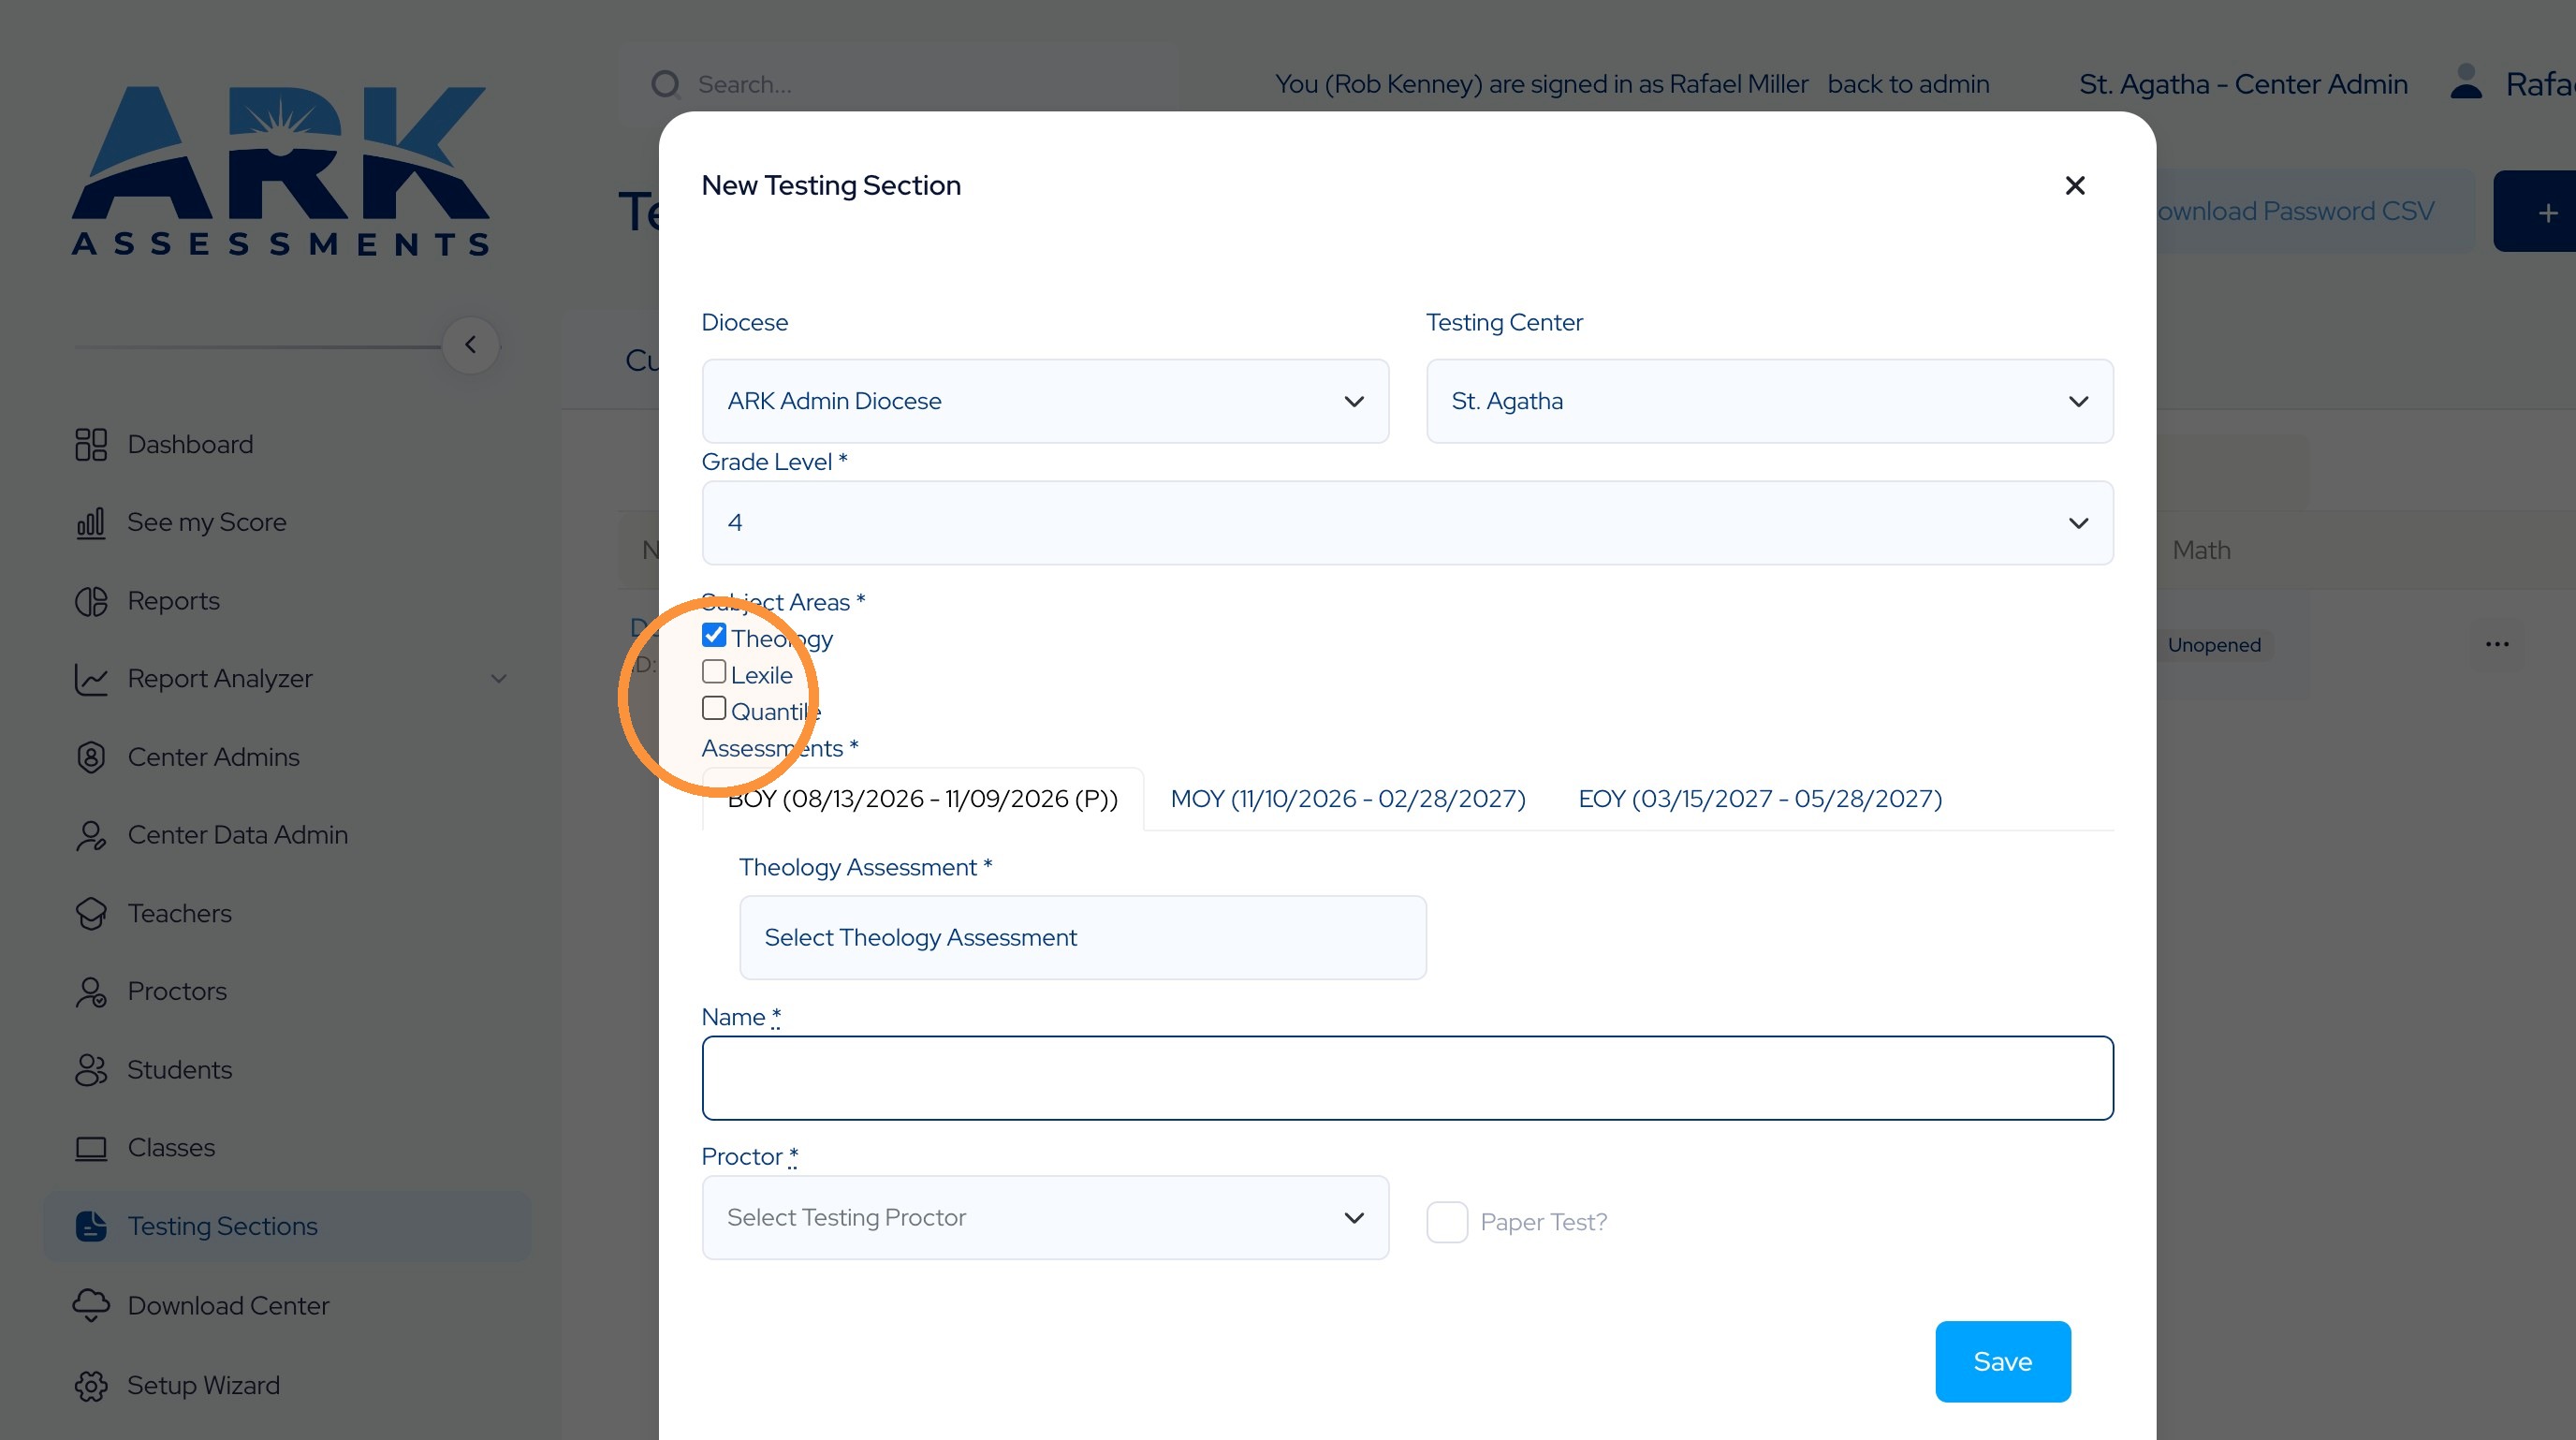
34. Once selected, you will be presented with the testing windows and assessment selections for the subjects indicated.
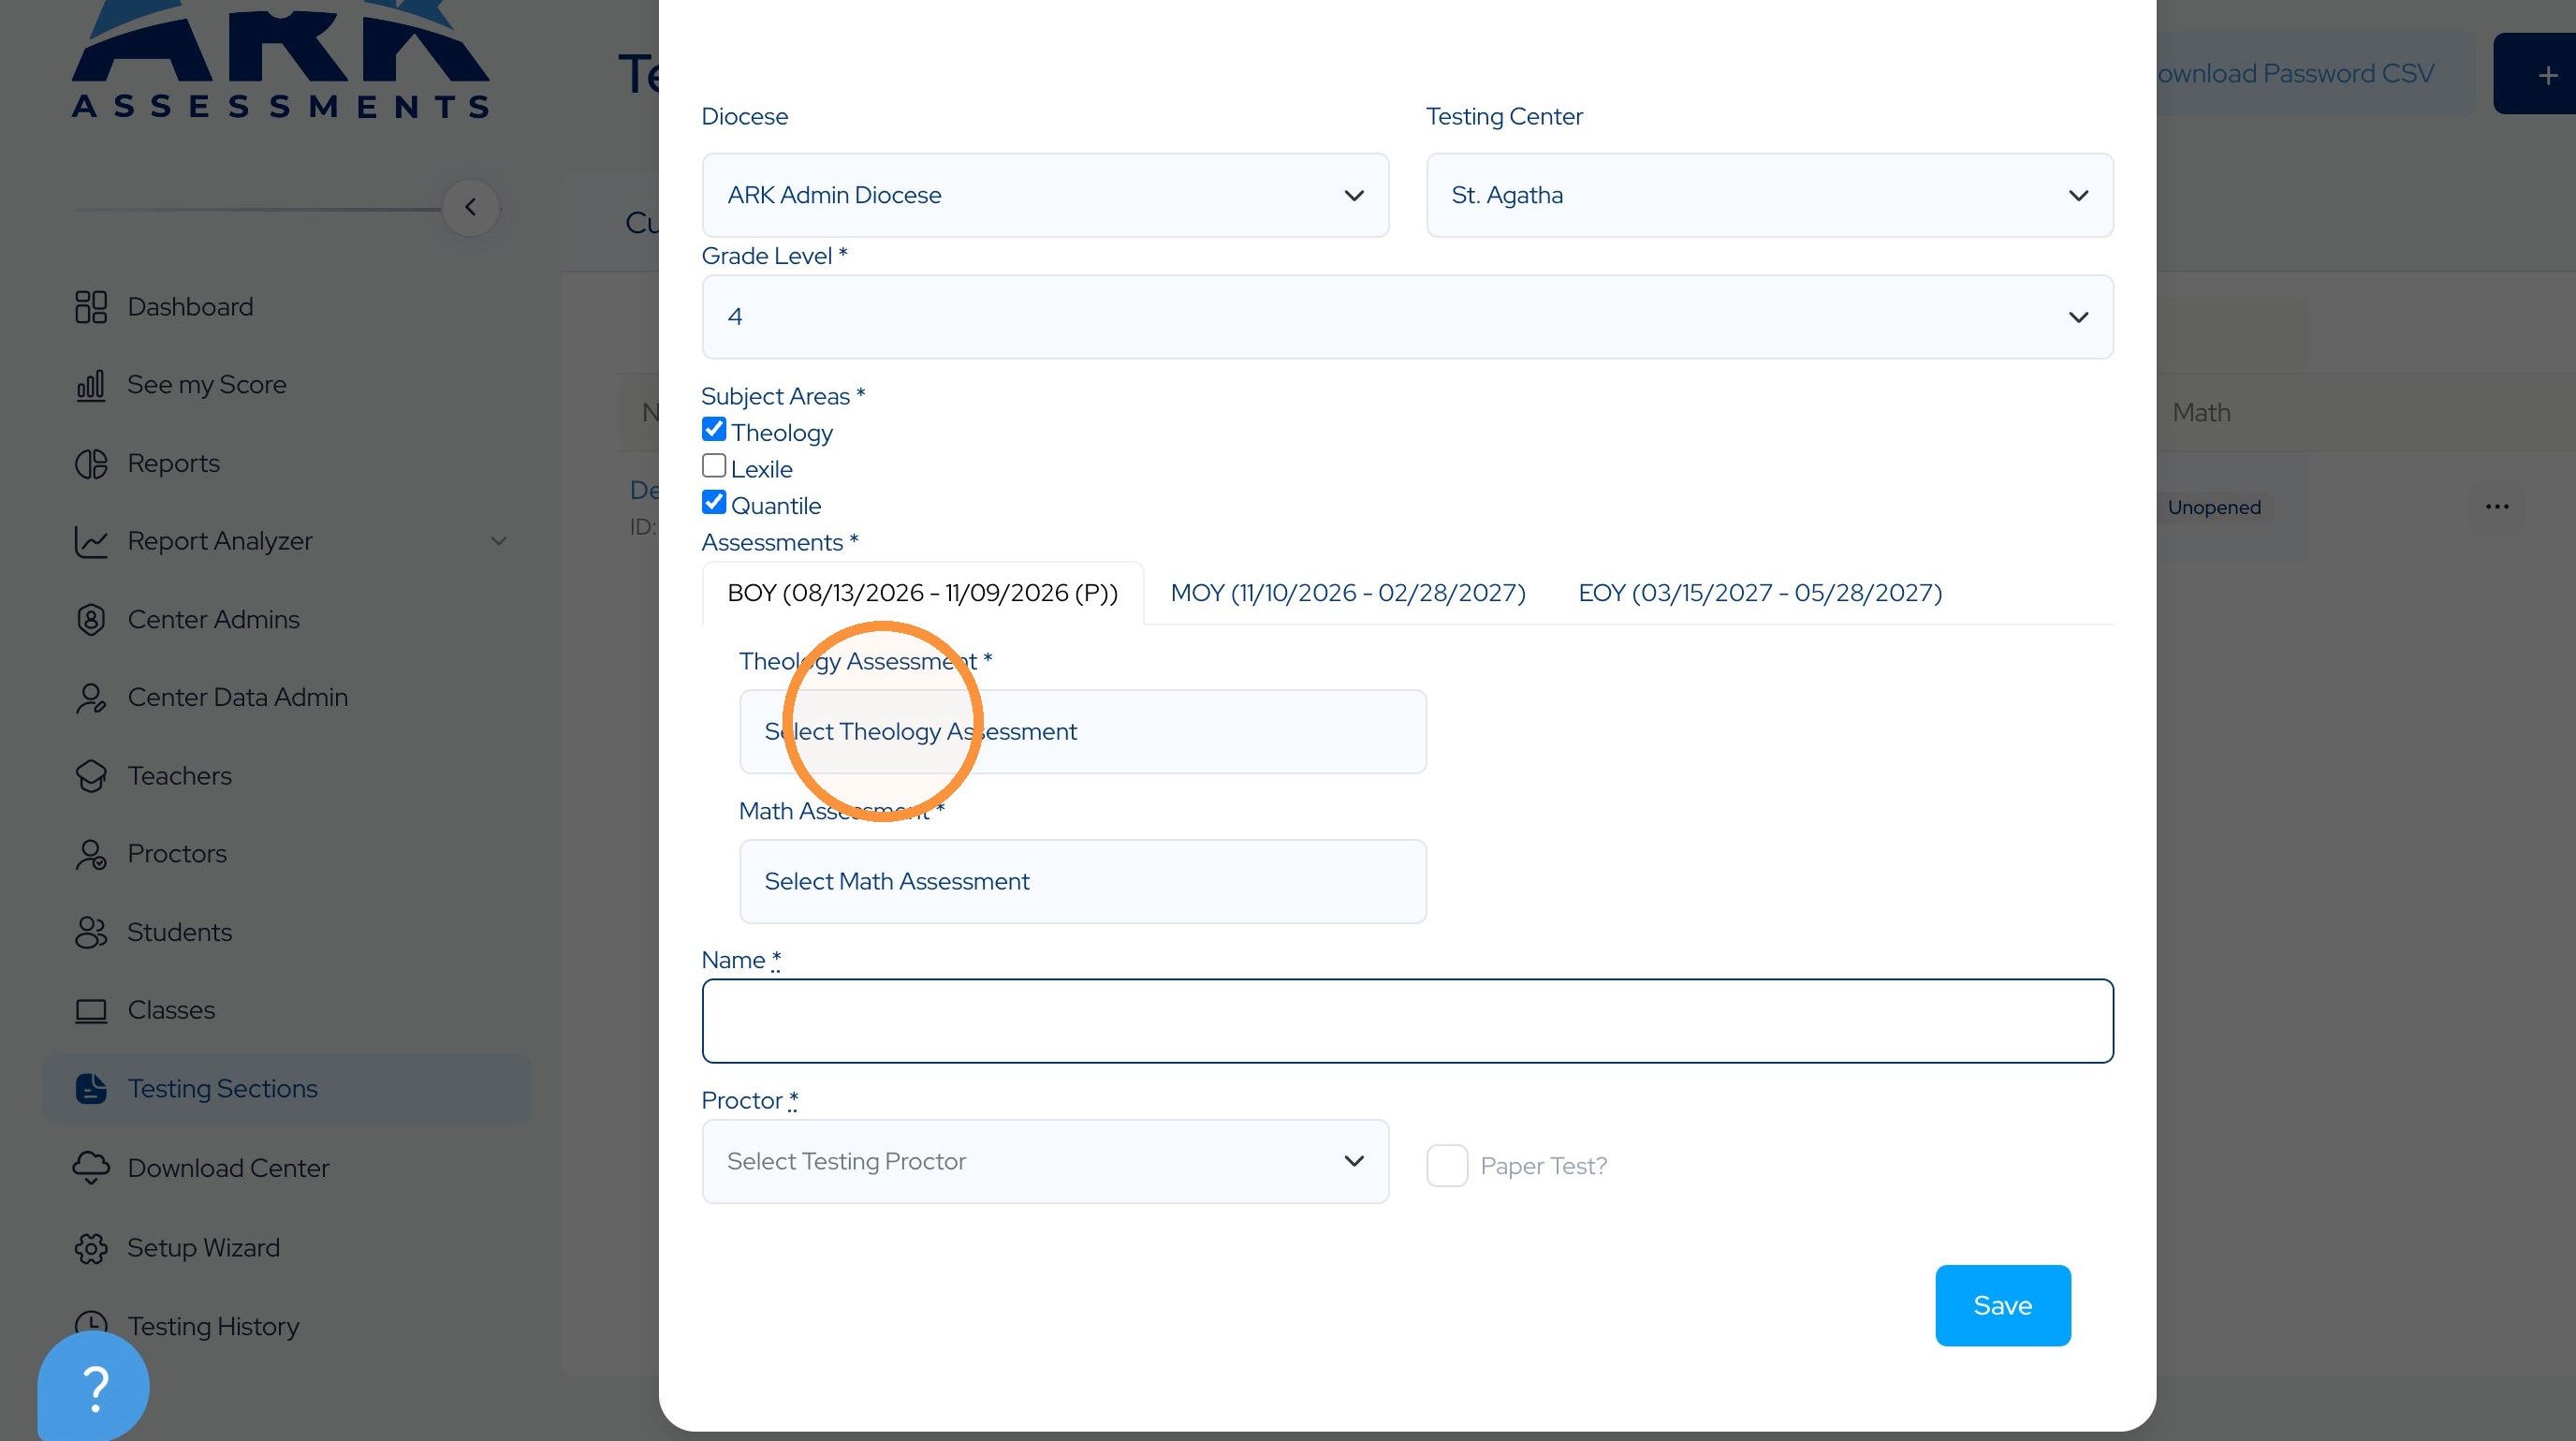
35. Select each respective assessment.
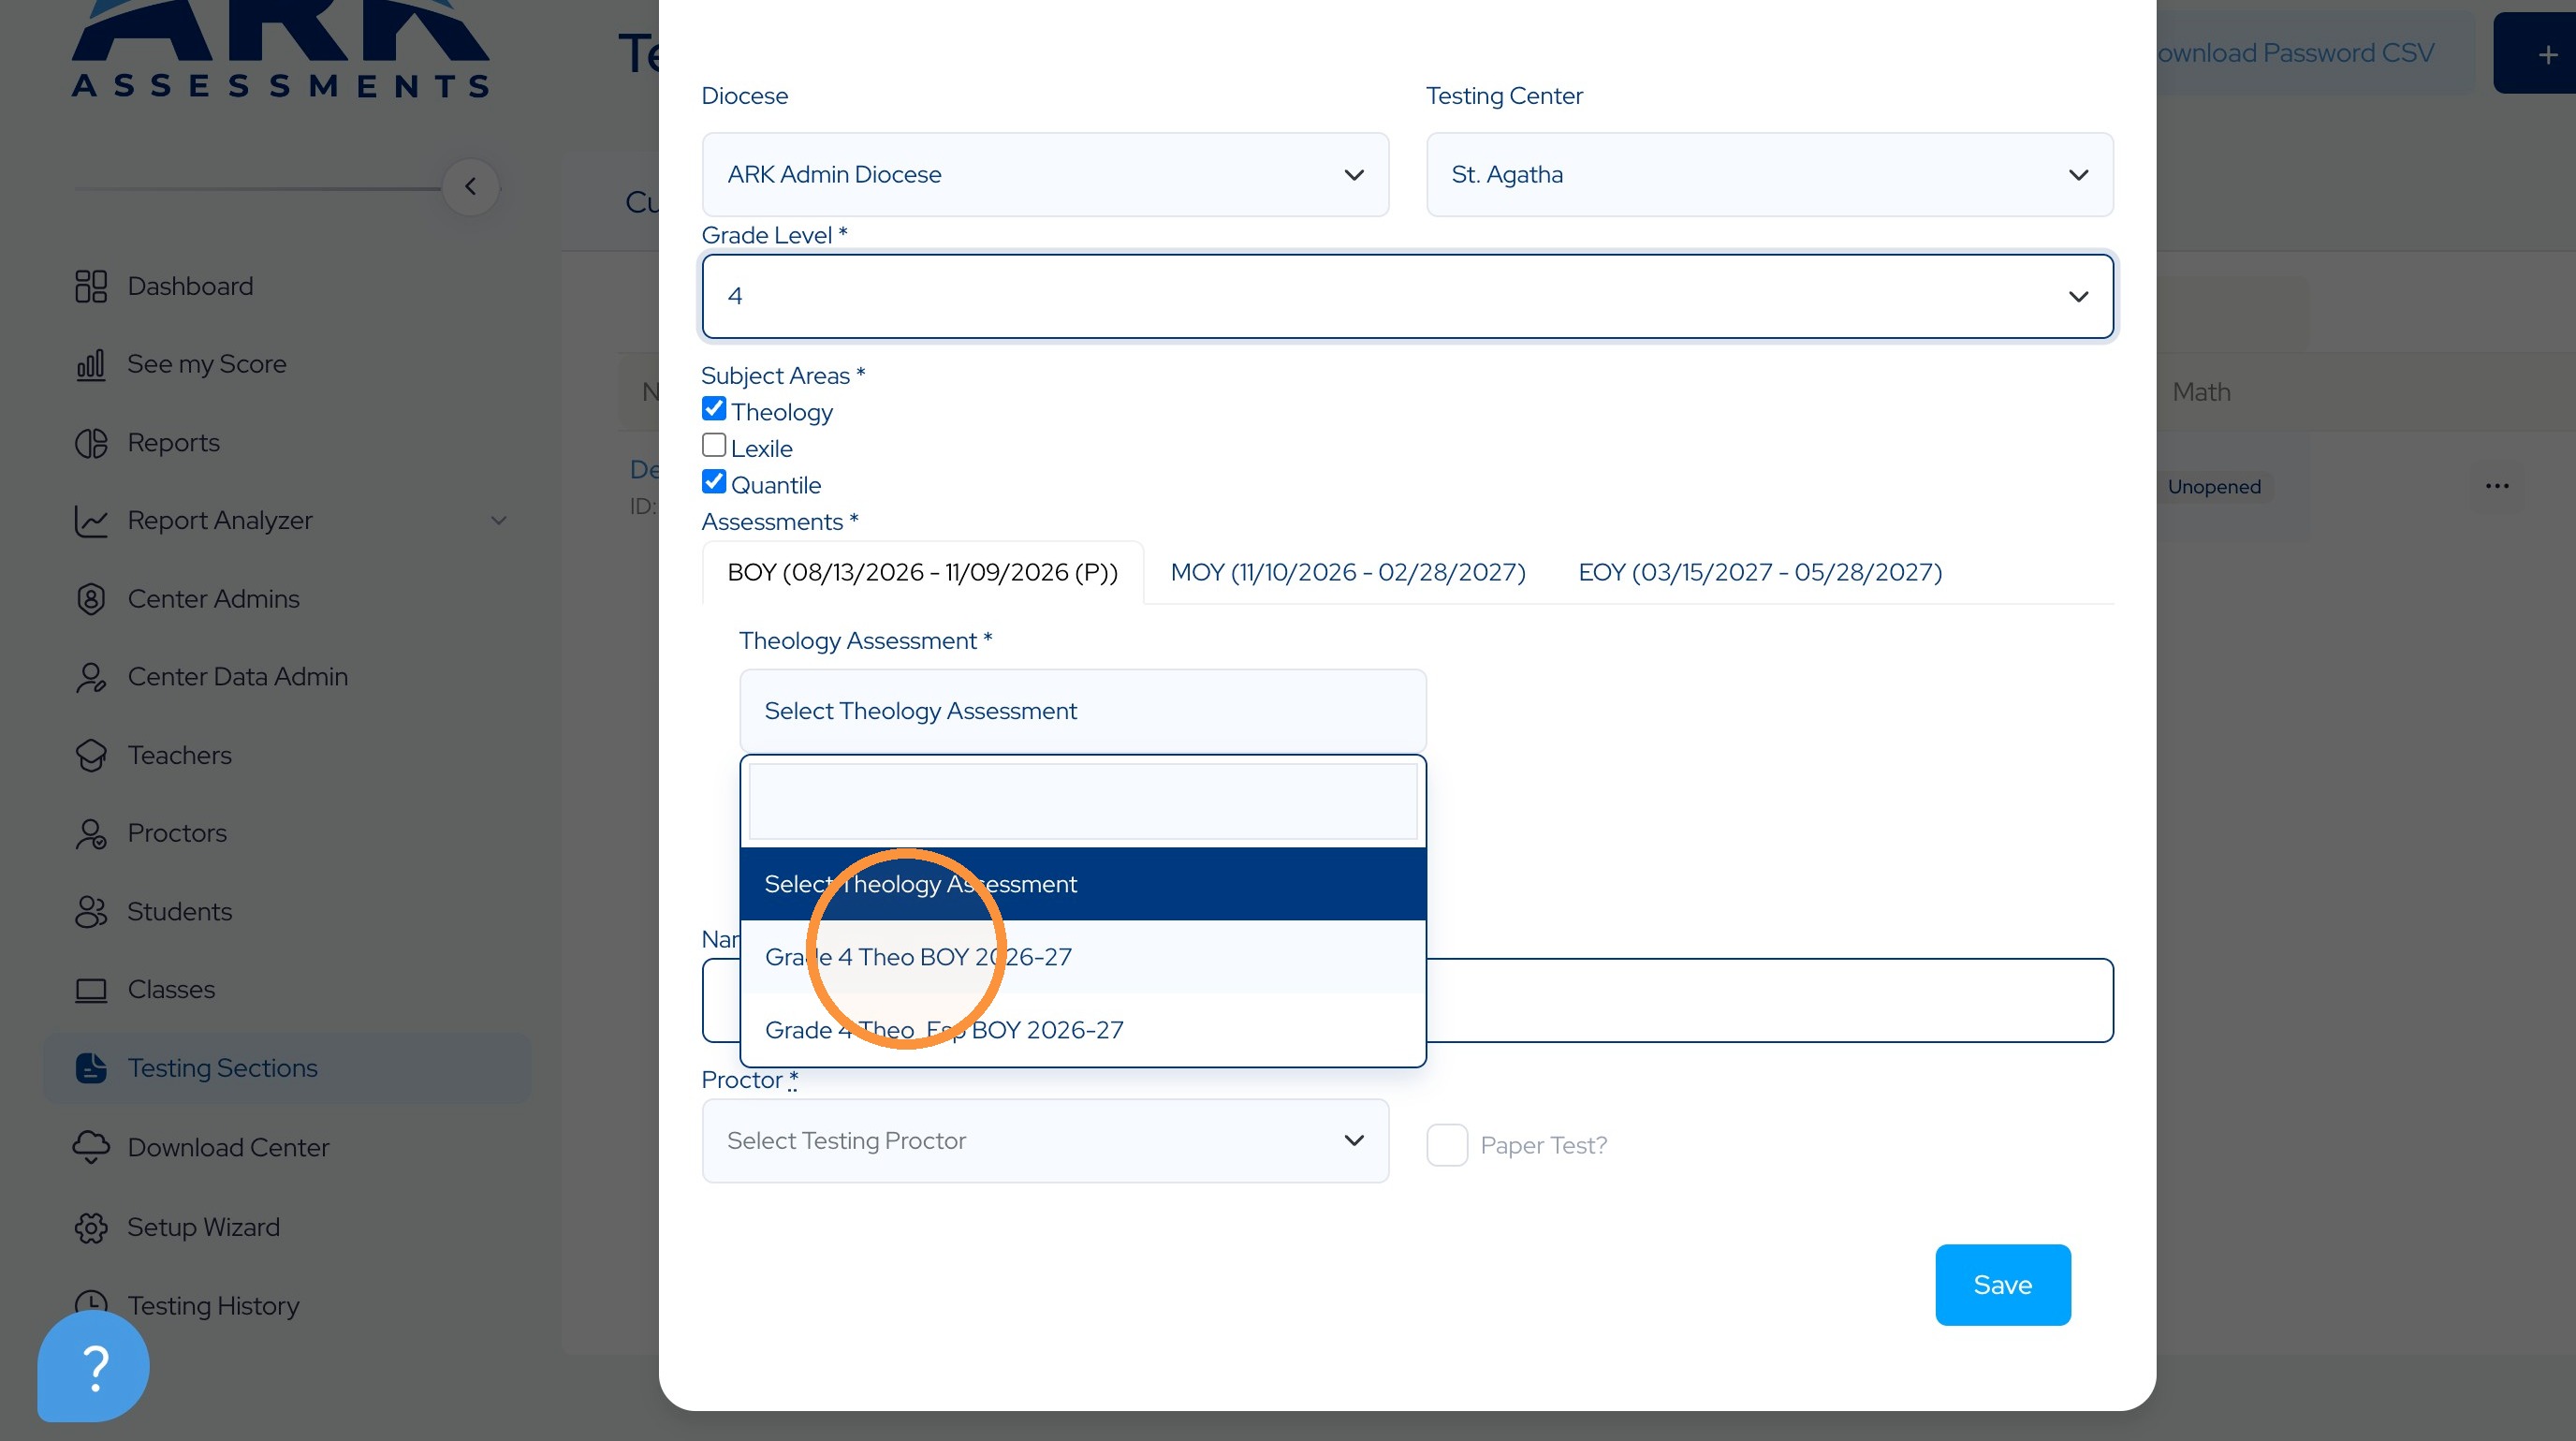
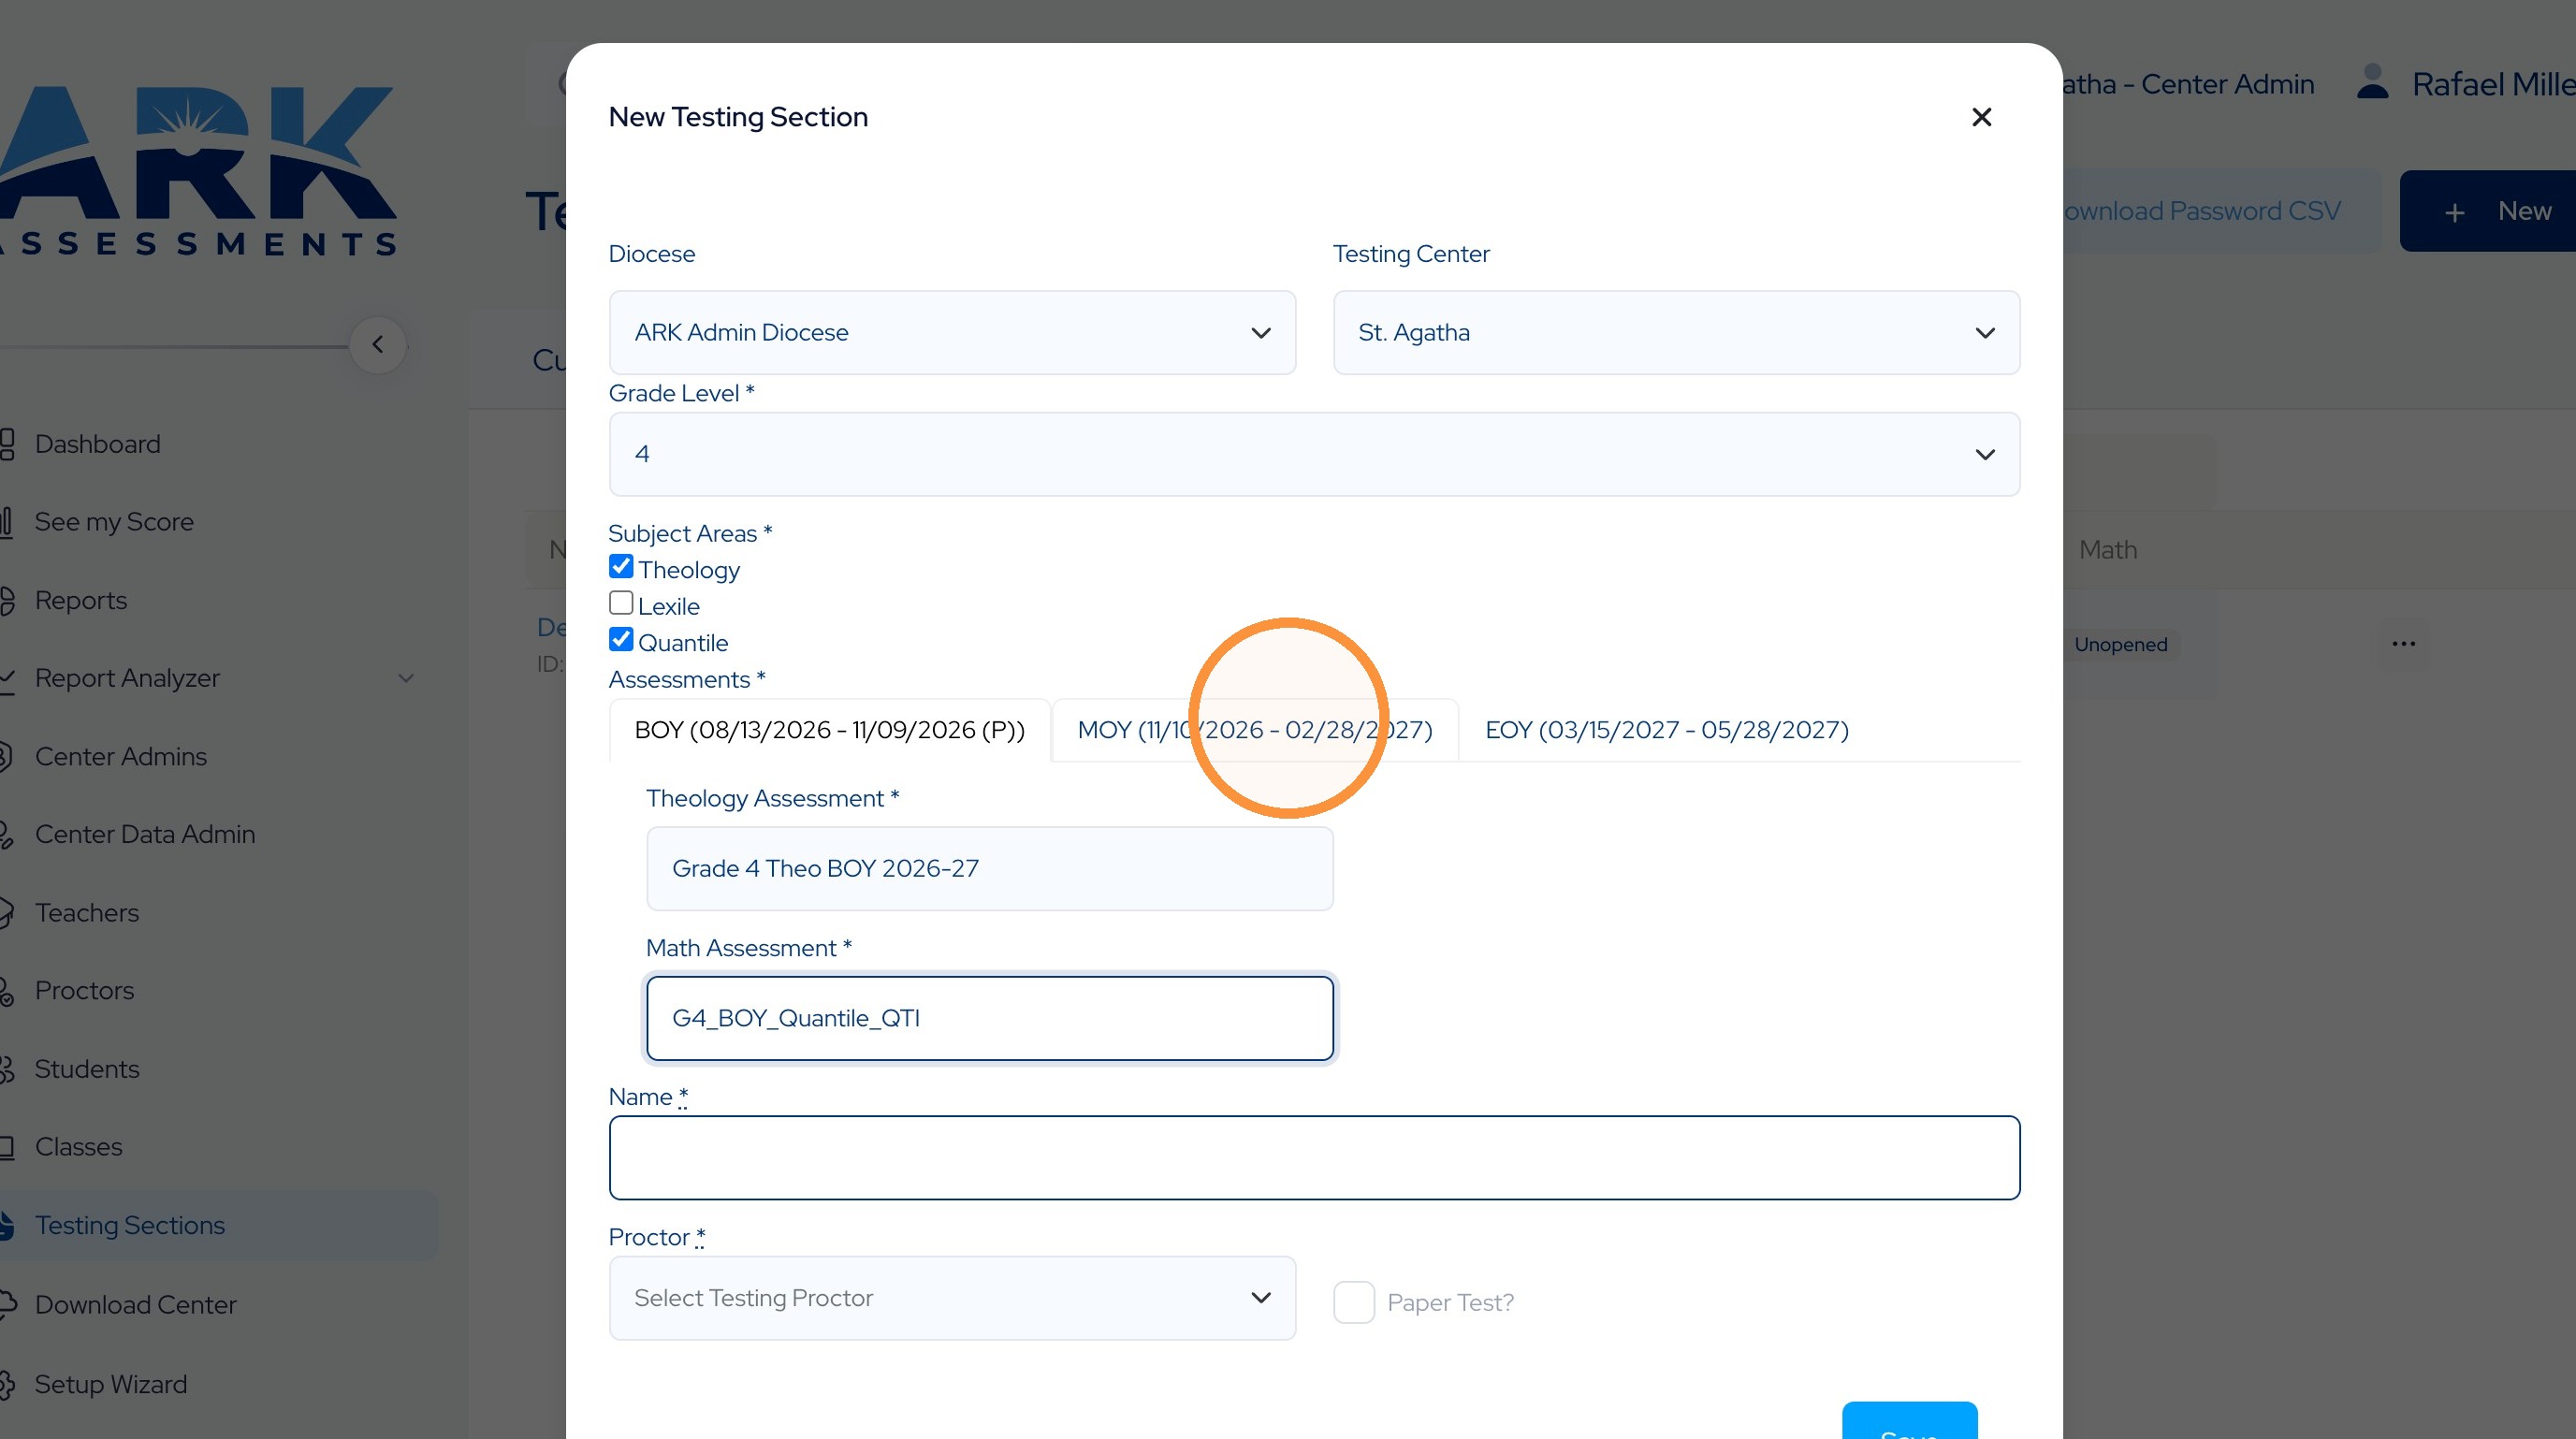
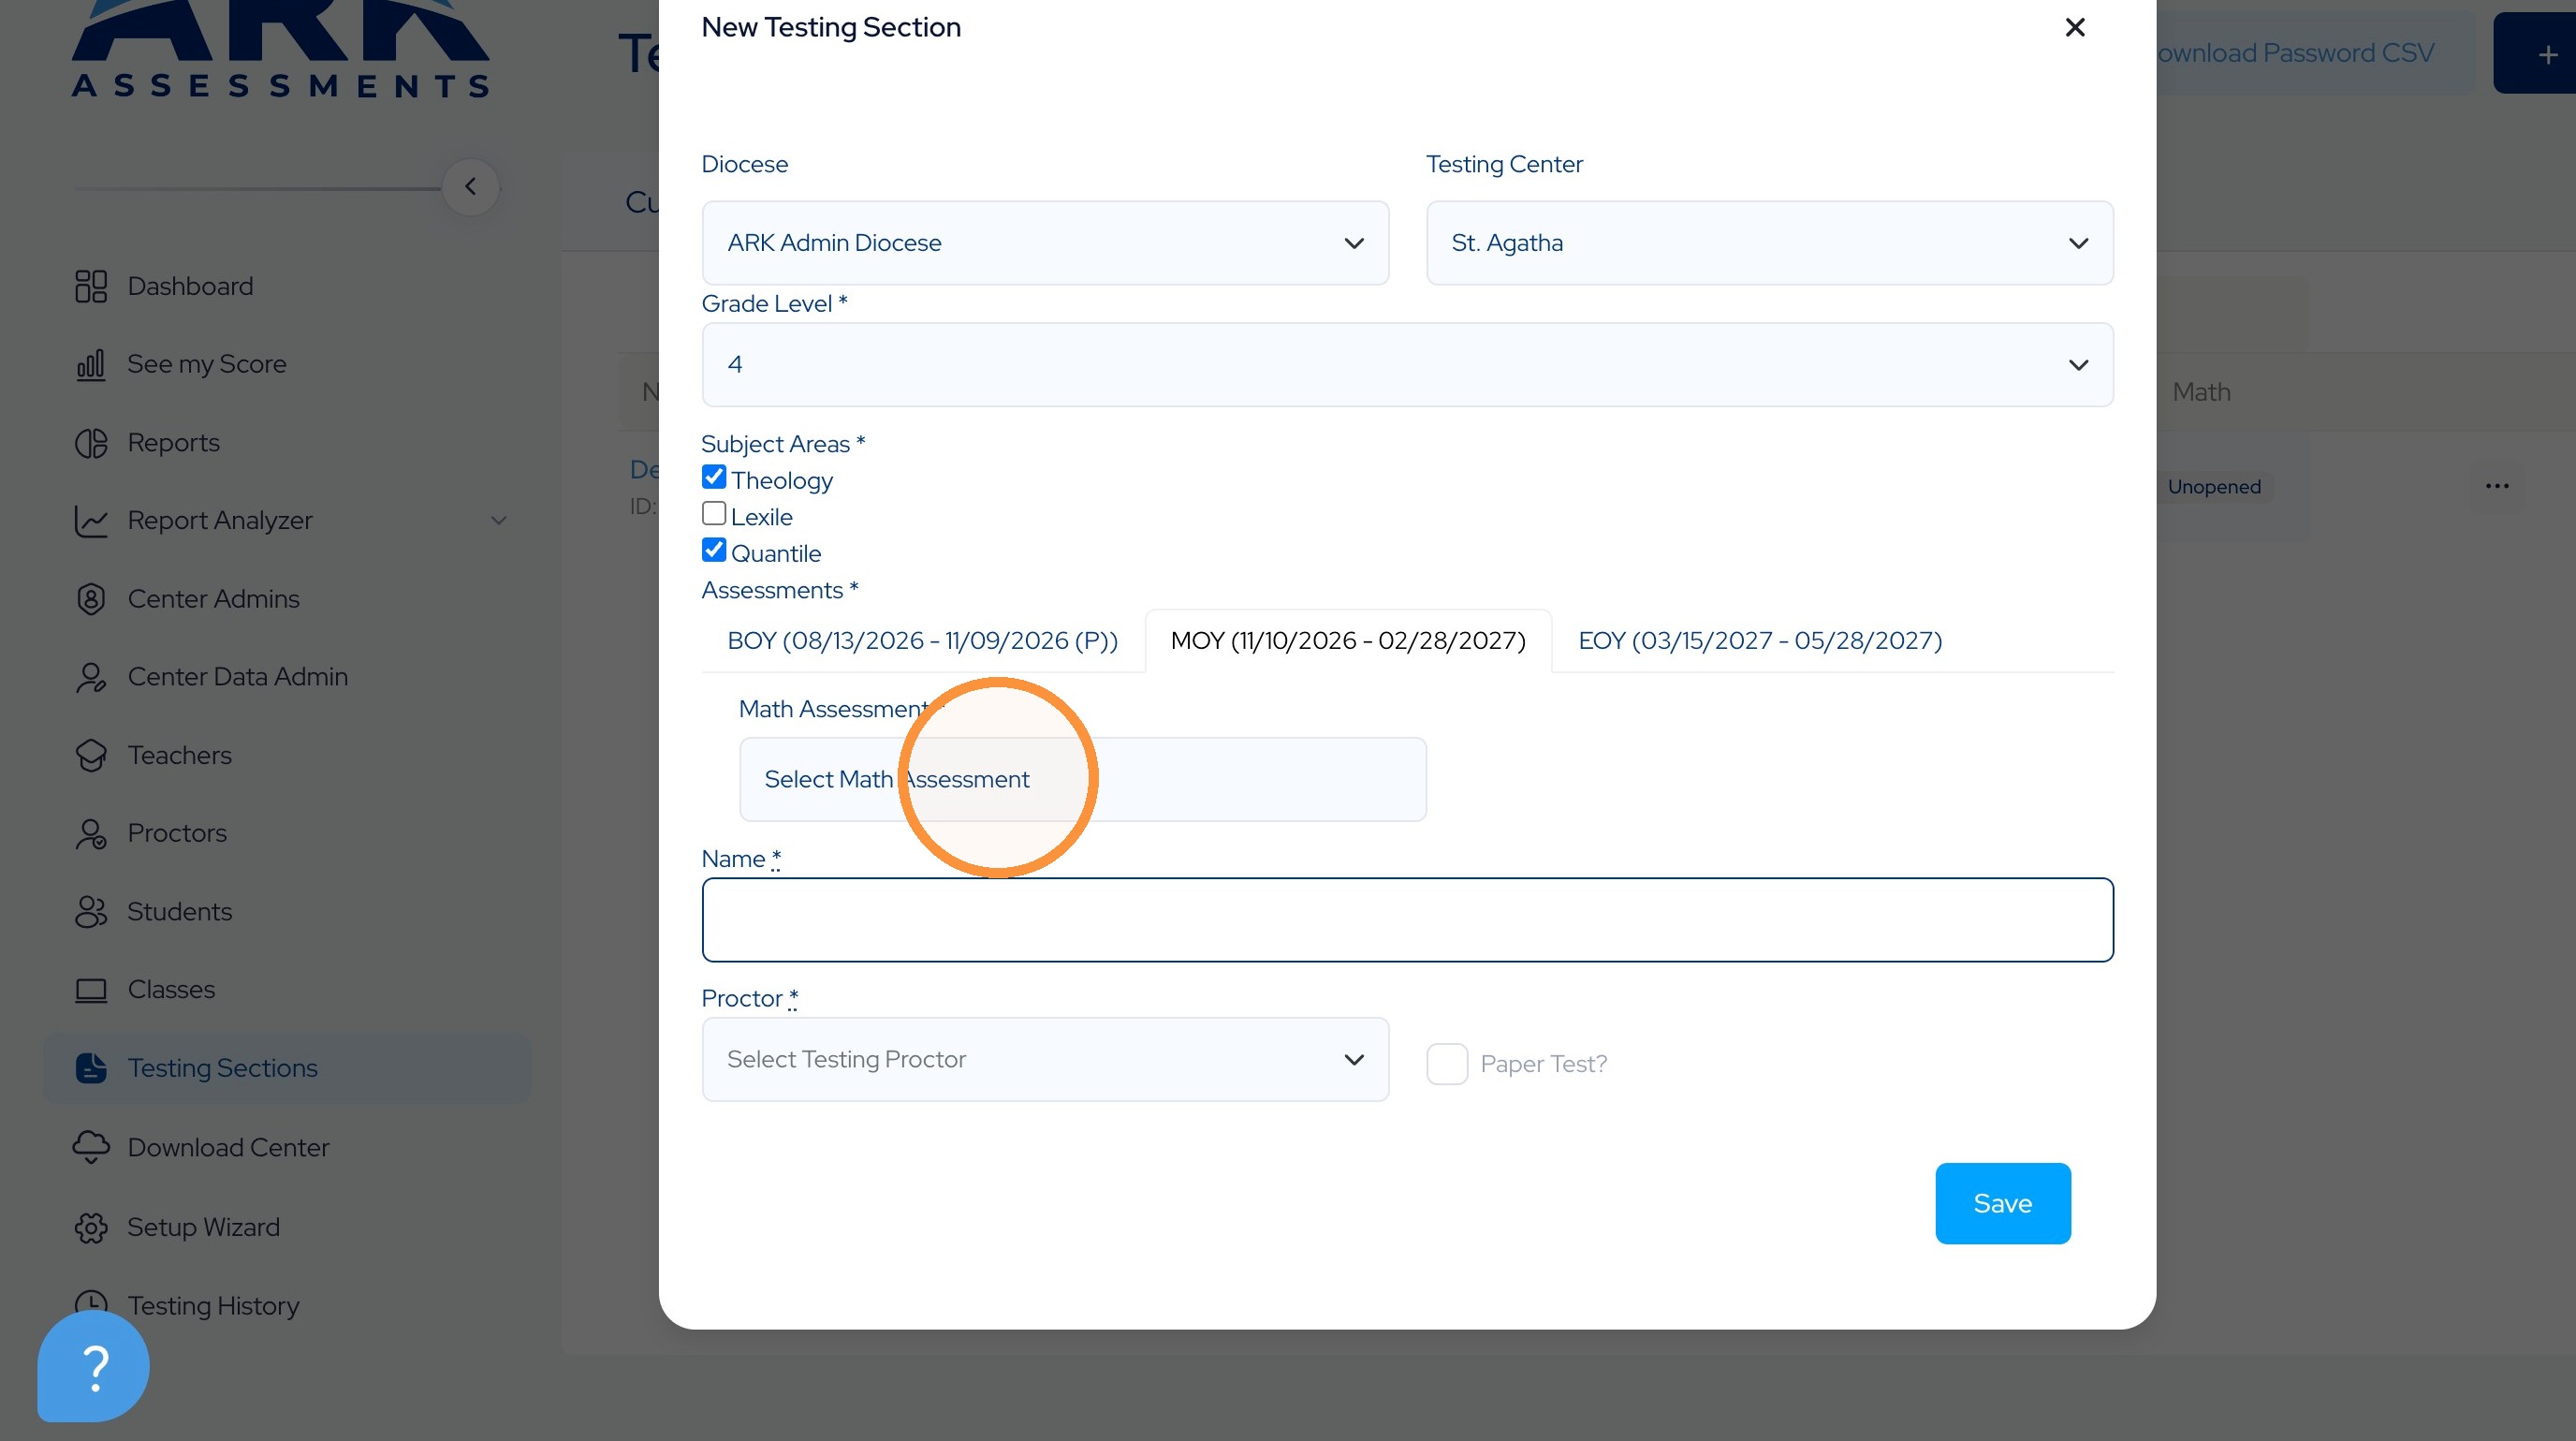
36.
37.
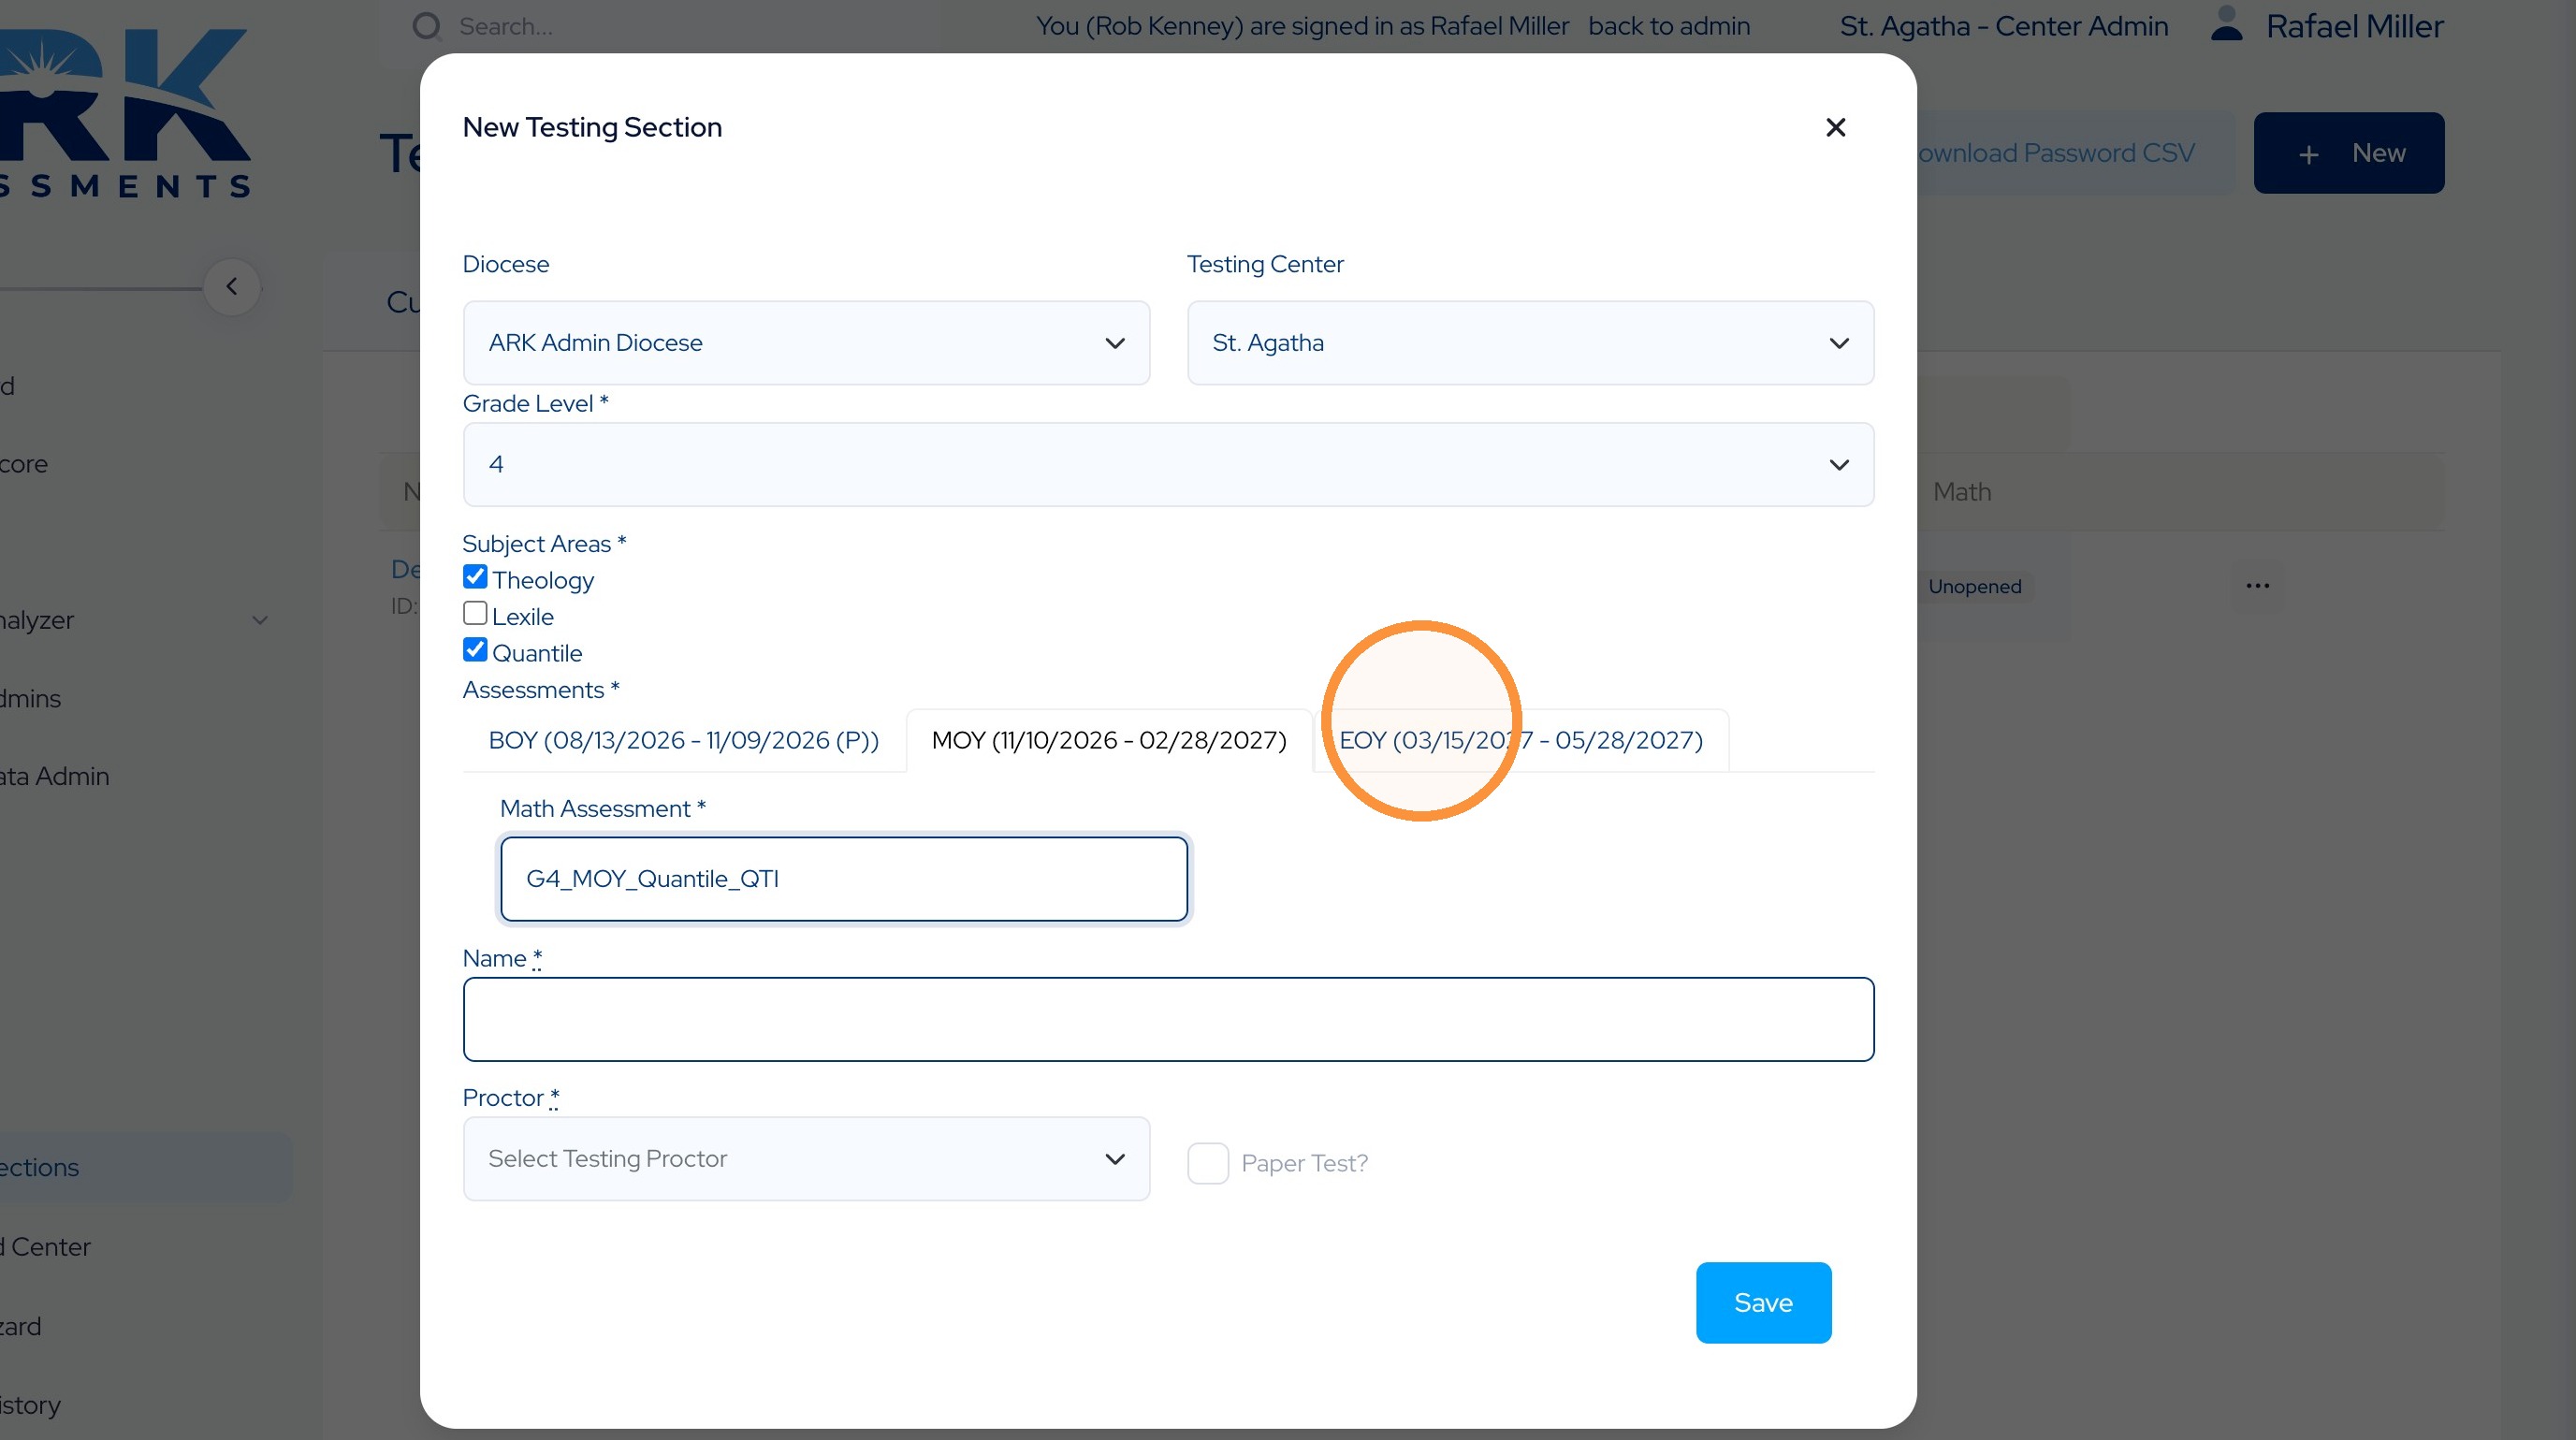
38. Navigate to the next Testing Window tab.
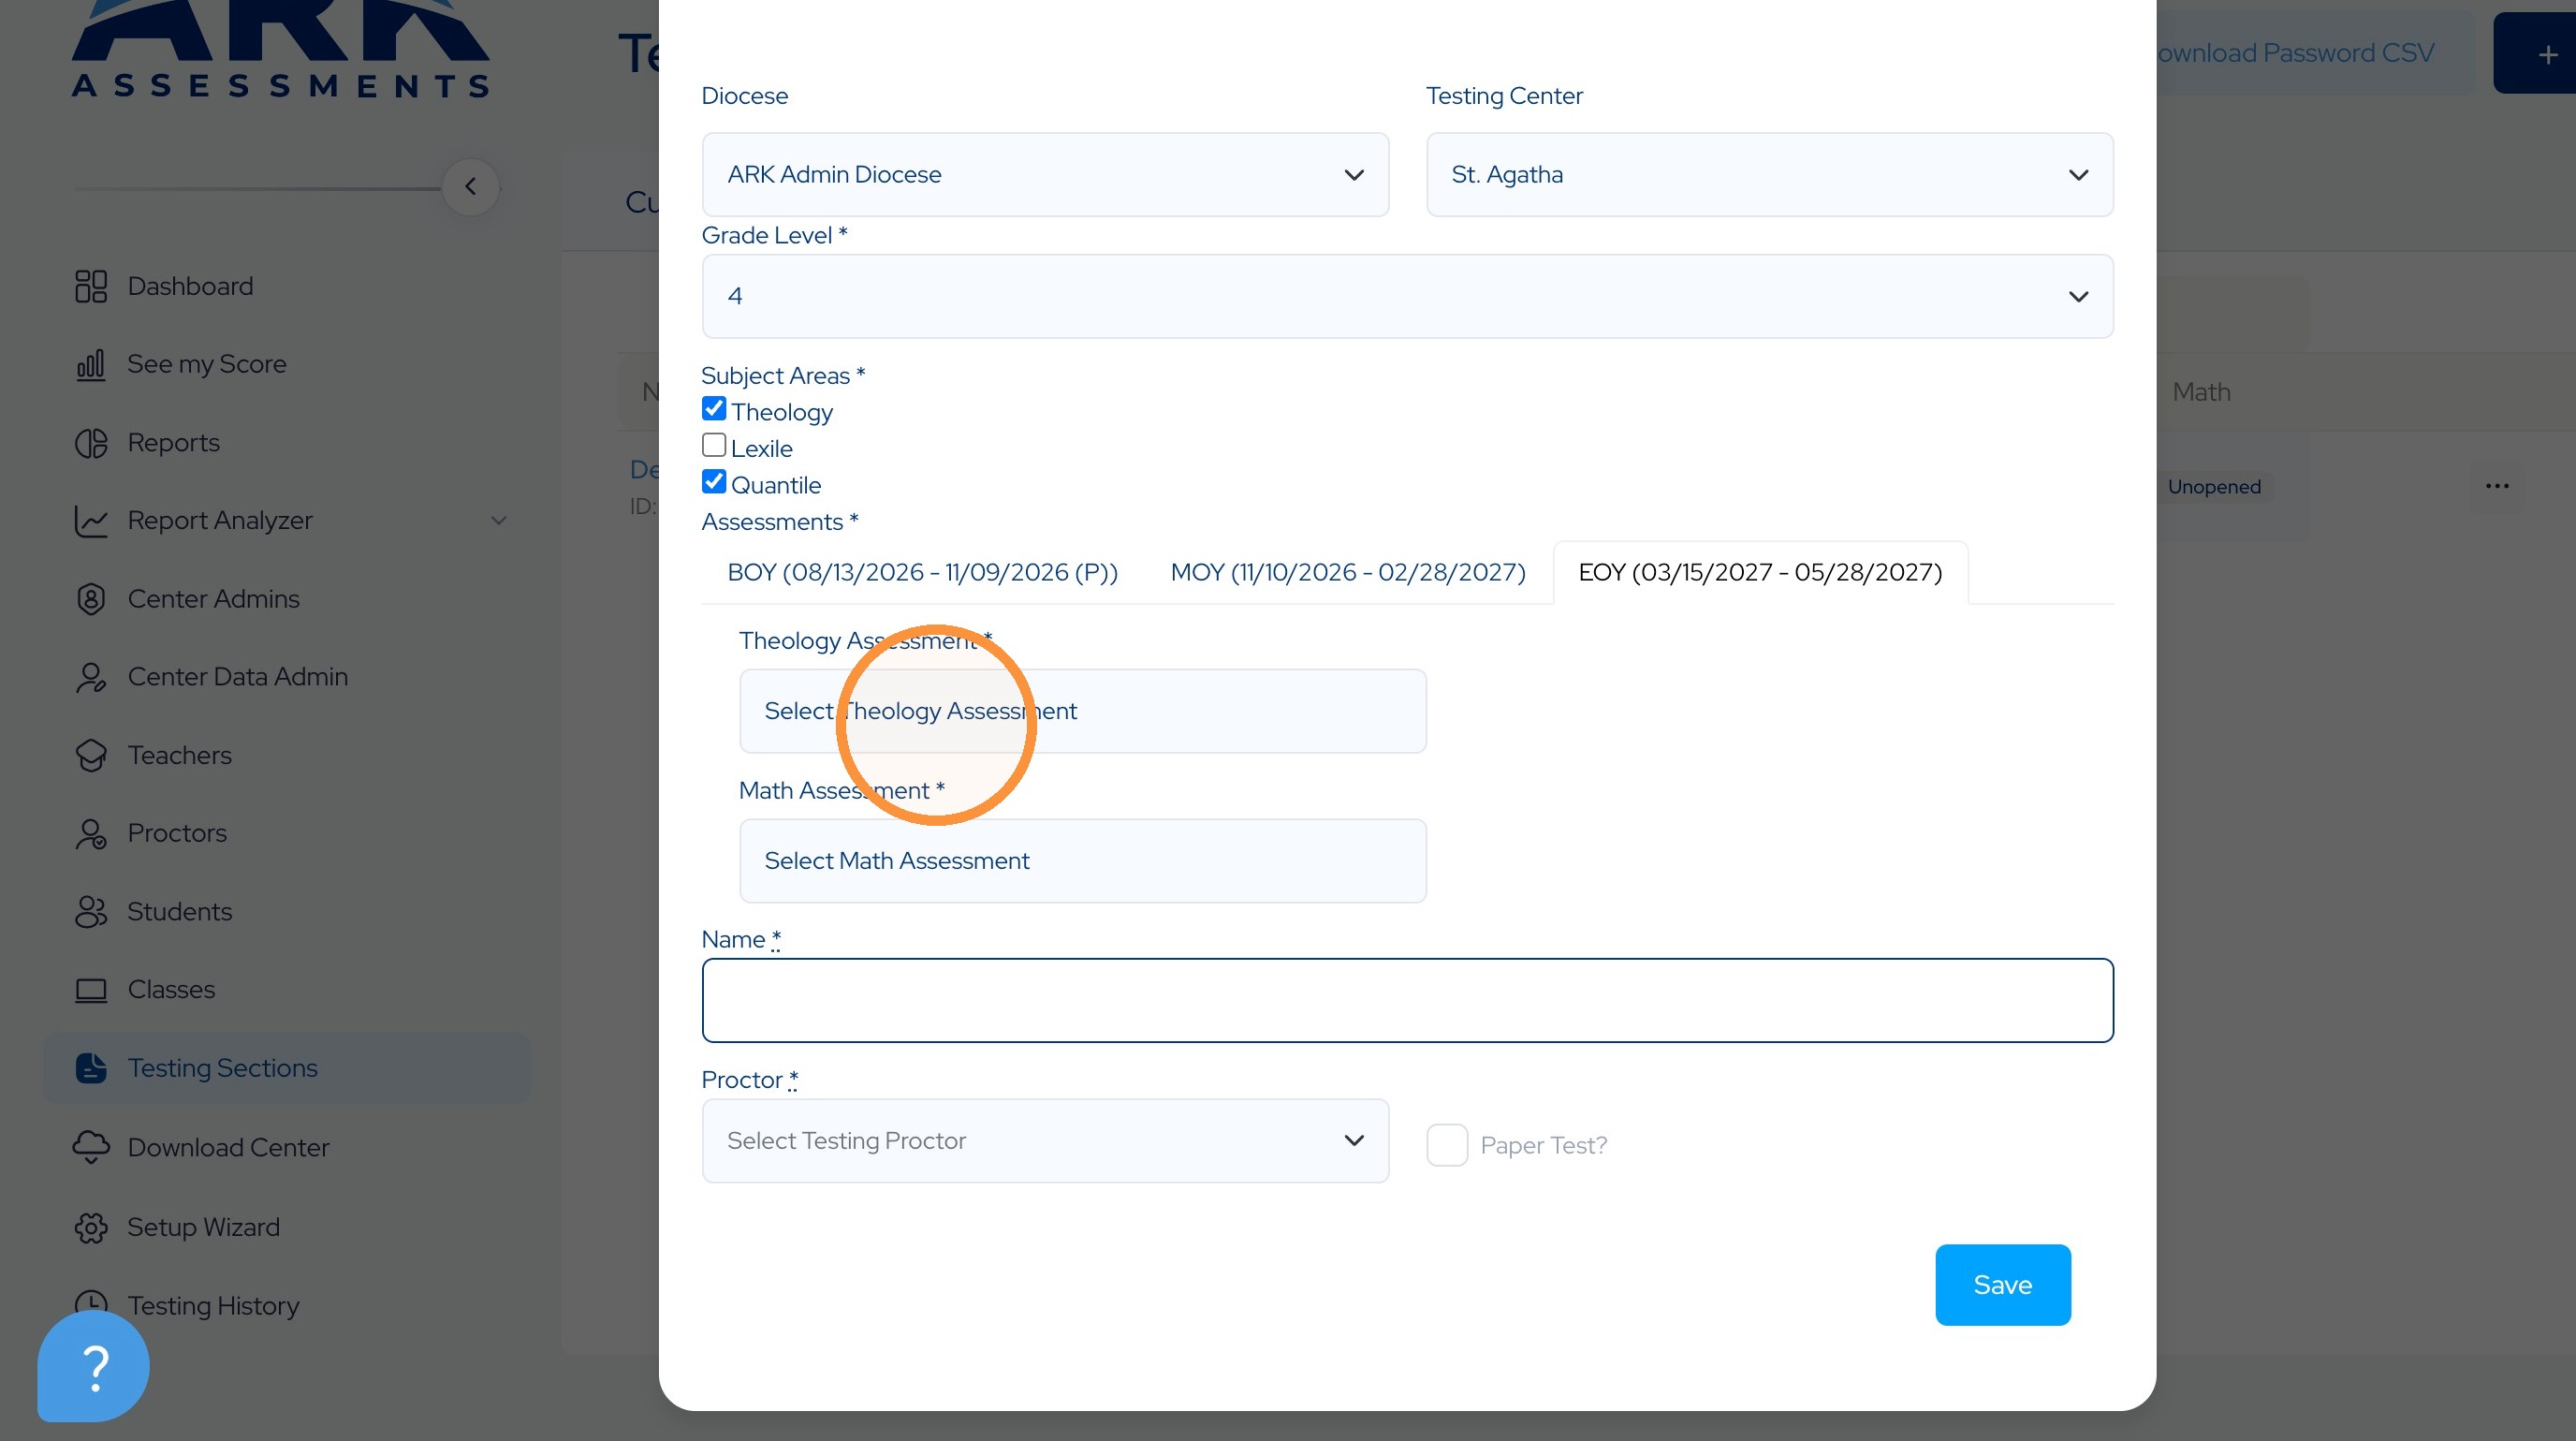
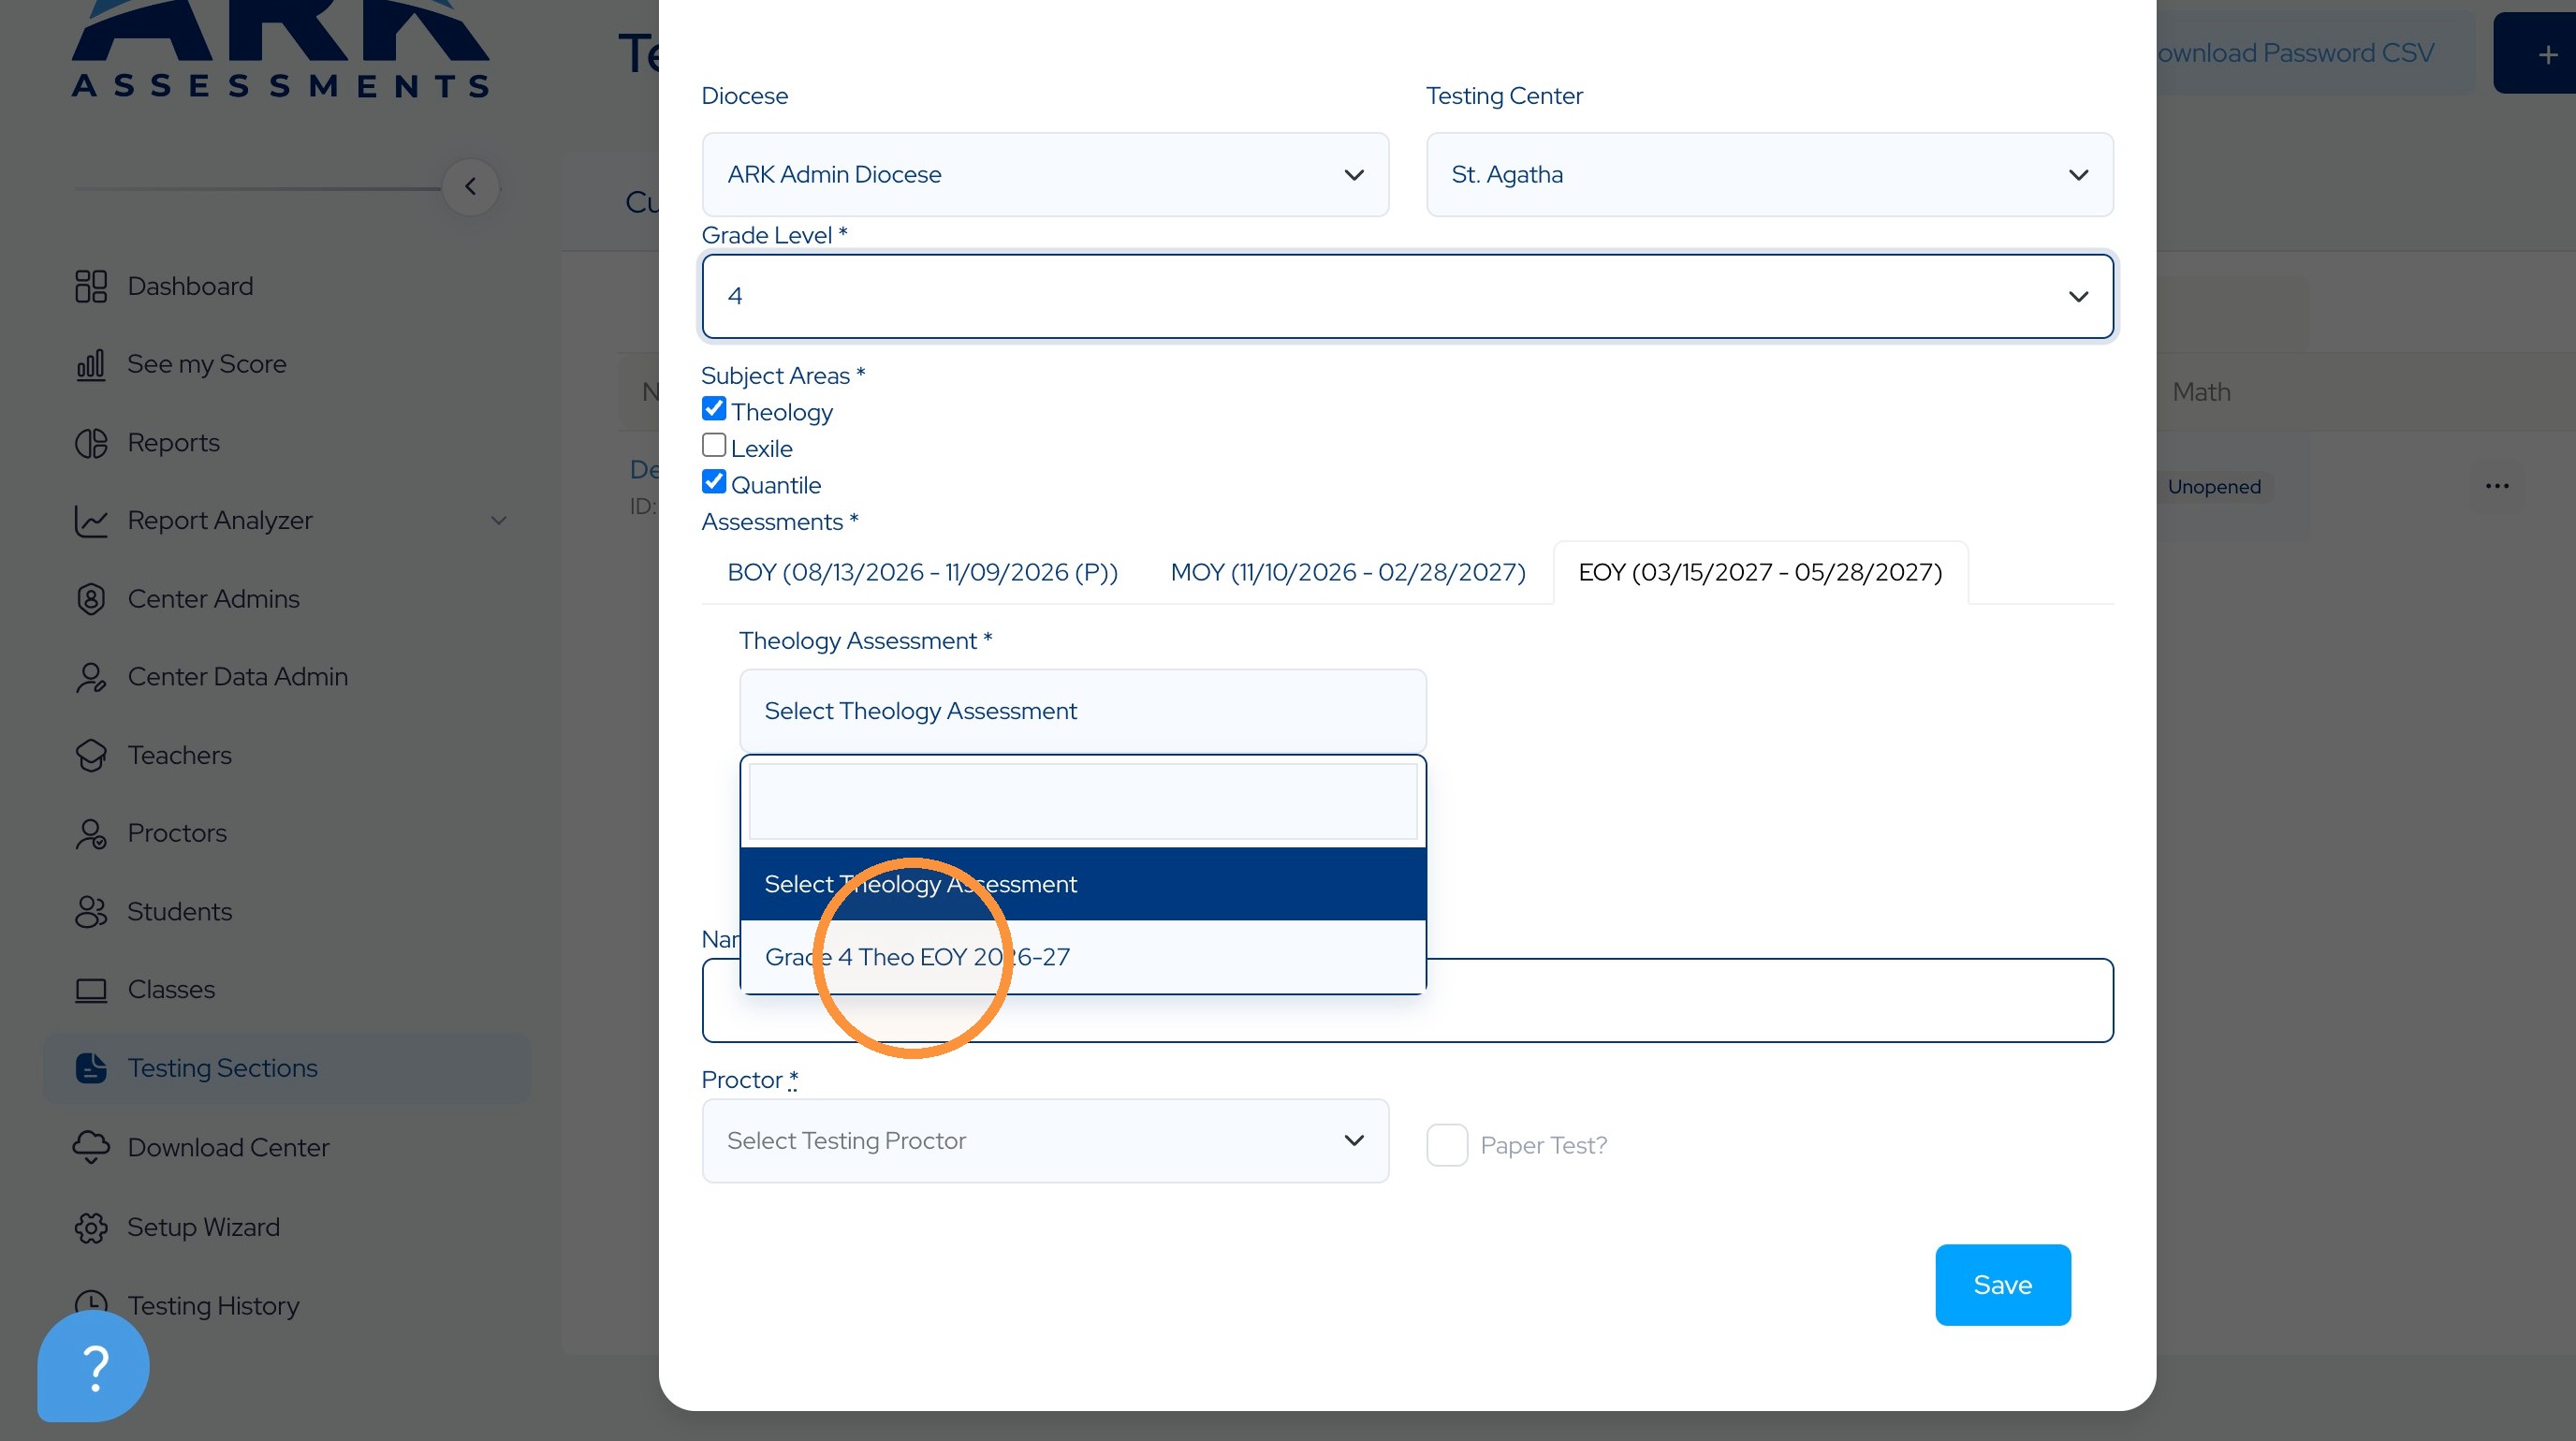
39. Select the assessments for each indicated subject. Note there are no Theology assessments for Middle of Year.
40.
41. Navigate to the final Testing Window tab
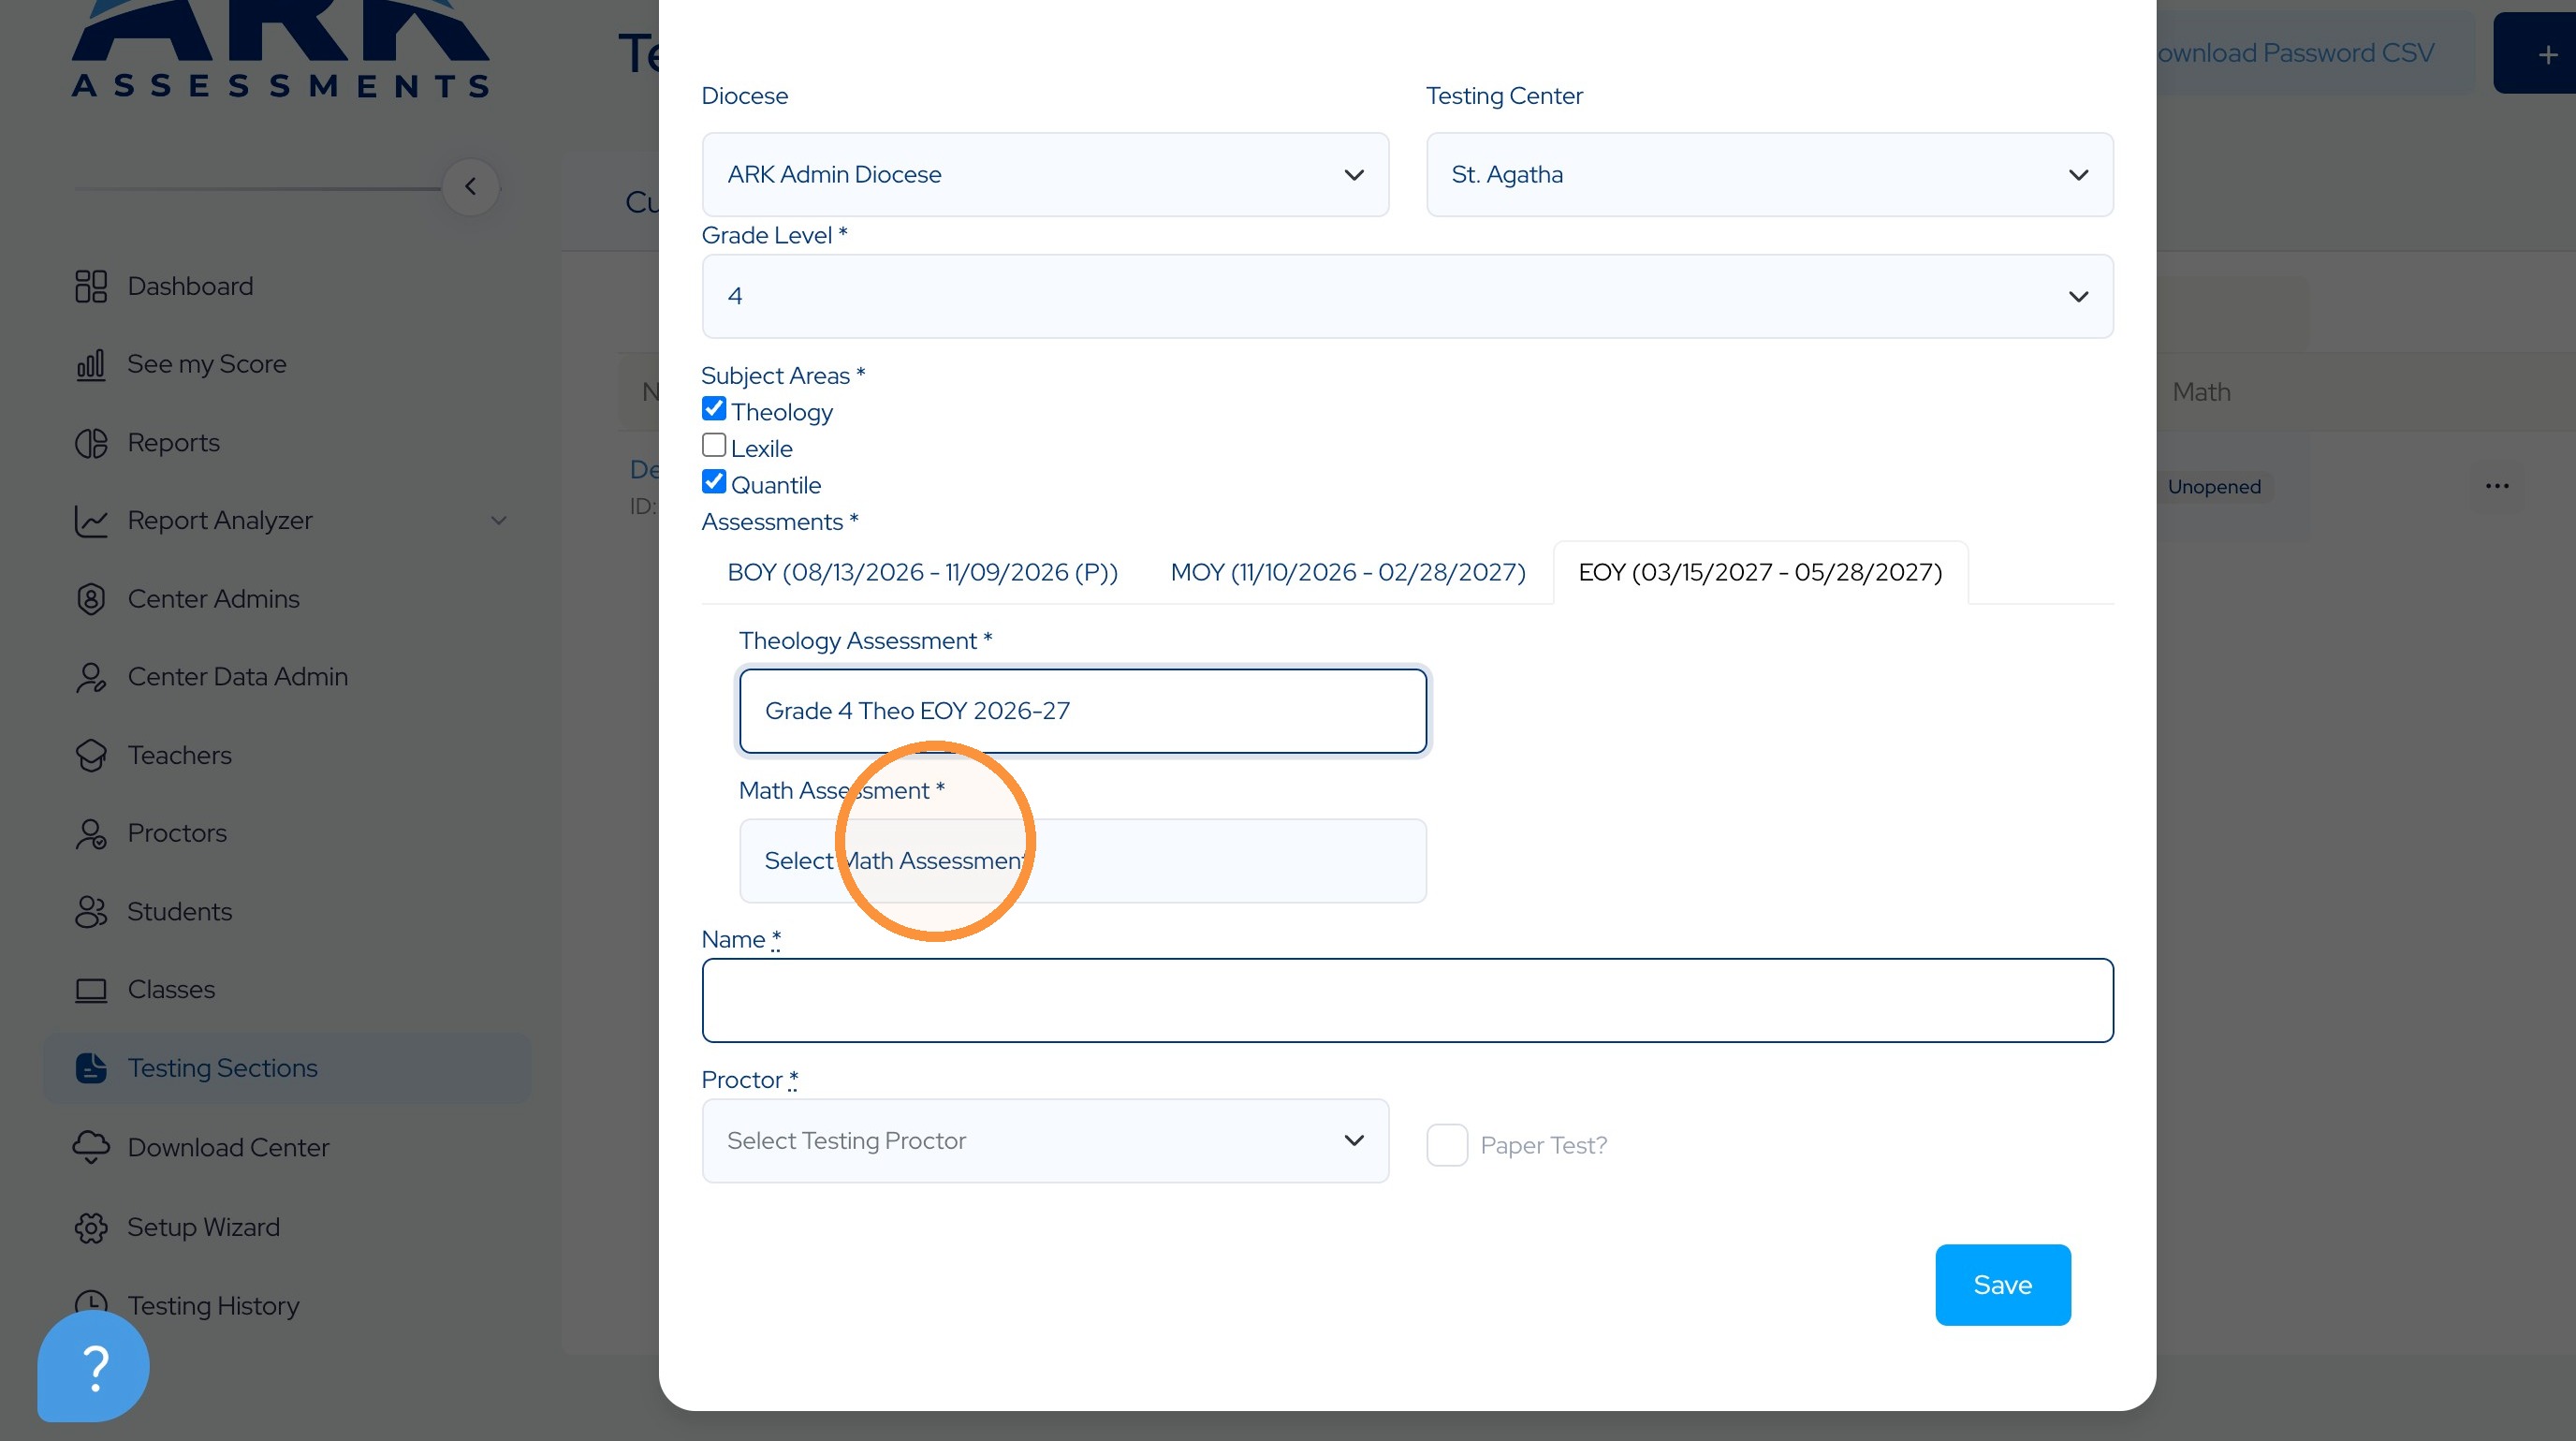
42. Select each assessment
43.
44.
45.
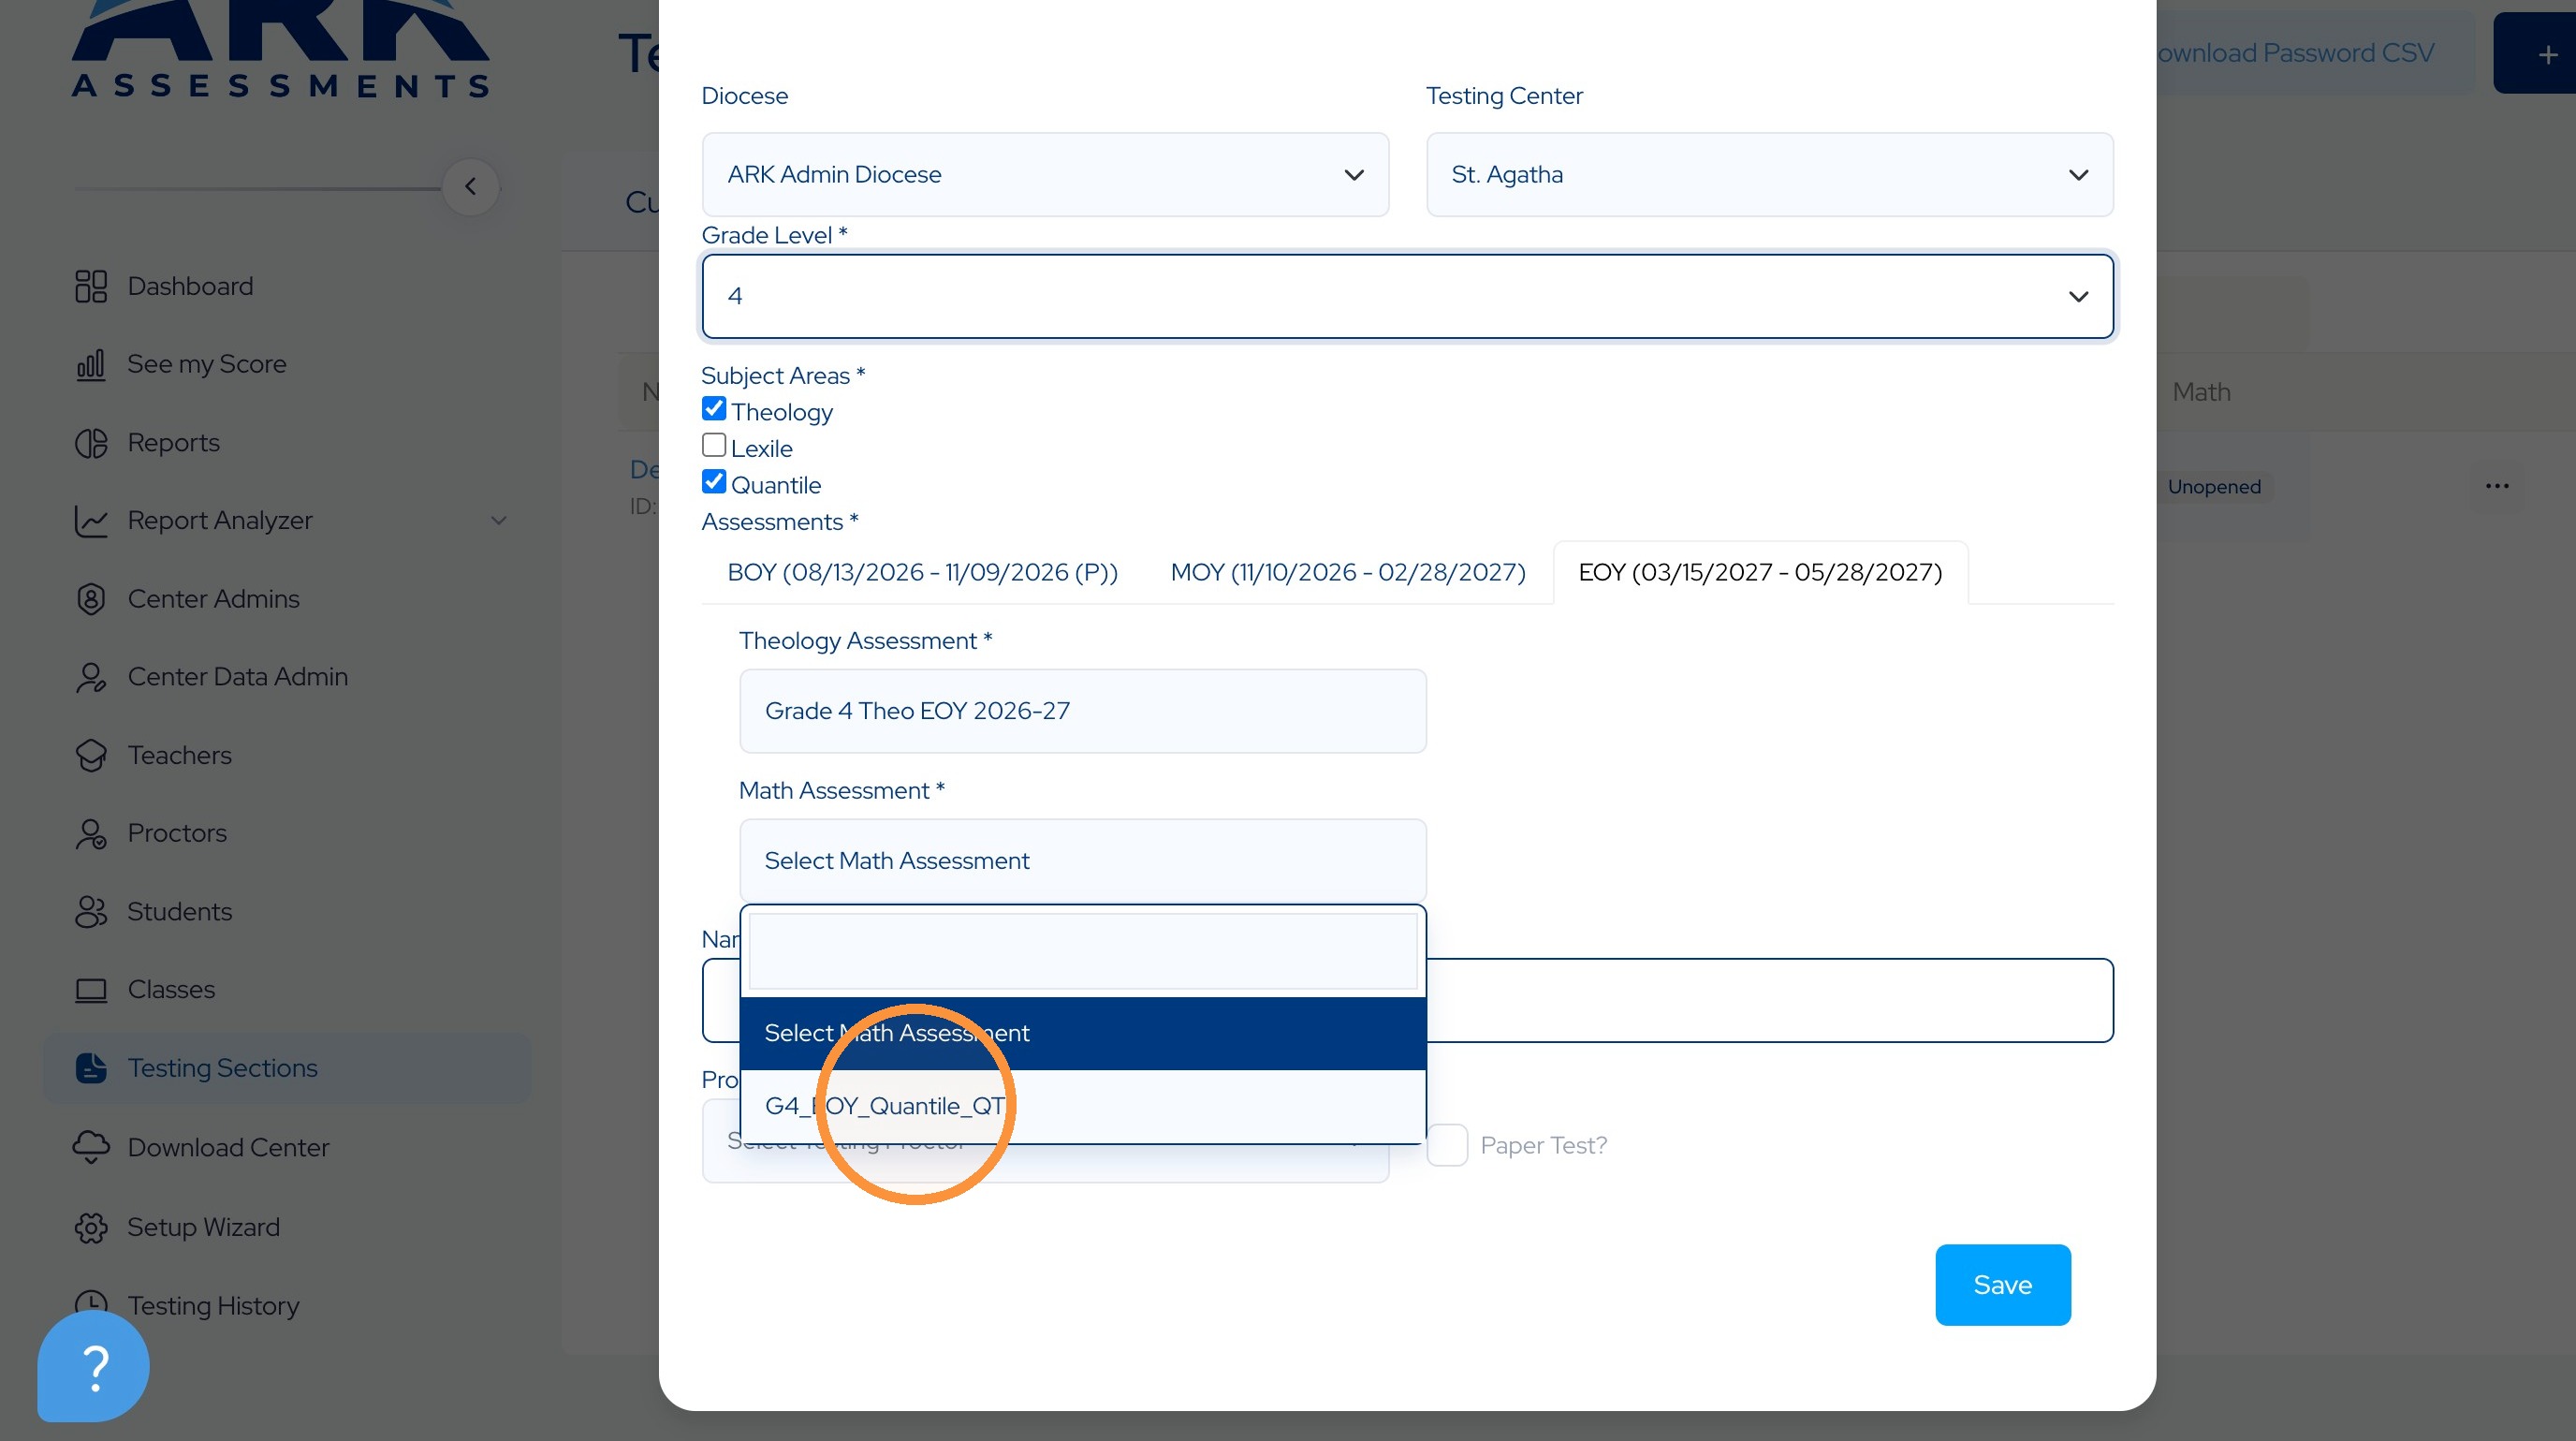
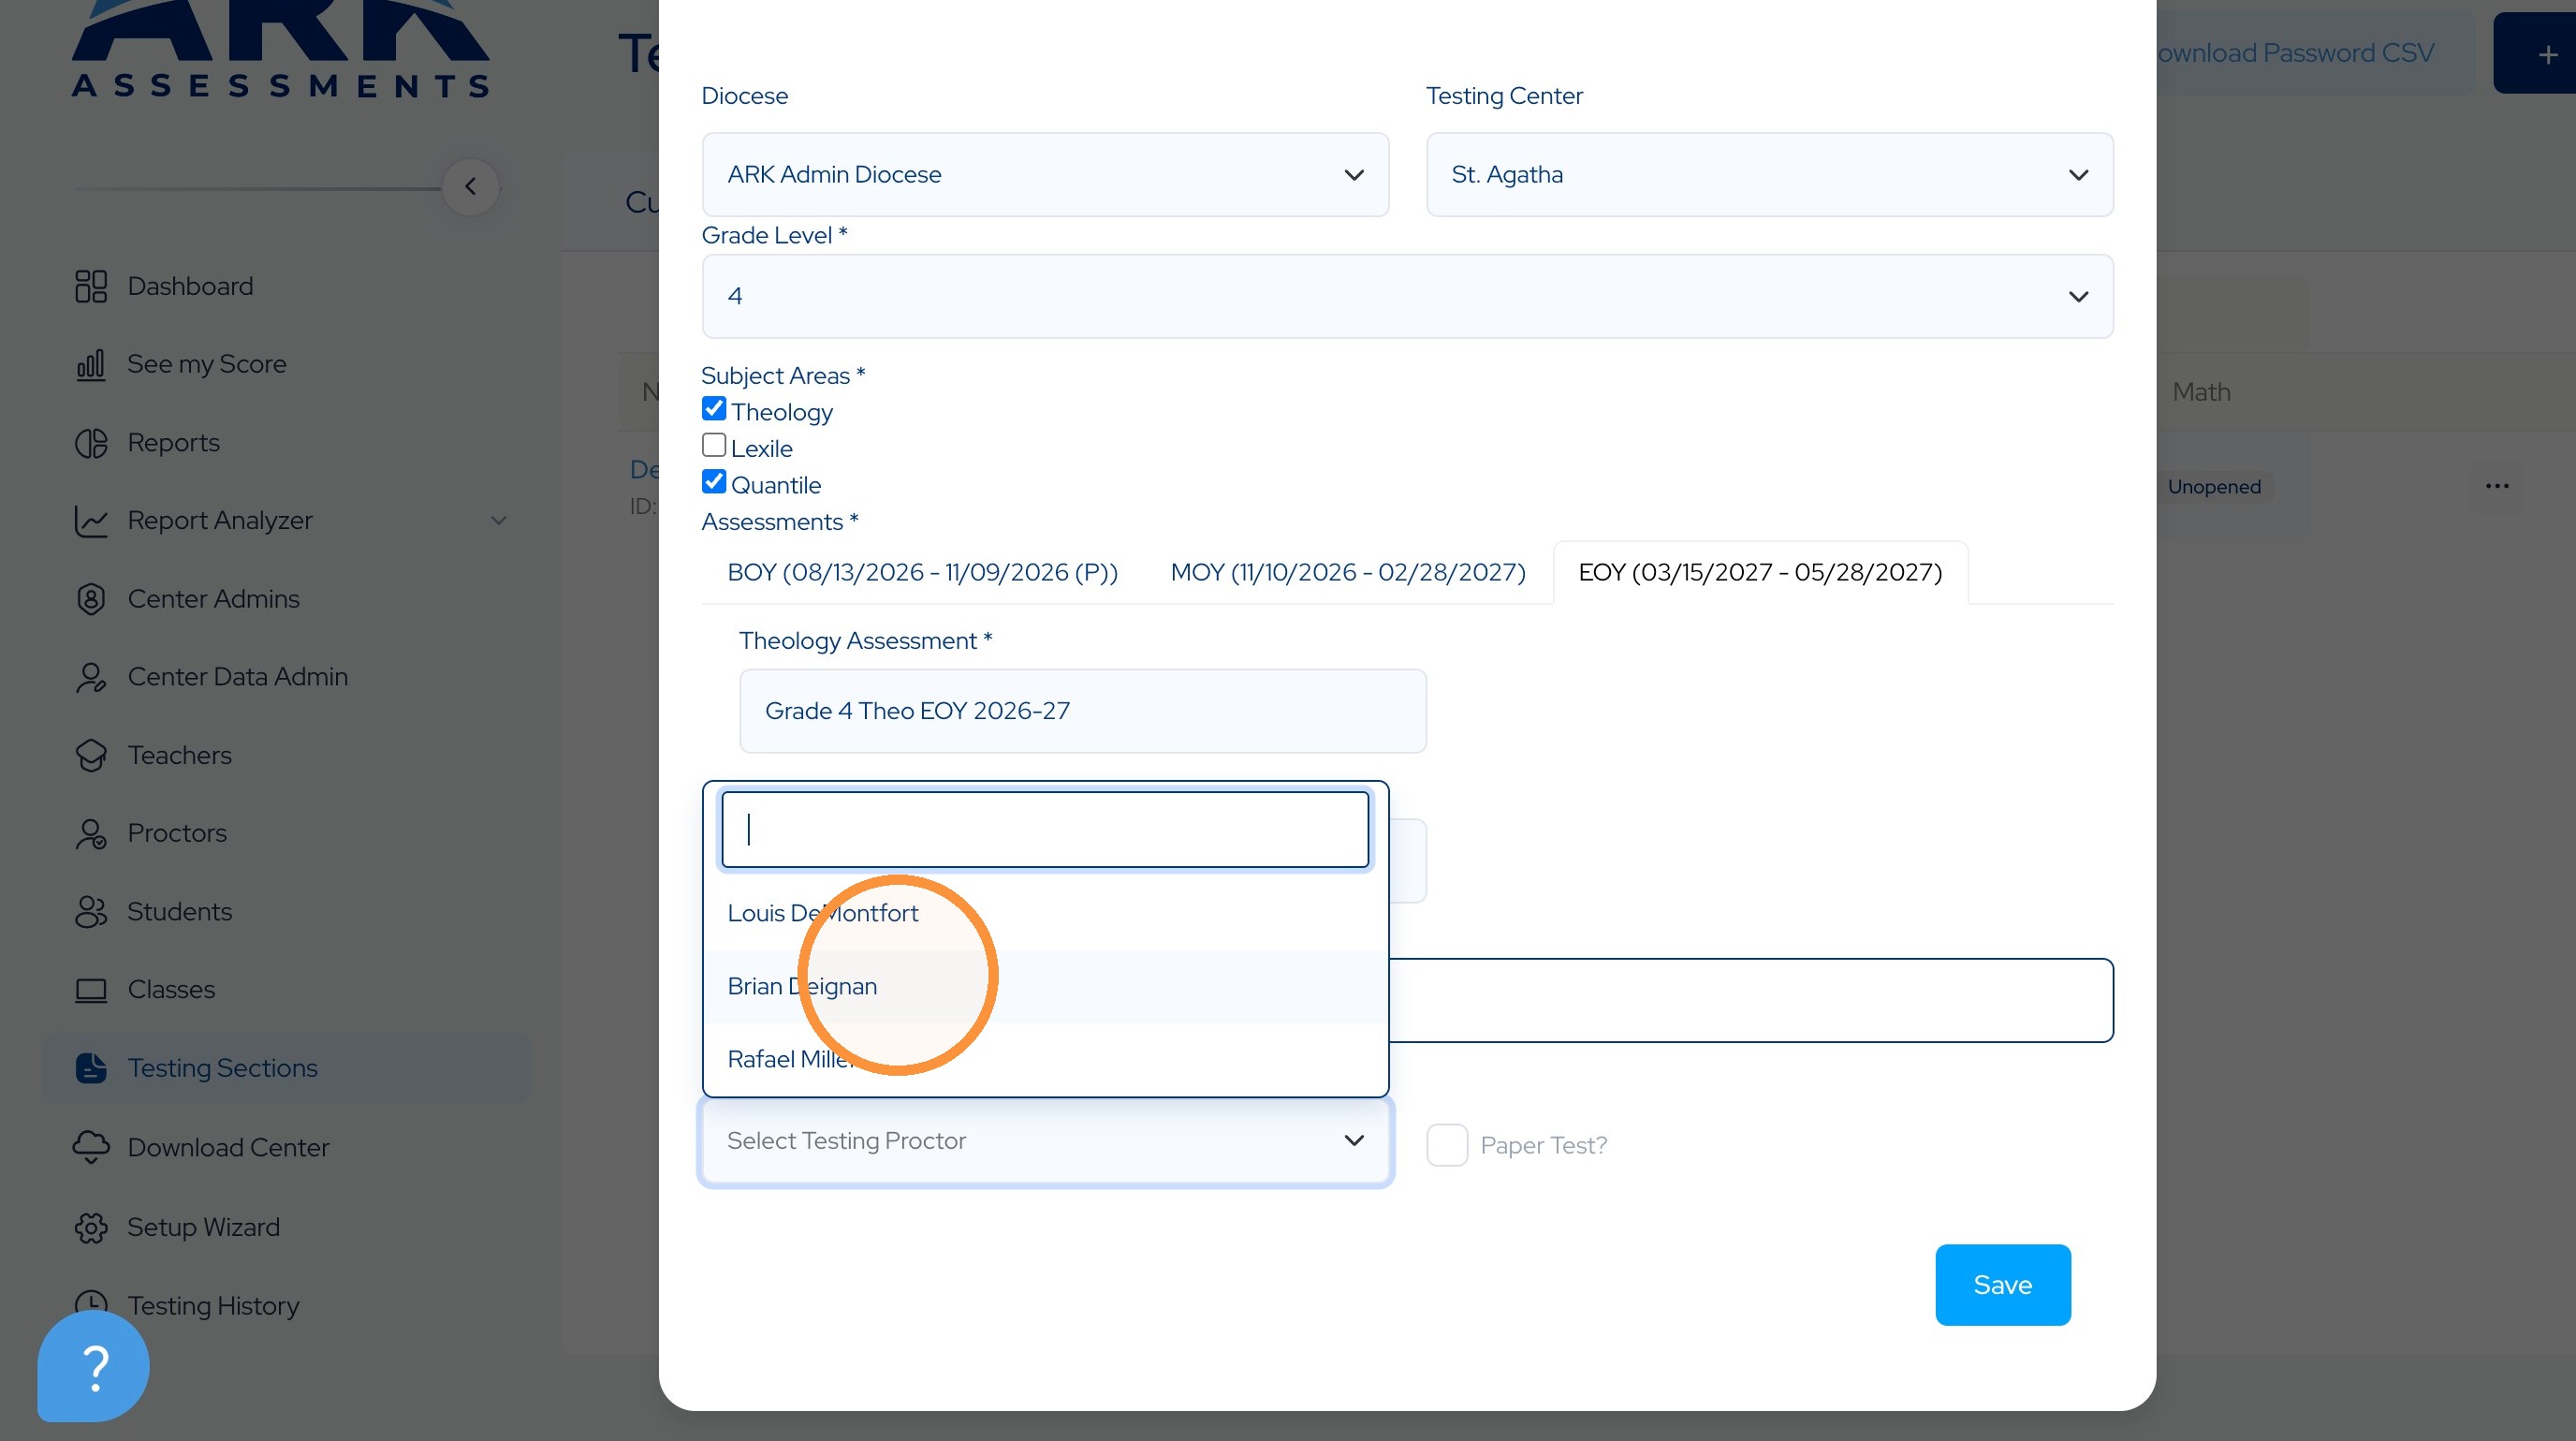
46. Name your section something you will recognize.
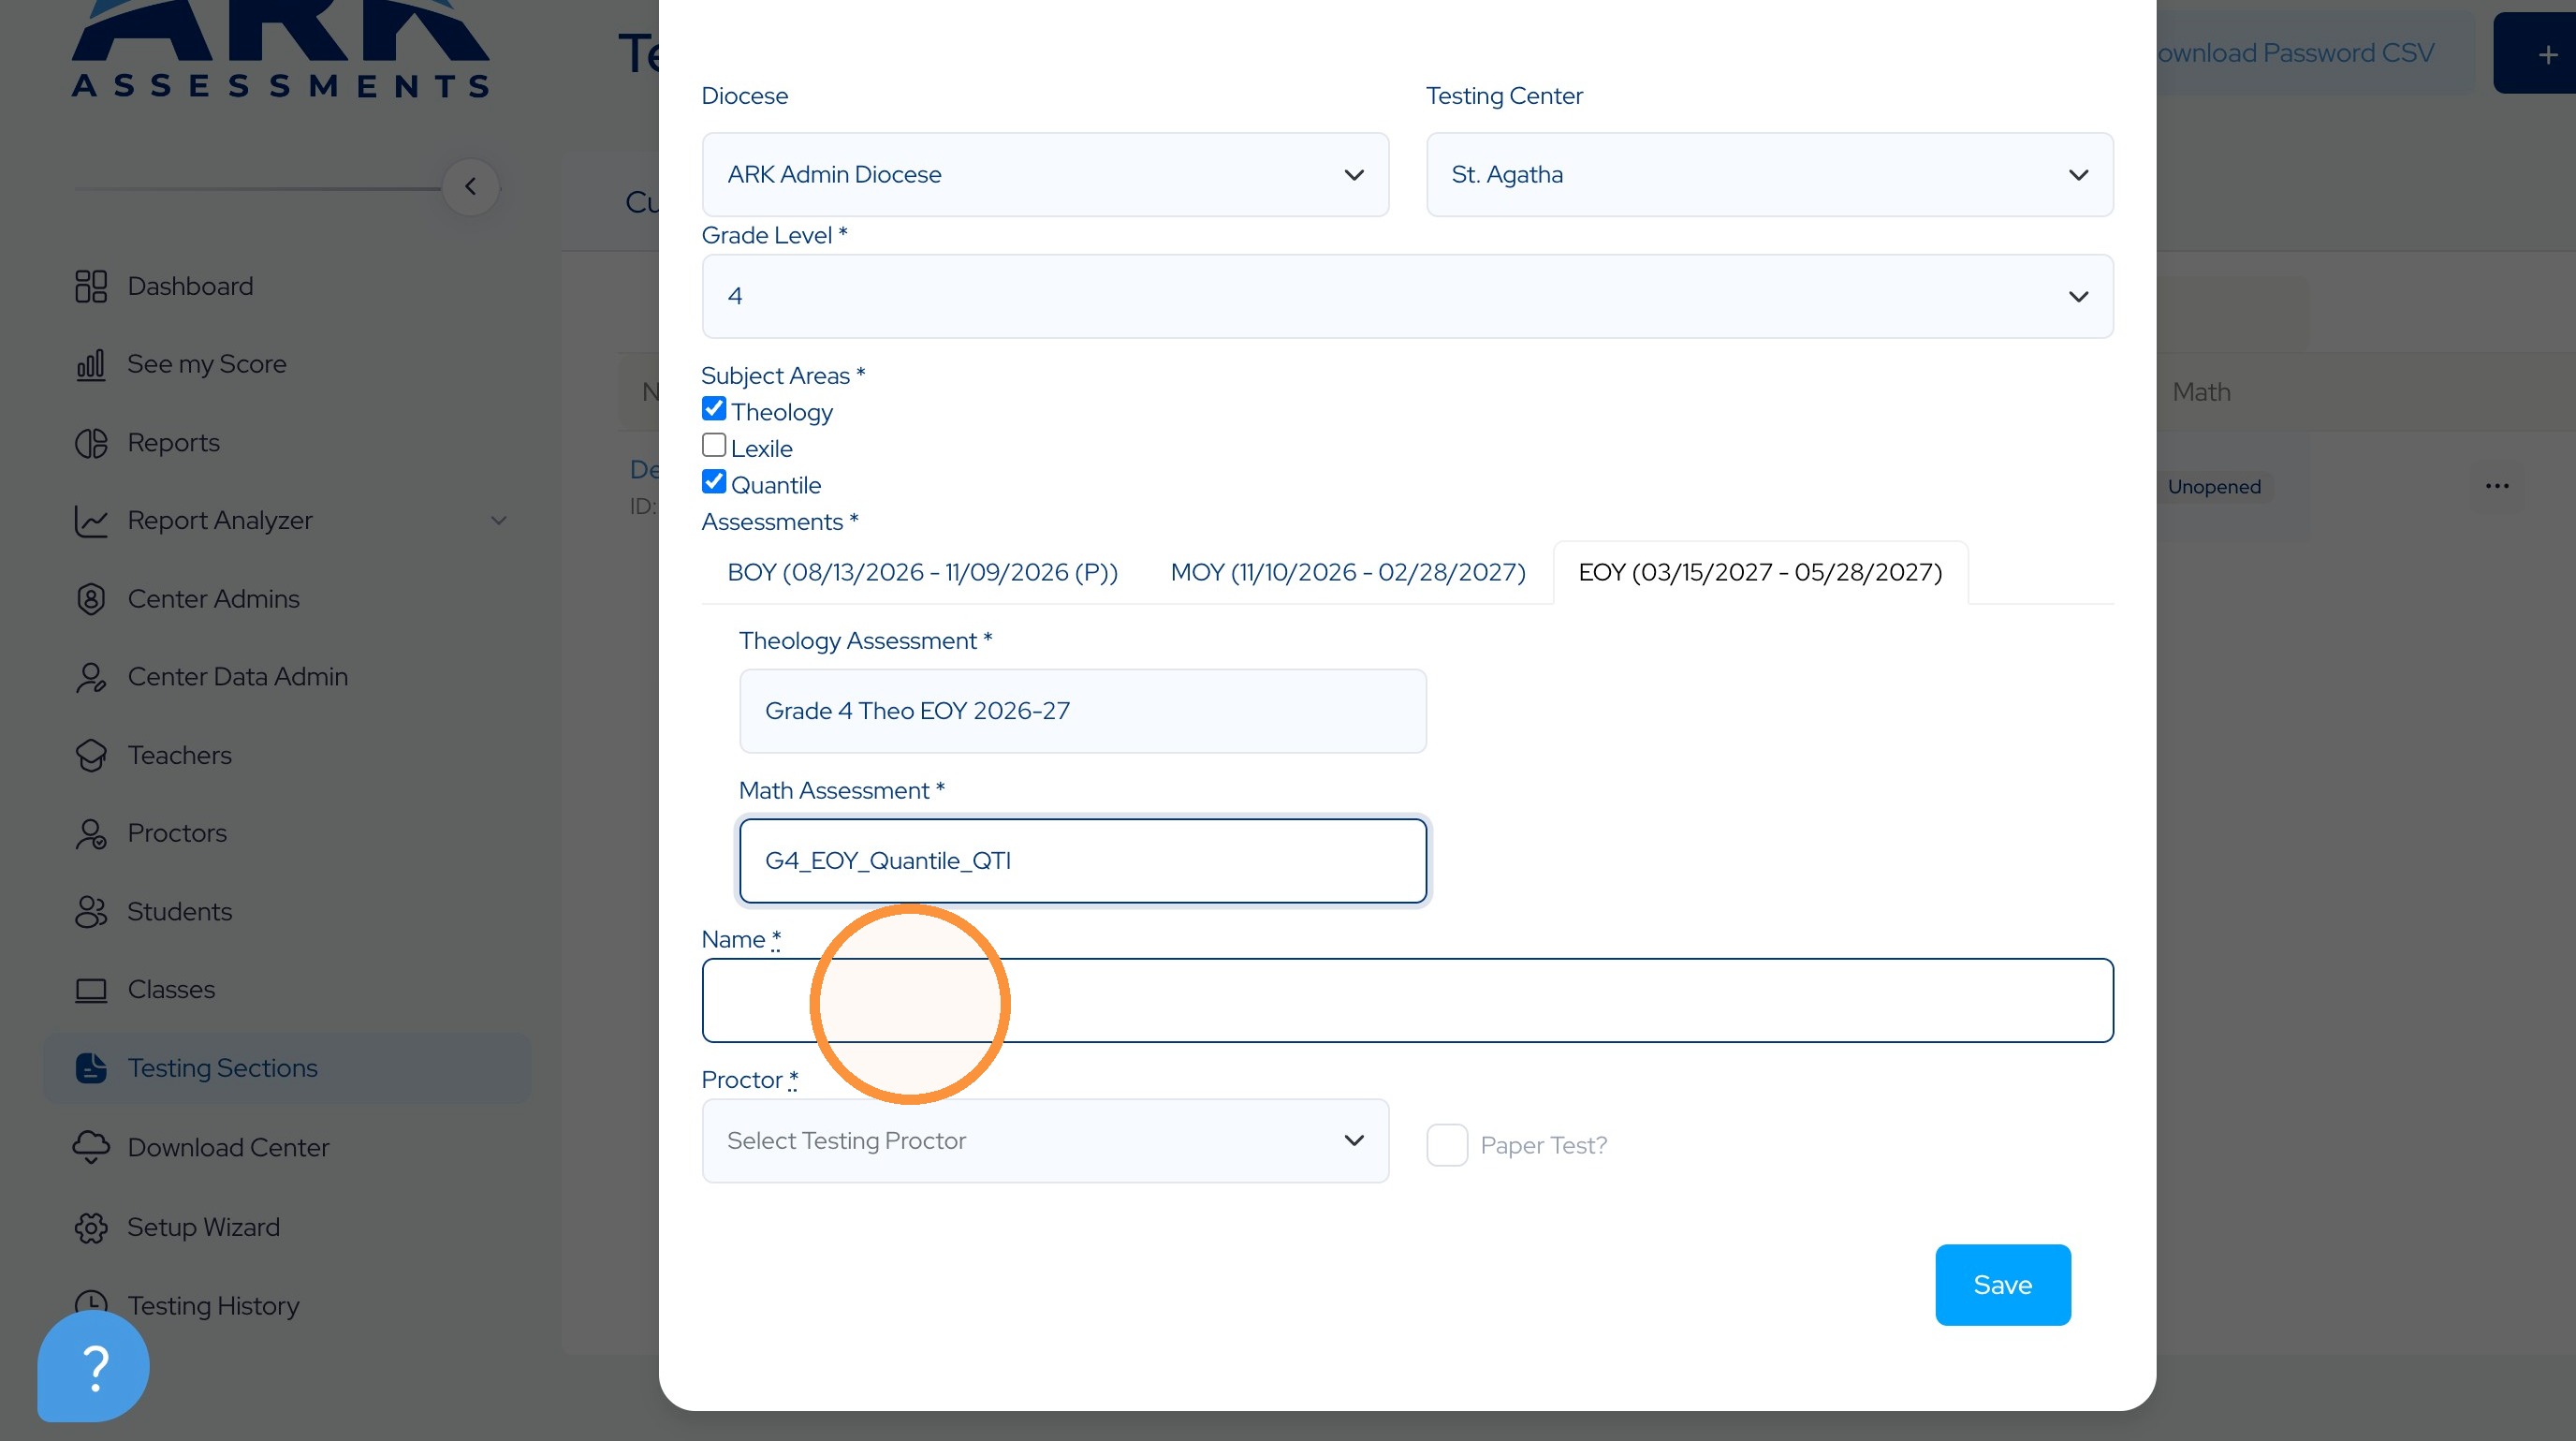
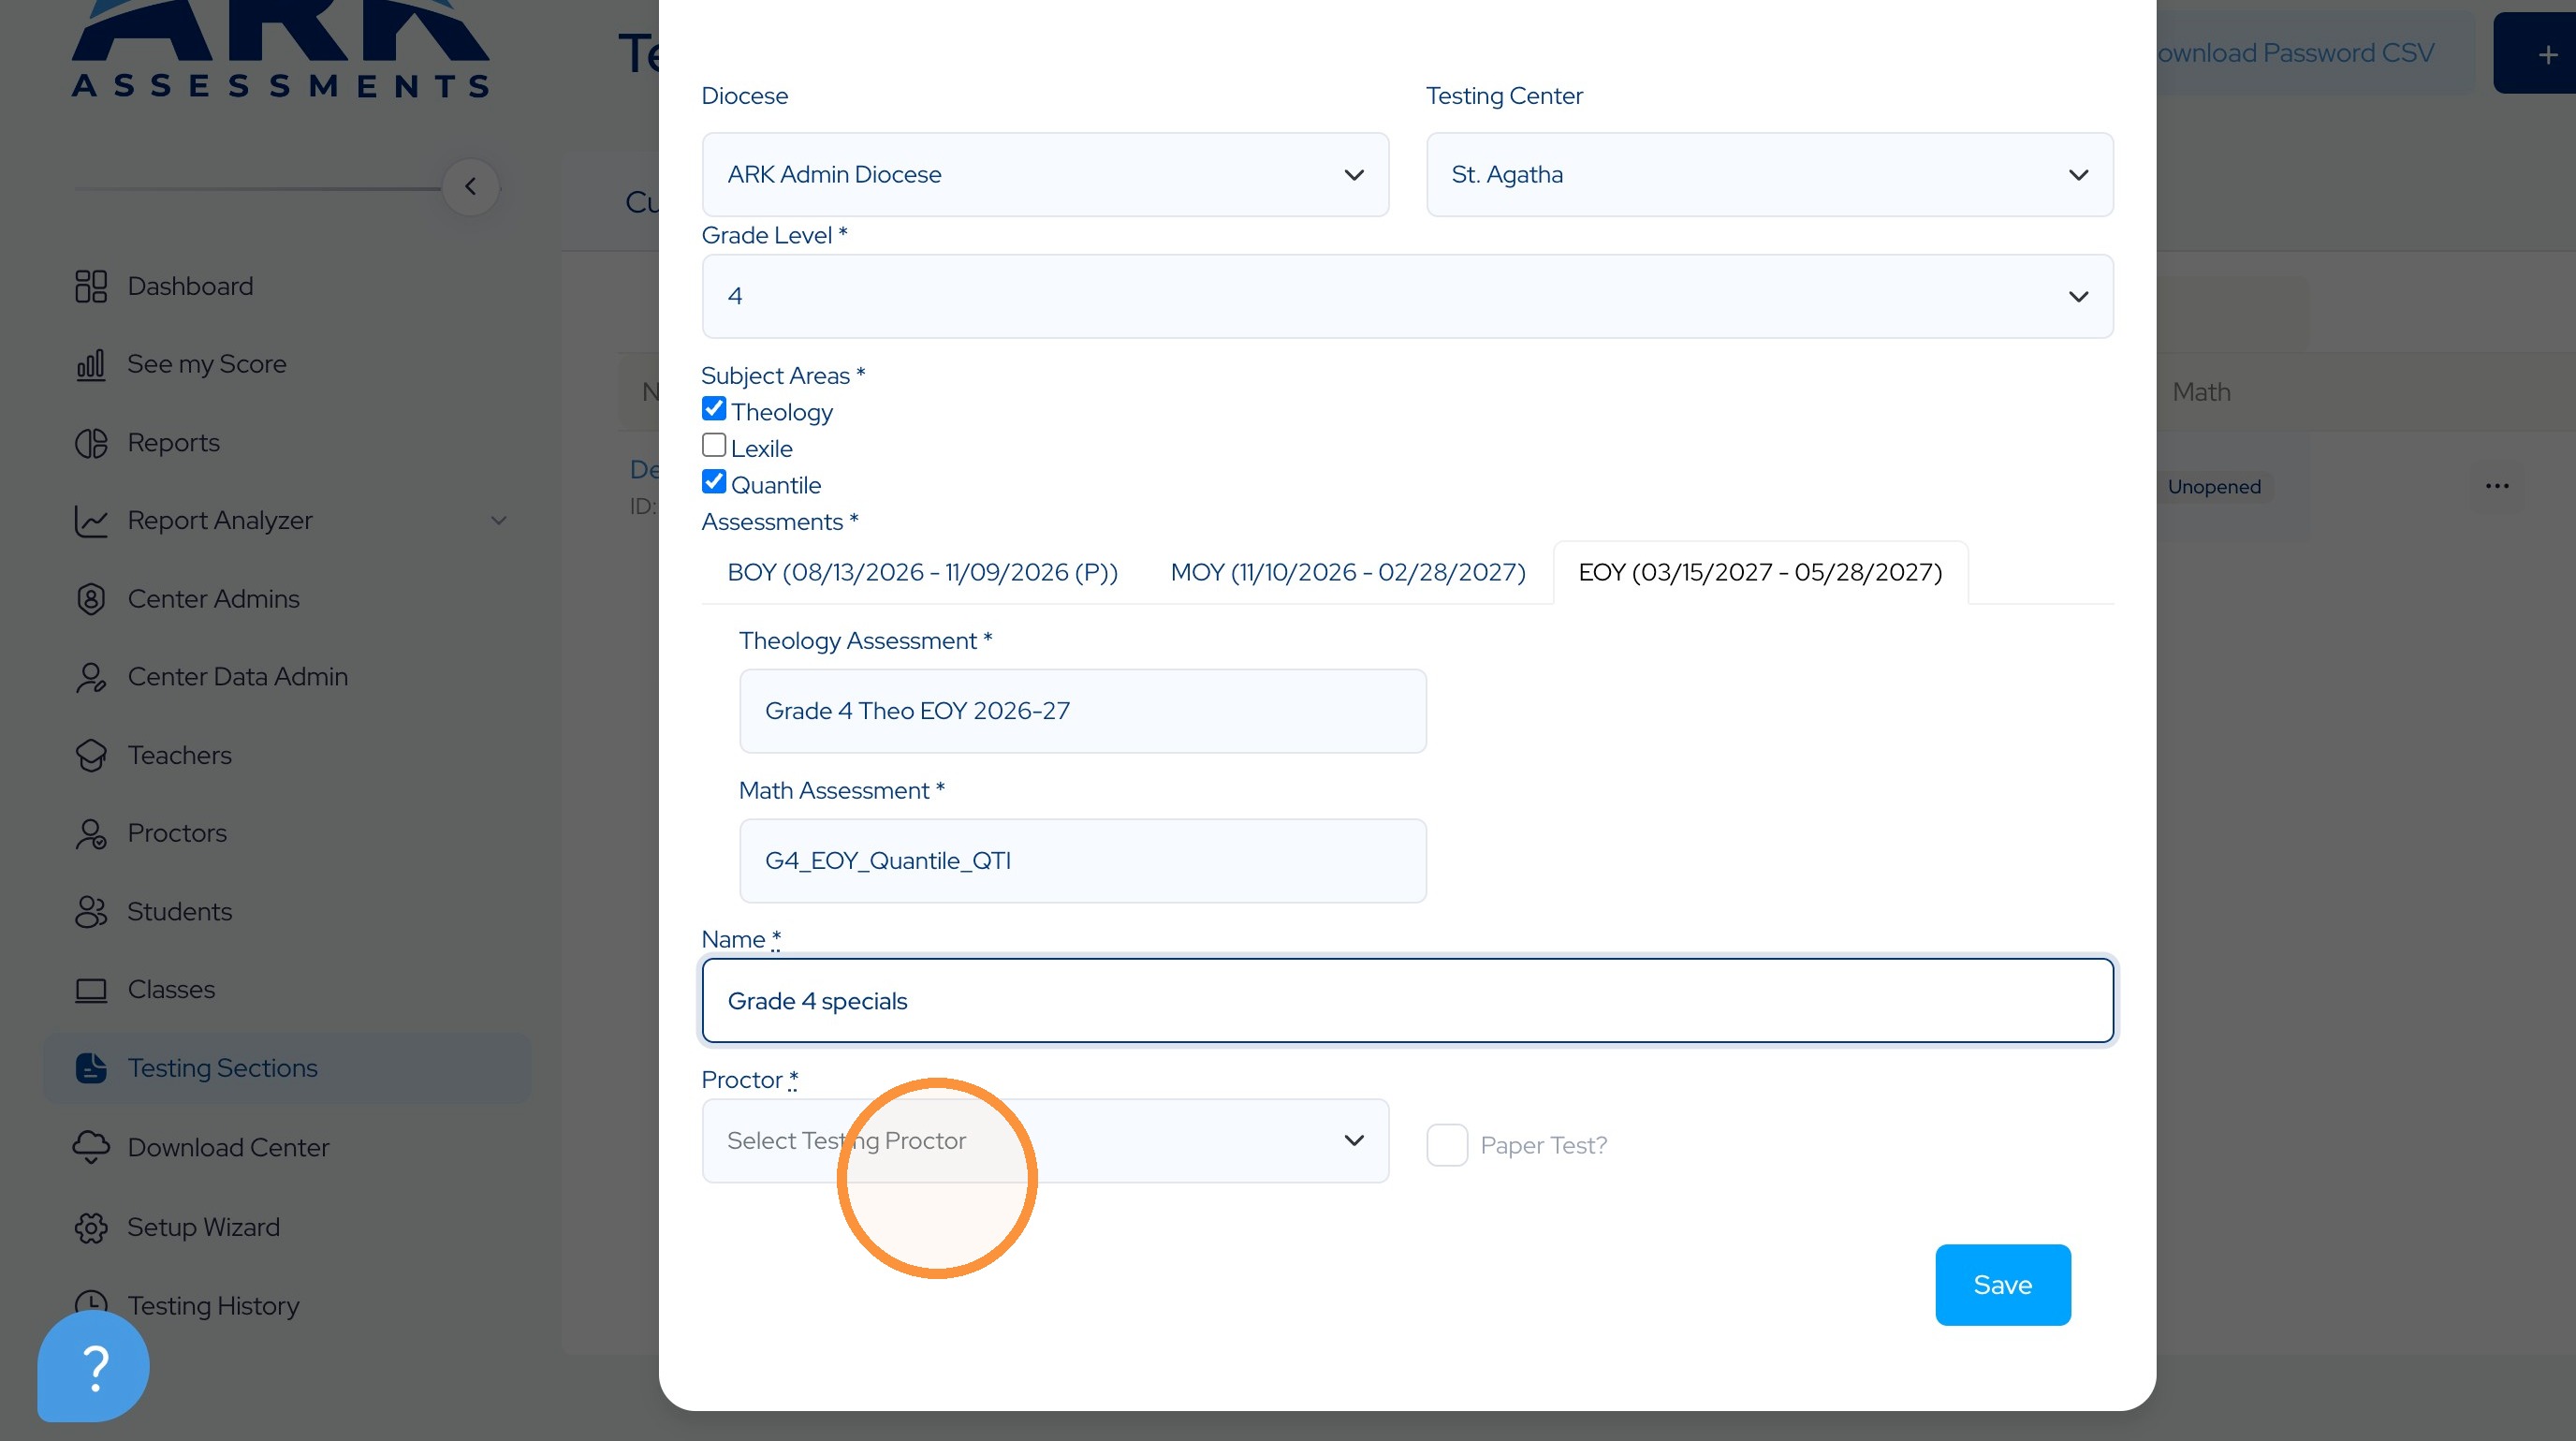
47. Select the Proctor for this section.
48.
49. And click Save to complete the setup.
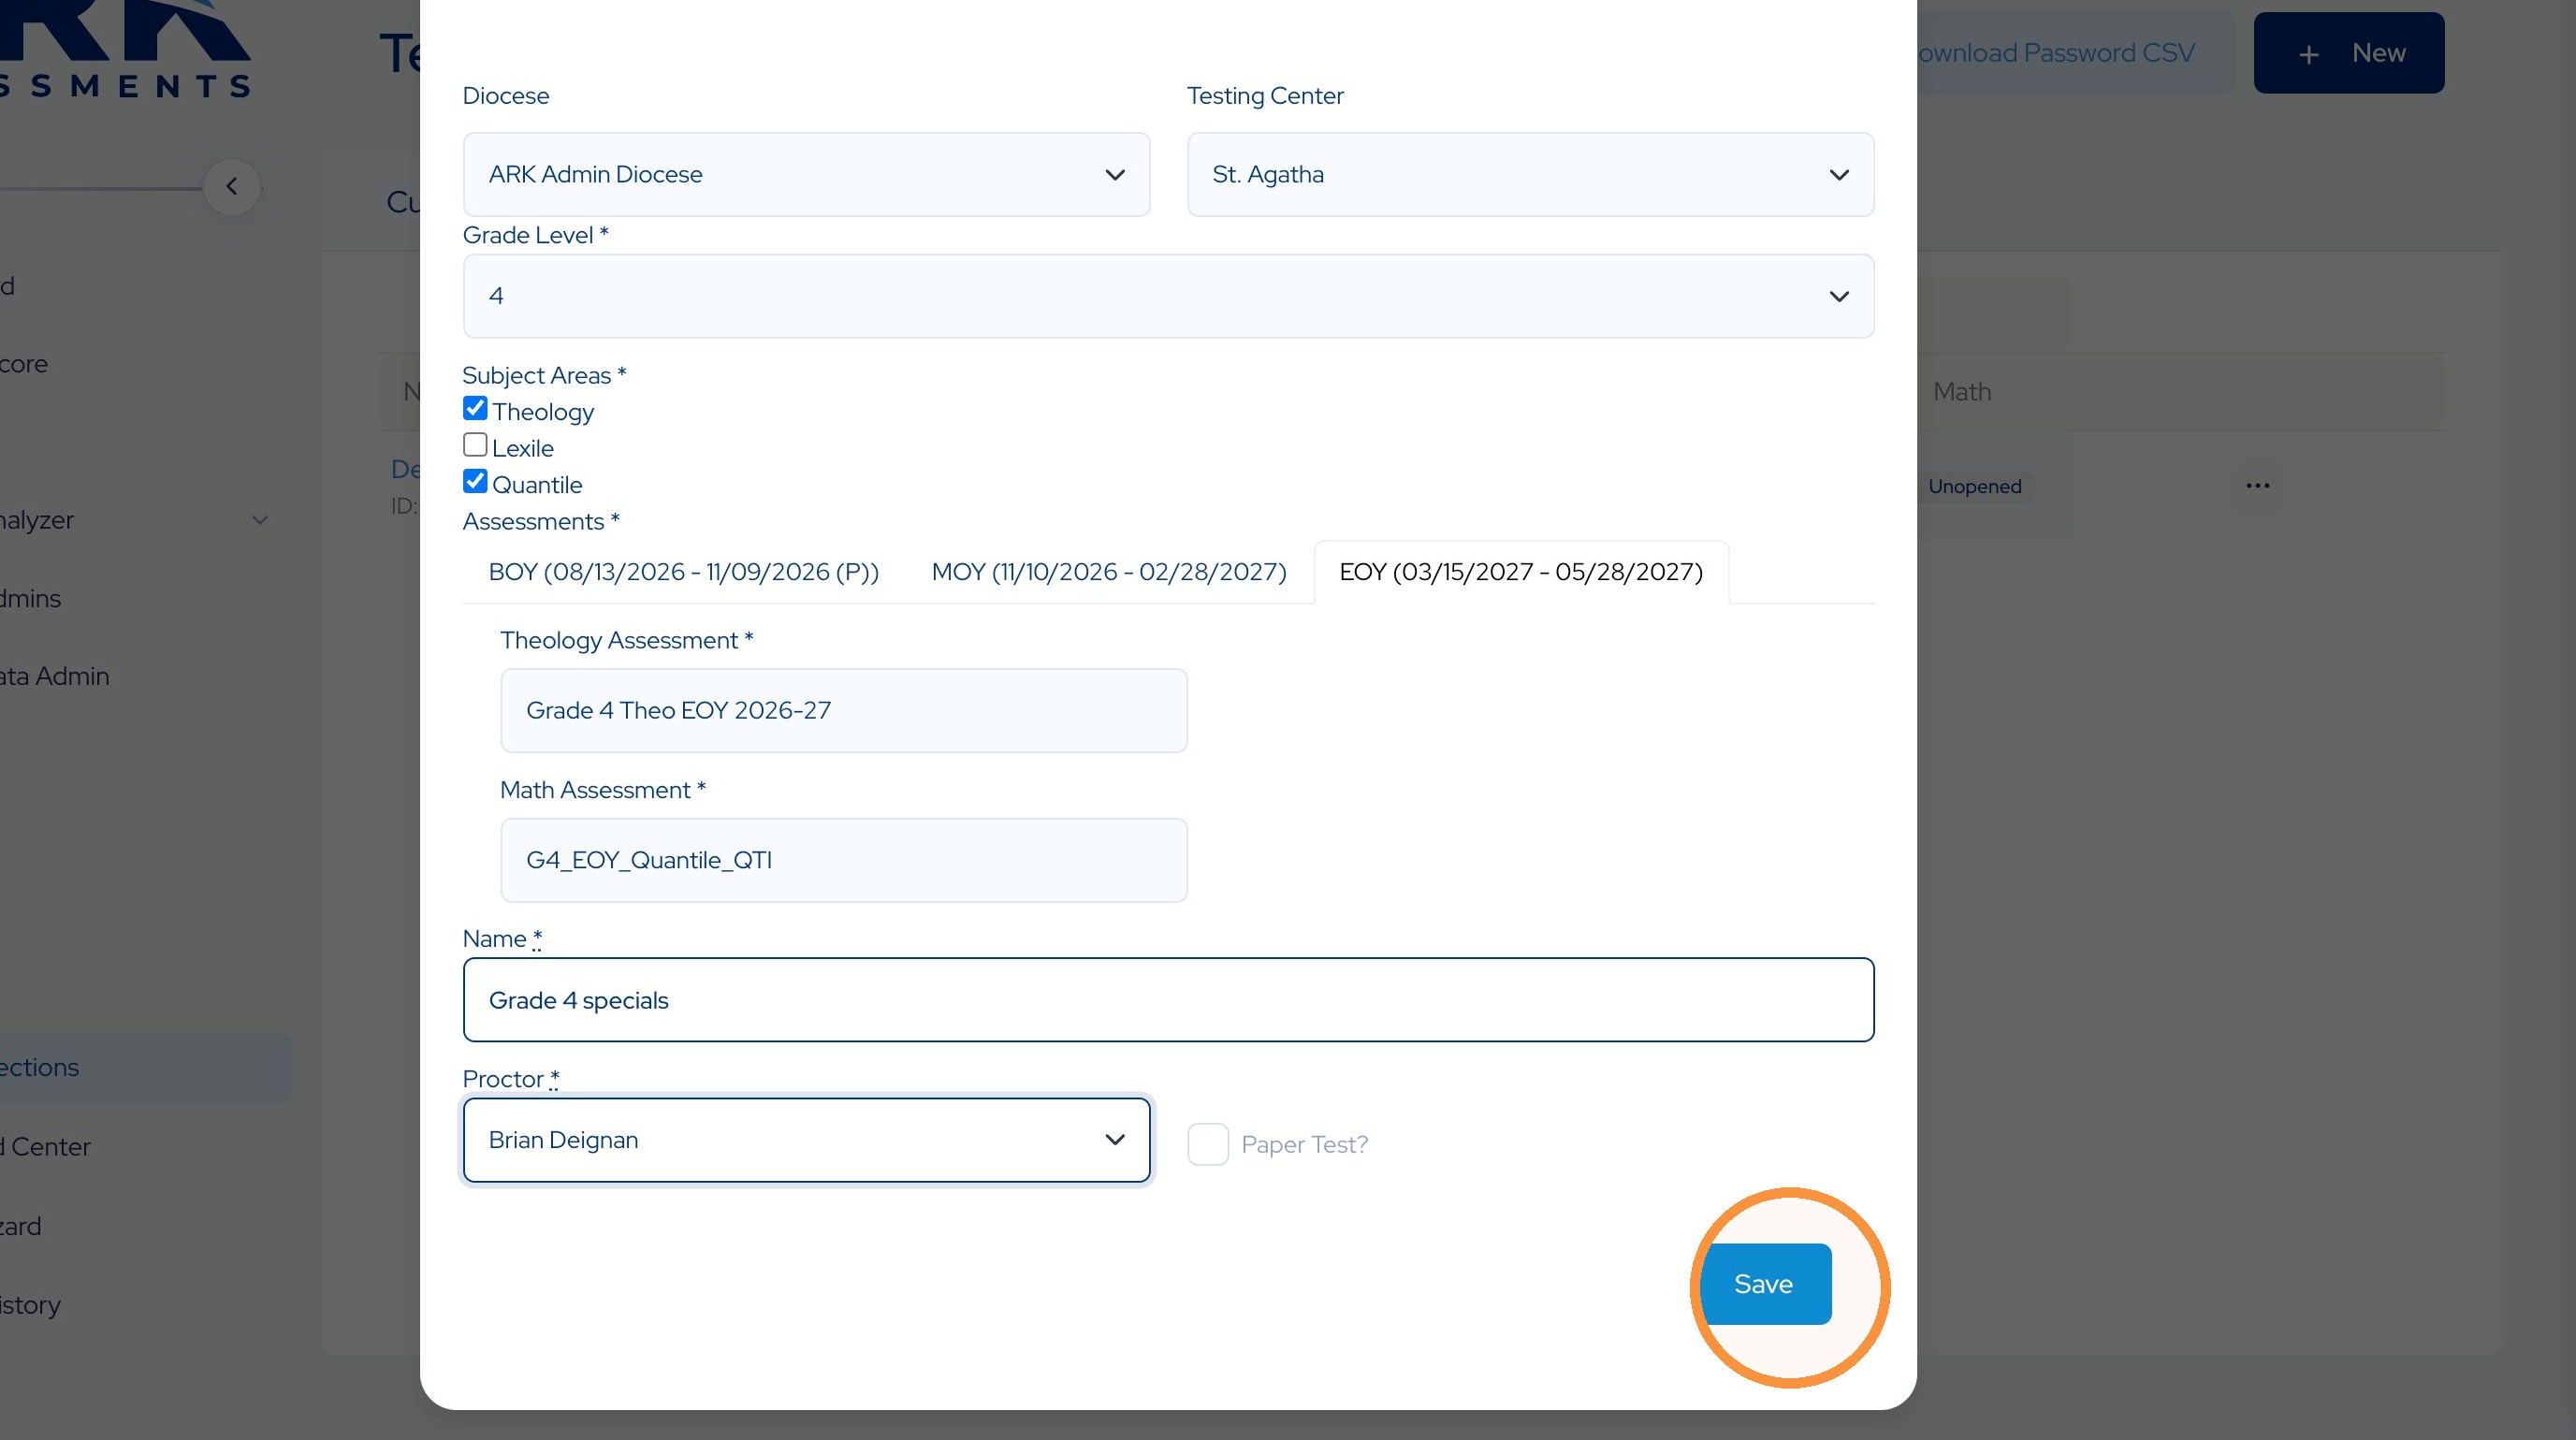
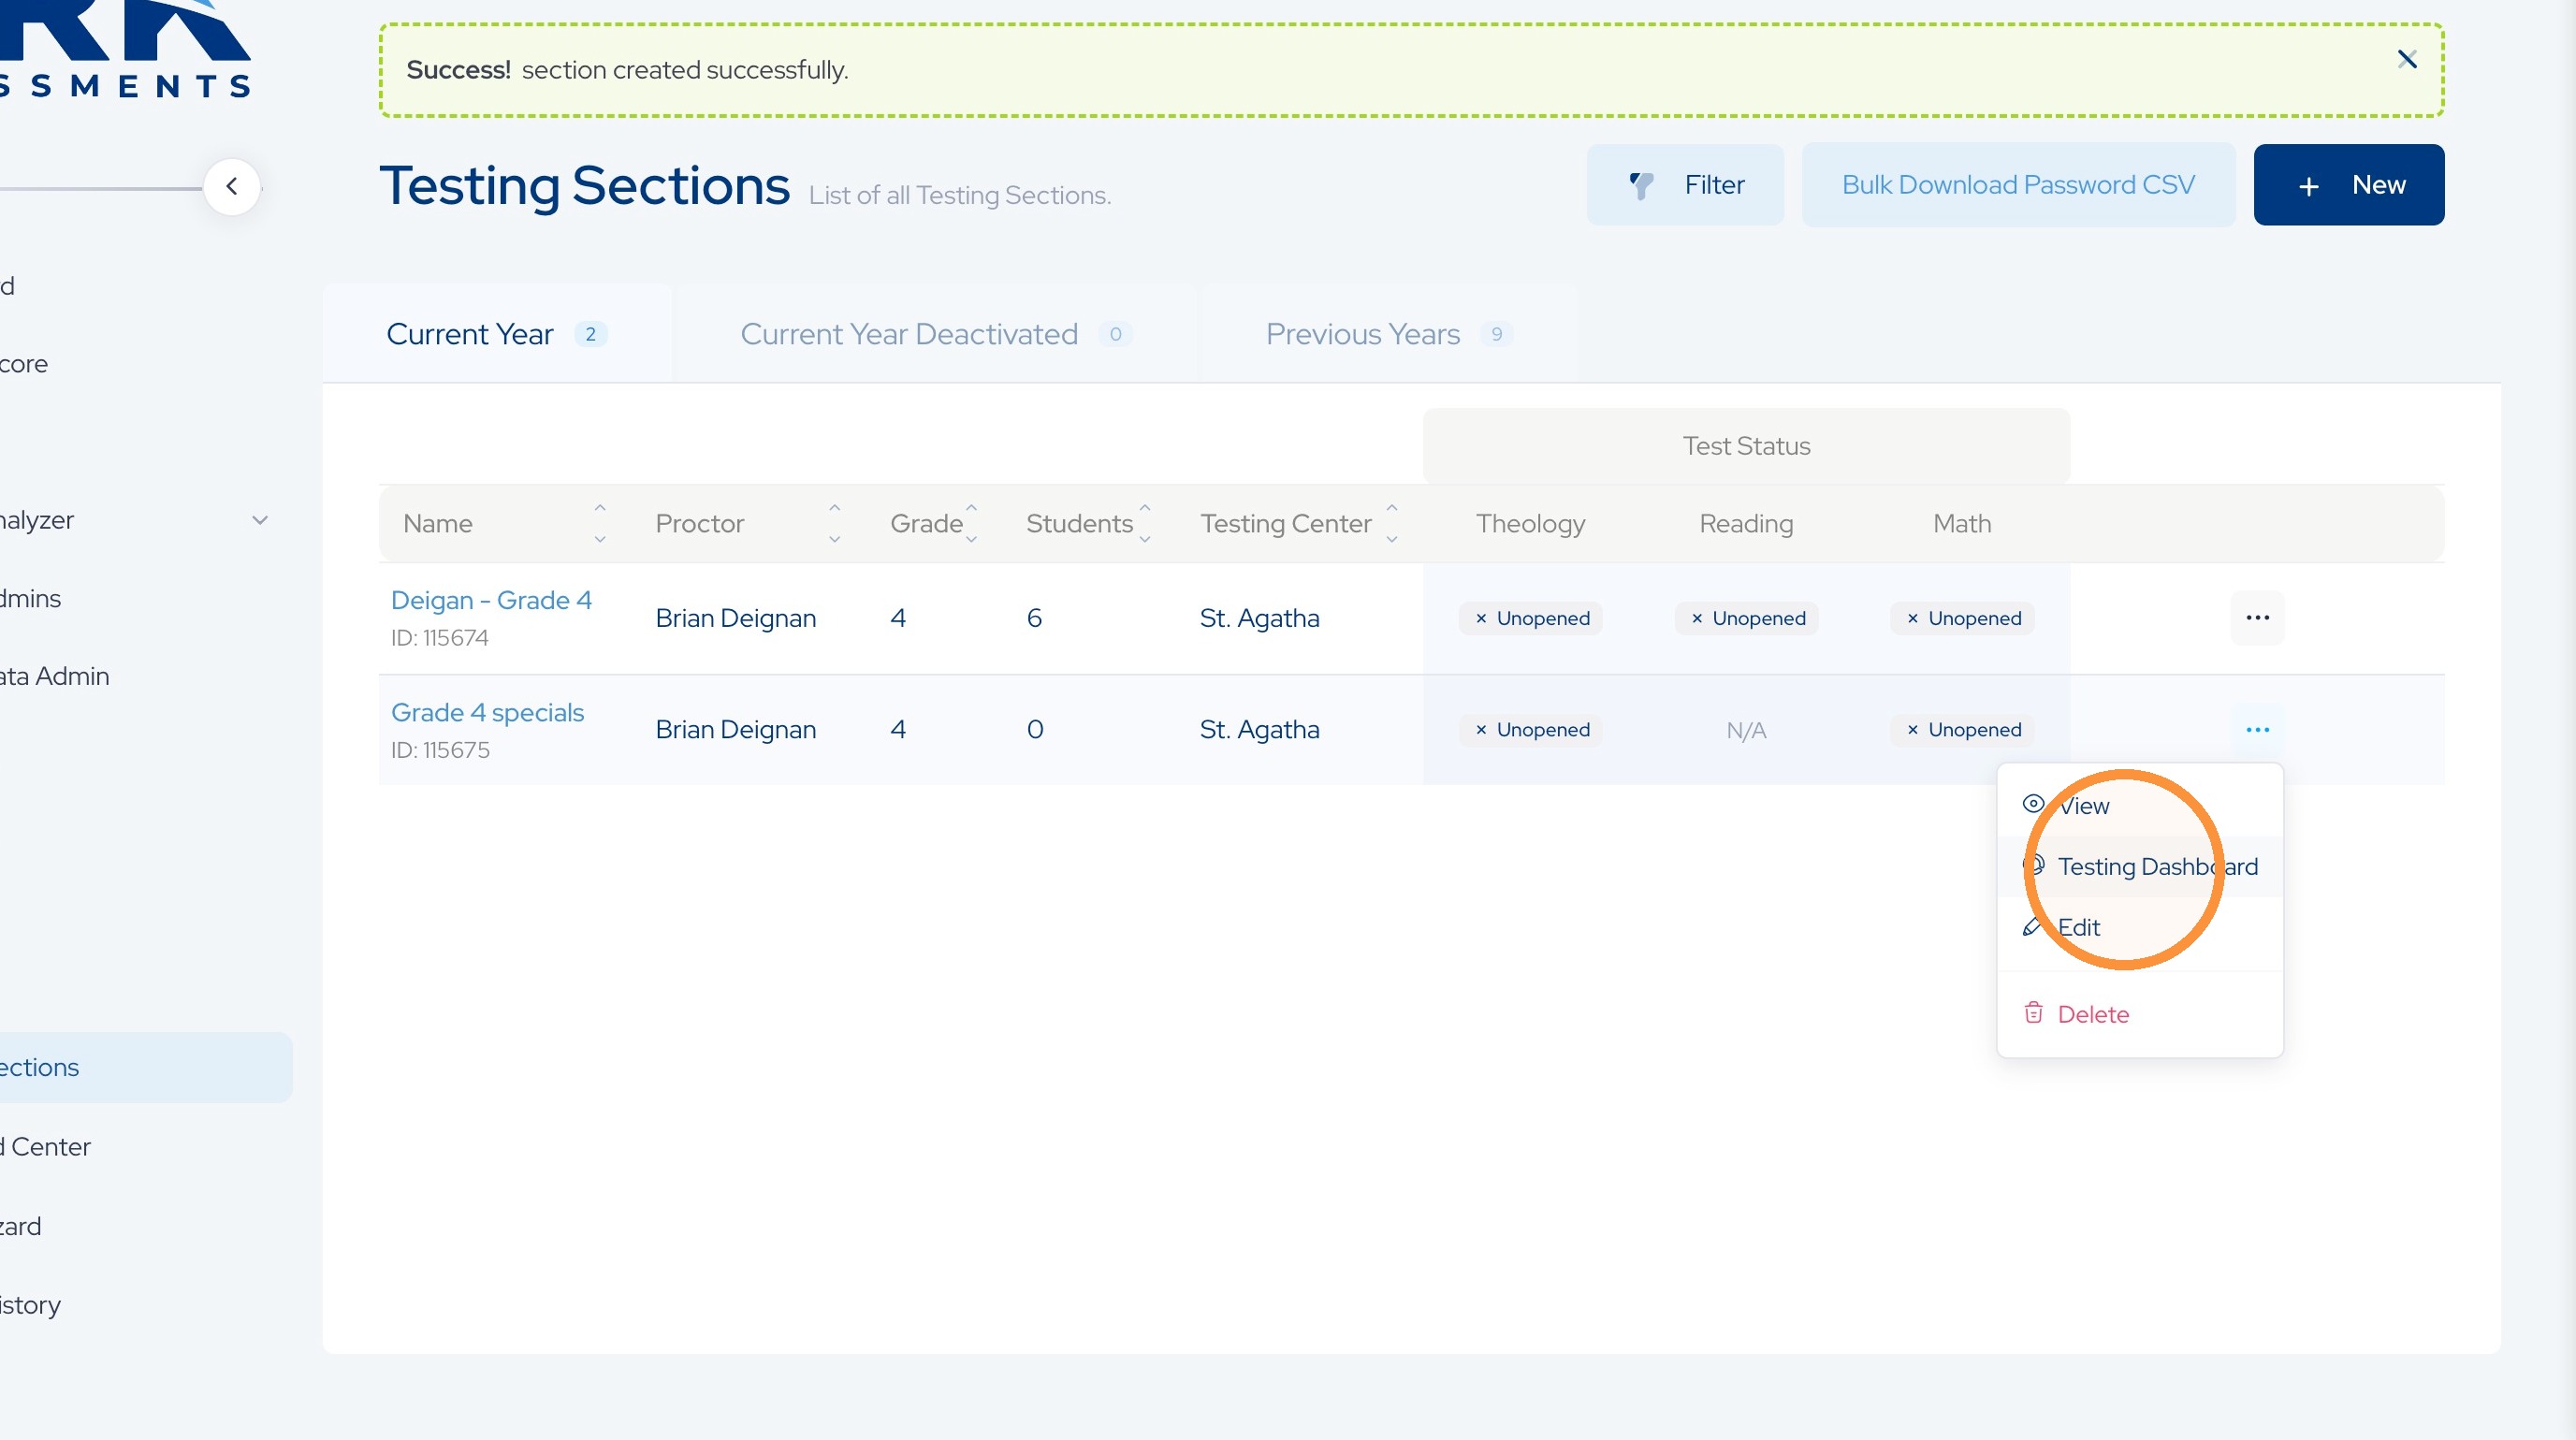
50. Once that is saved, you can navigate to the Testing Dashboard.
51.
52. And to add students, you will click on the + New button.
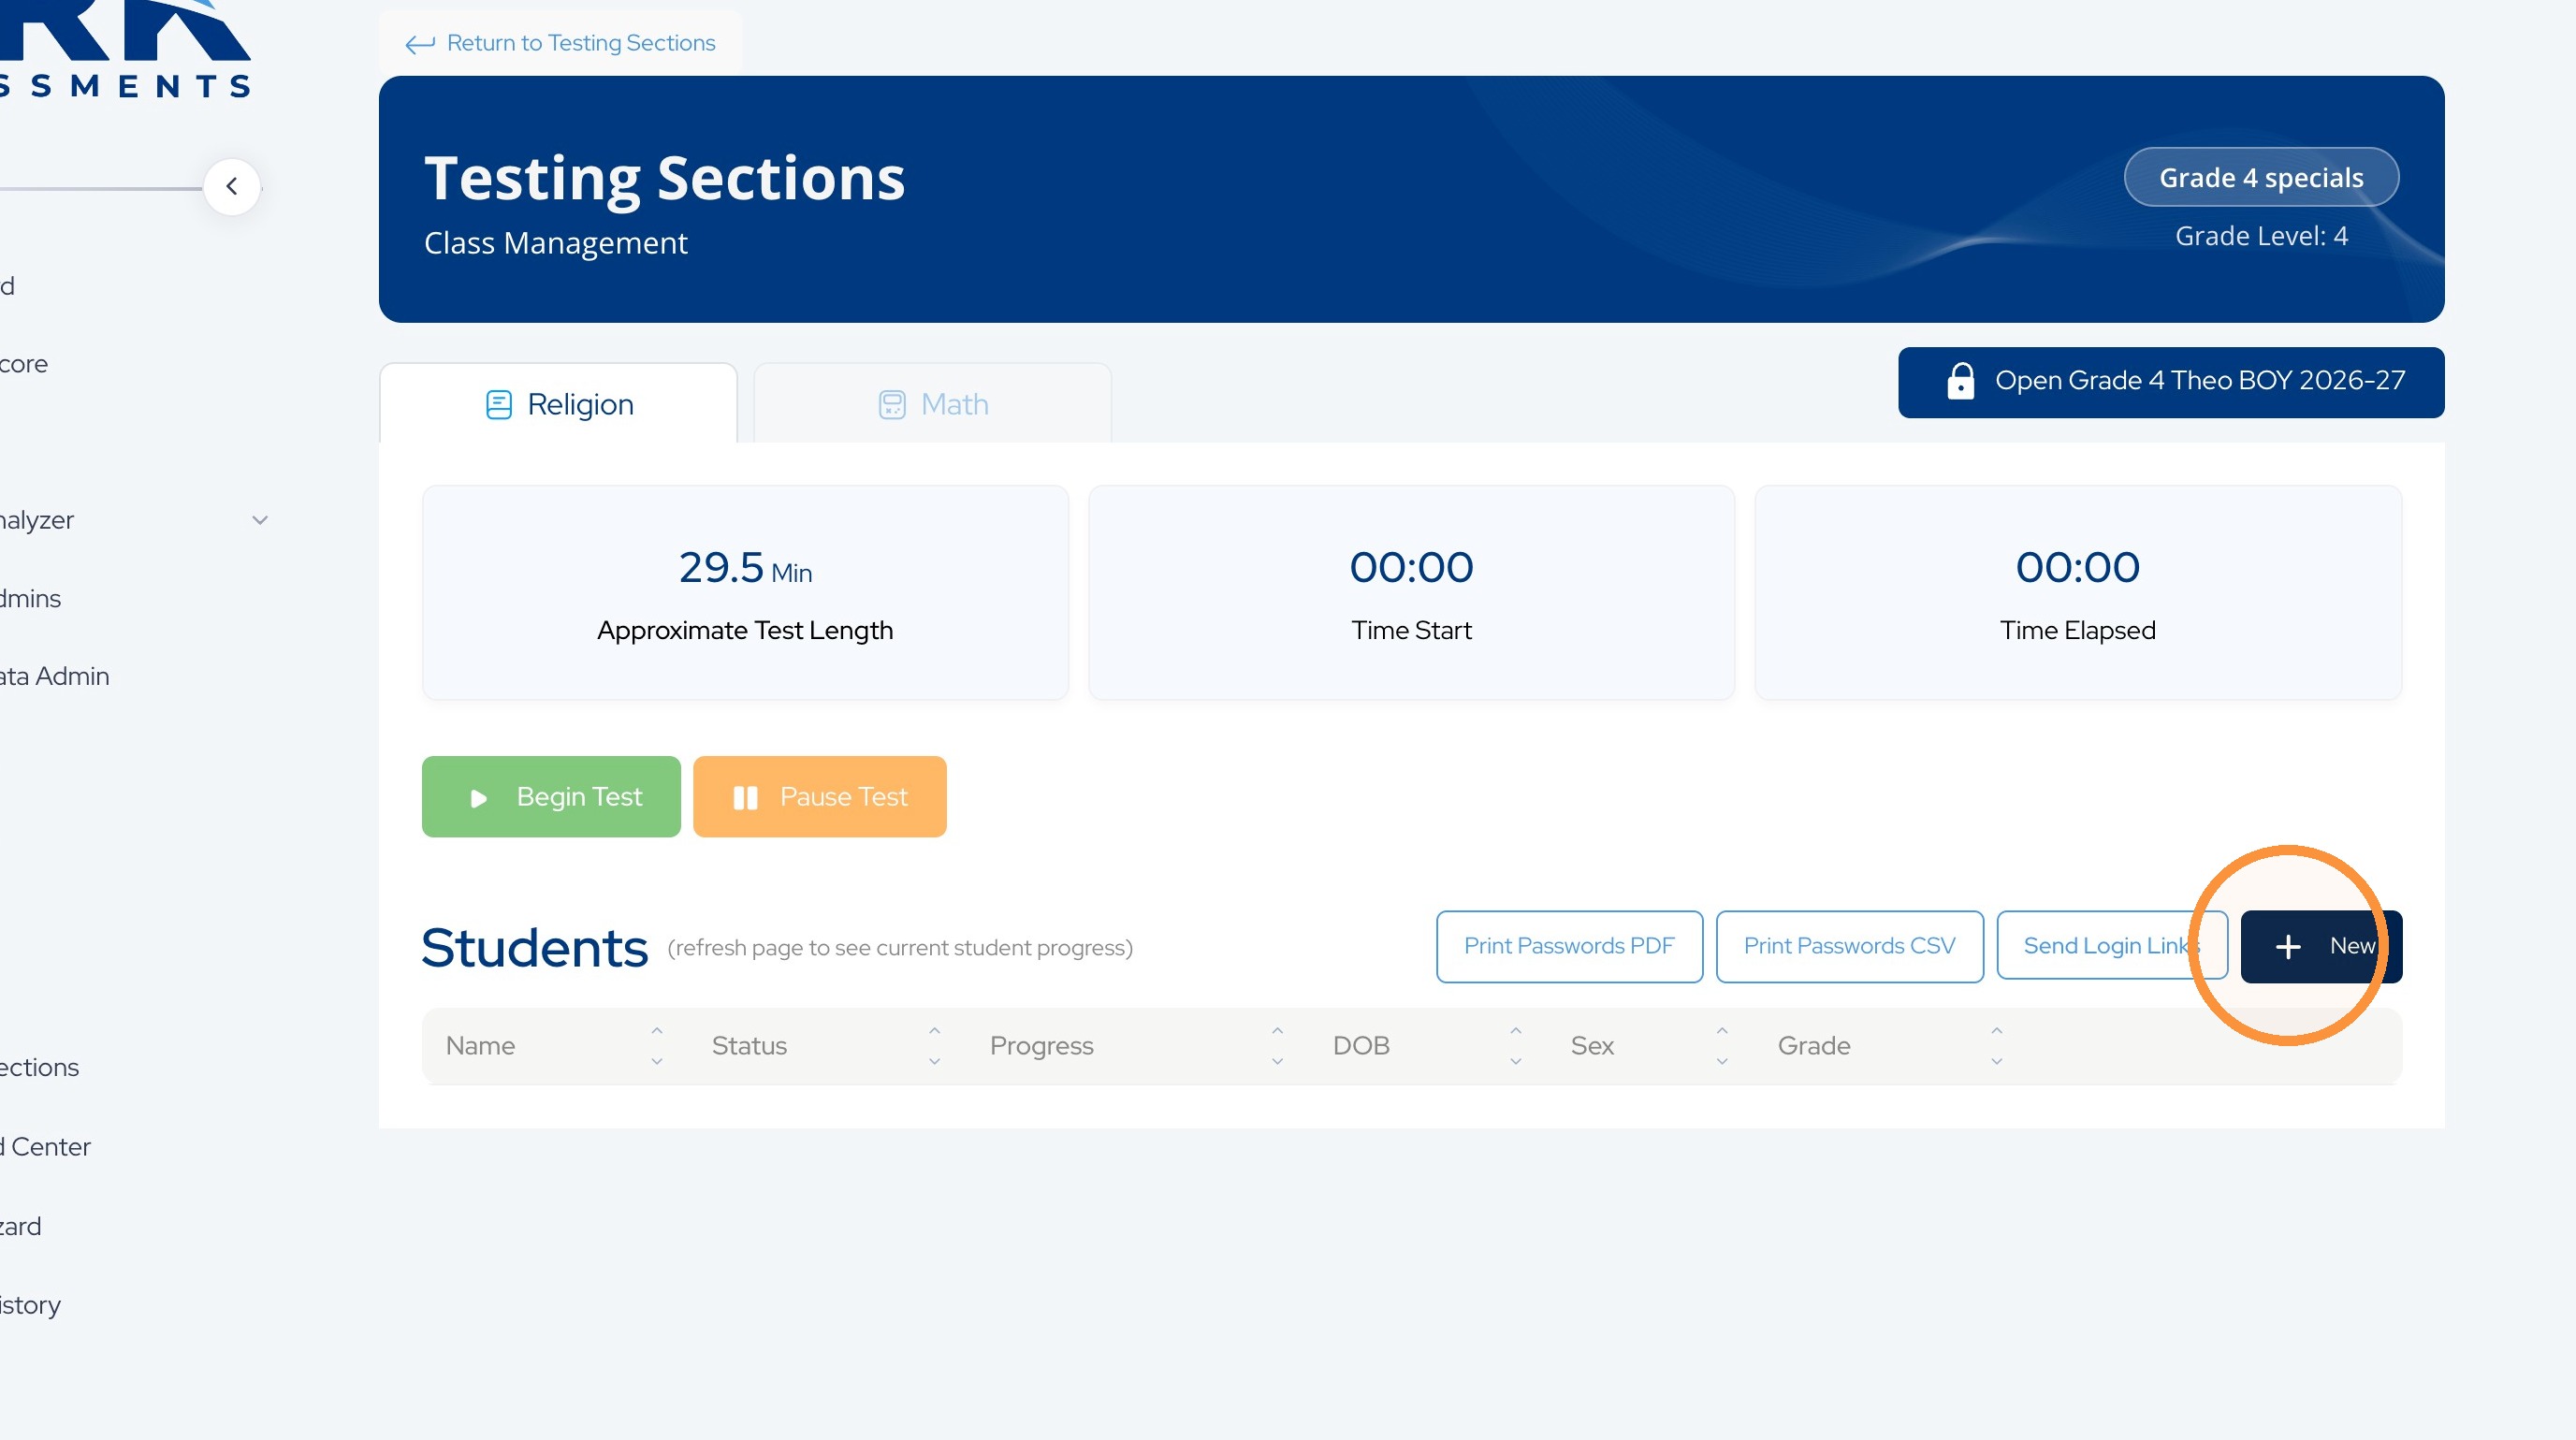
53. Click "Select" to get the list of available students that match the grade level for that testing section and are not already assigned to another section of the same subject.
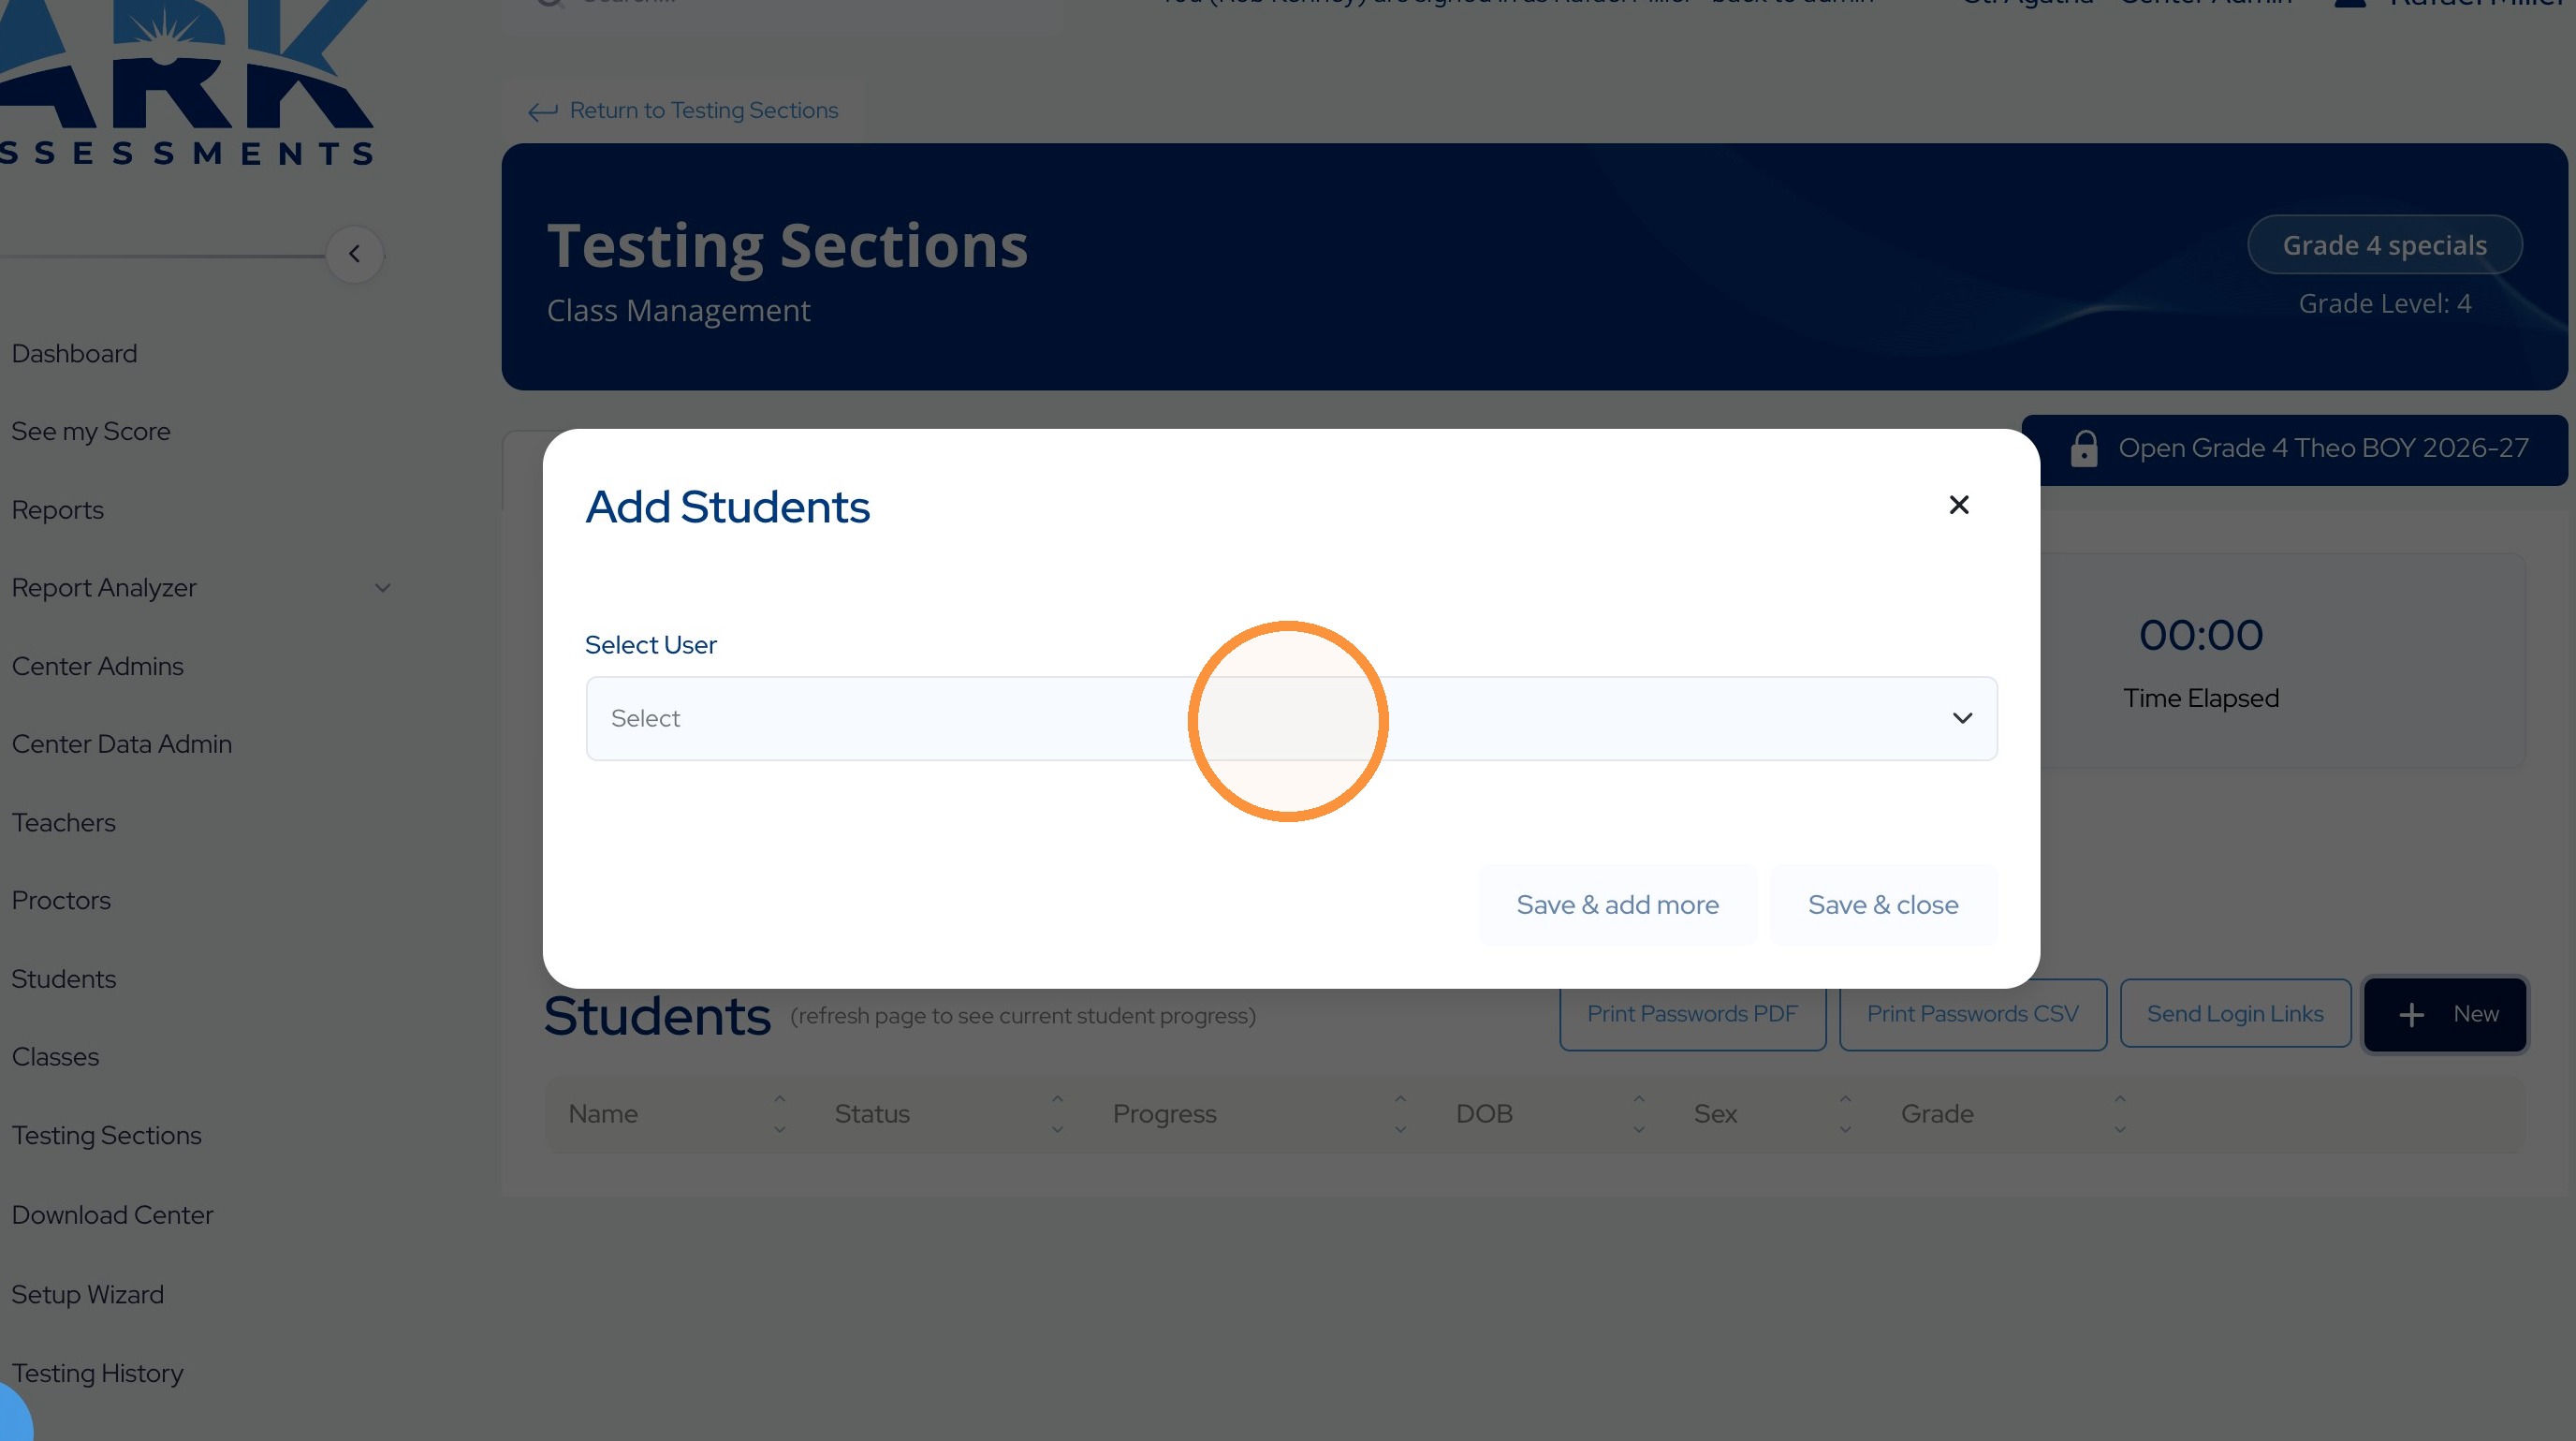
54. Select a student
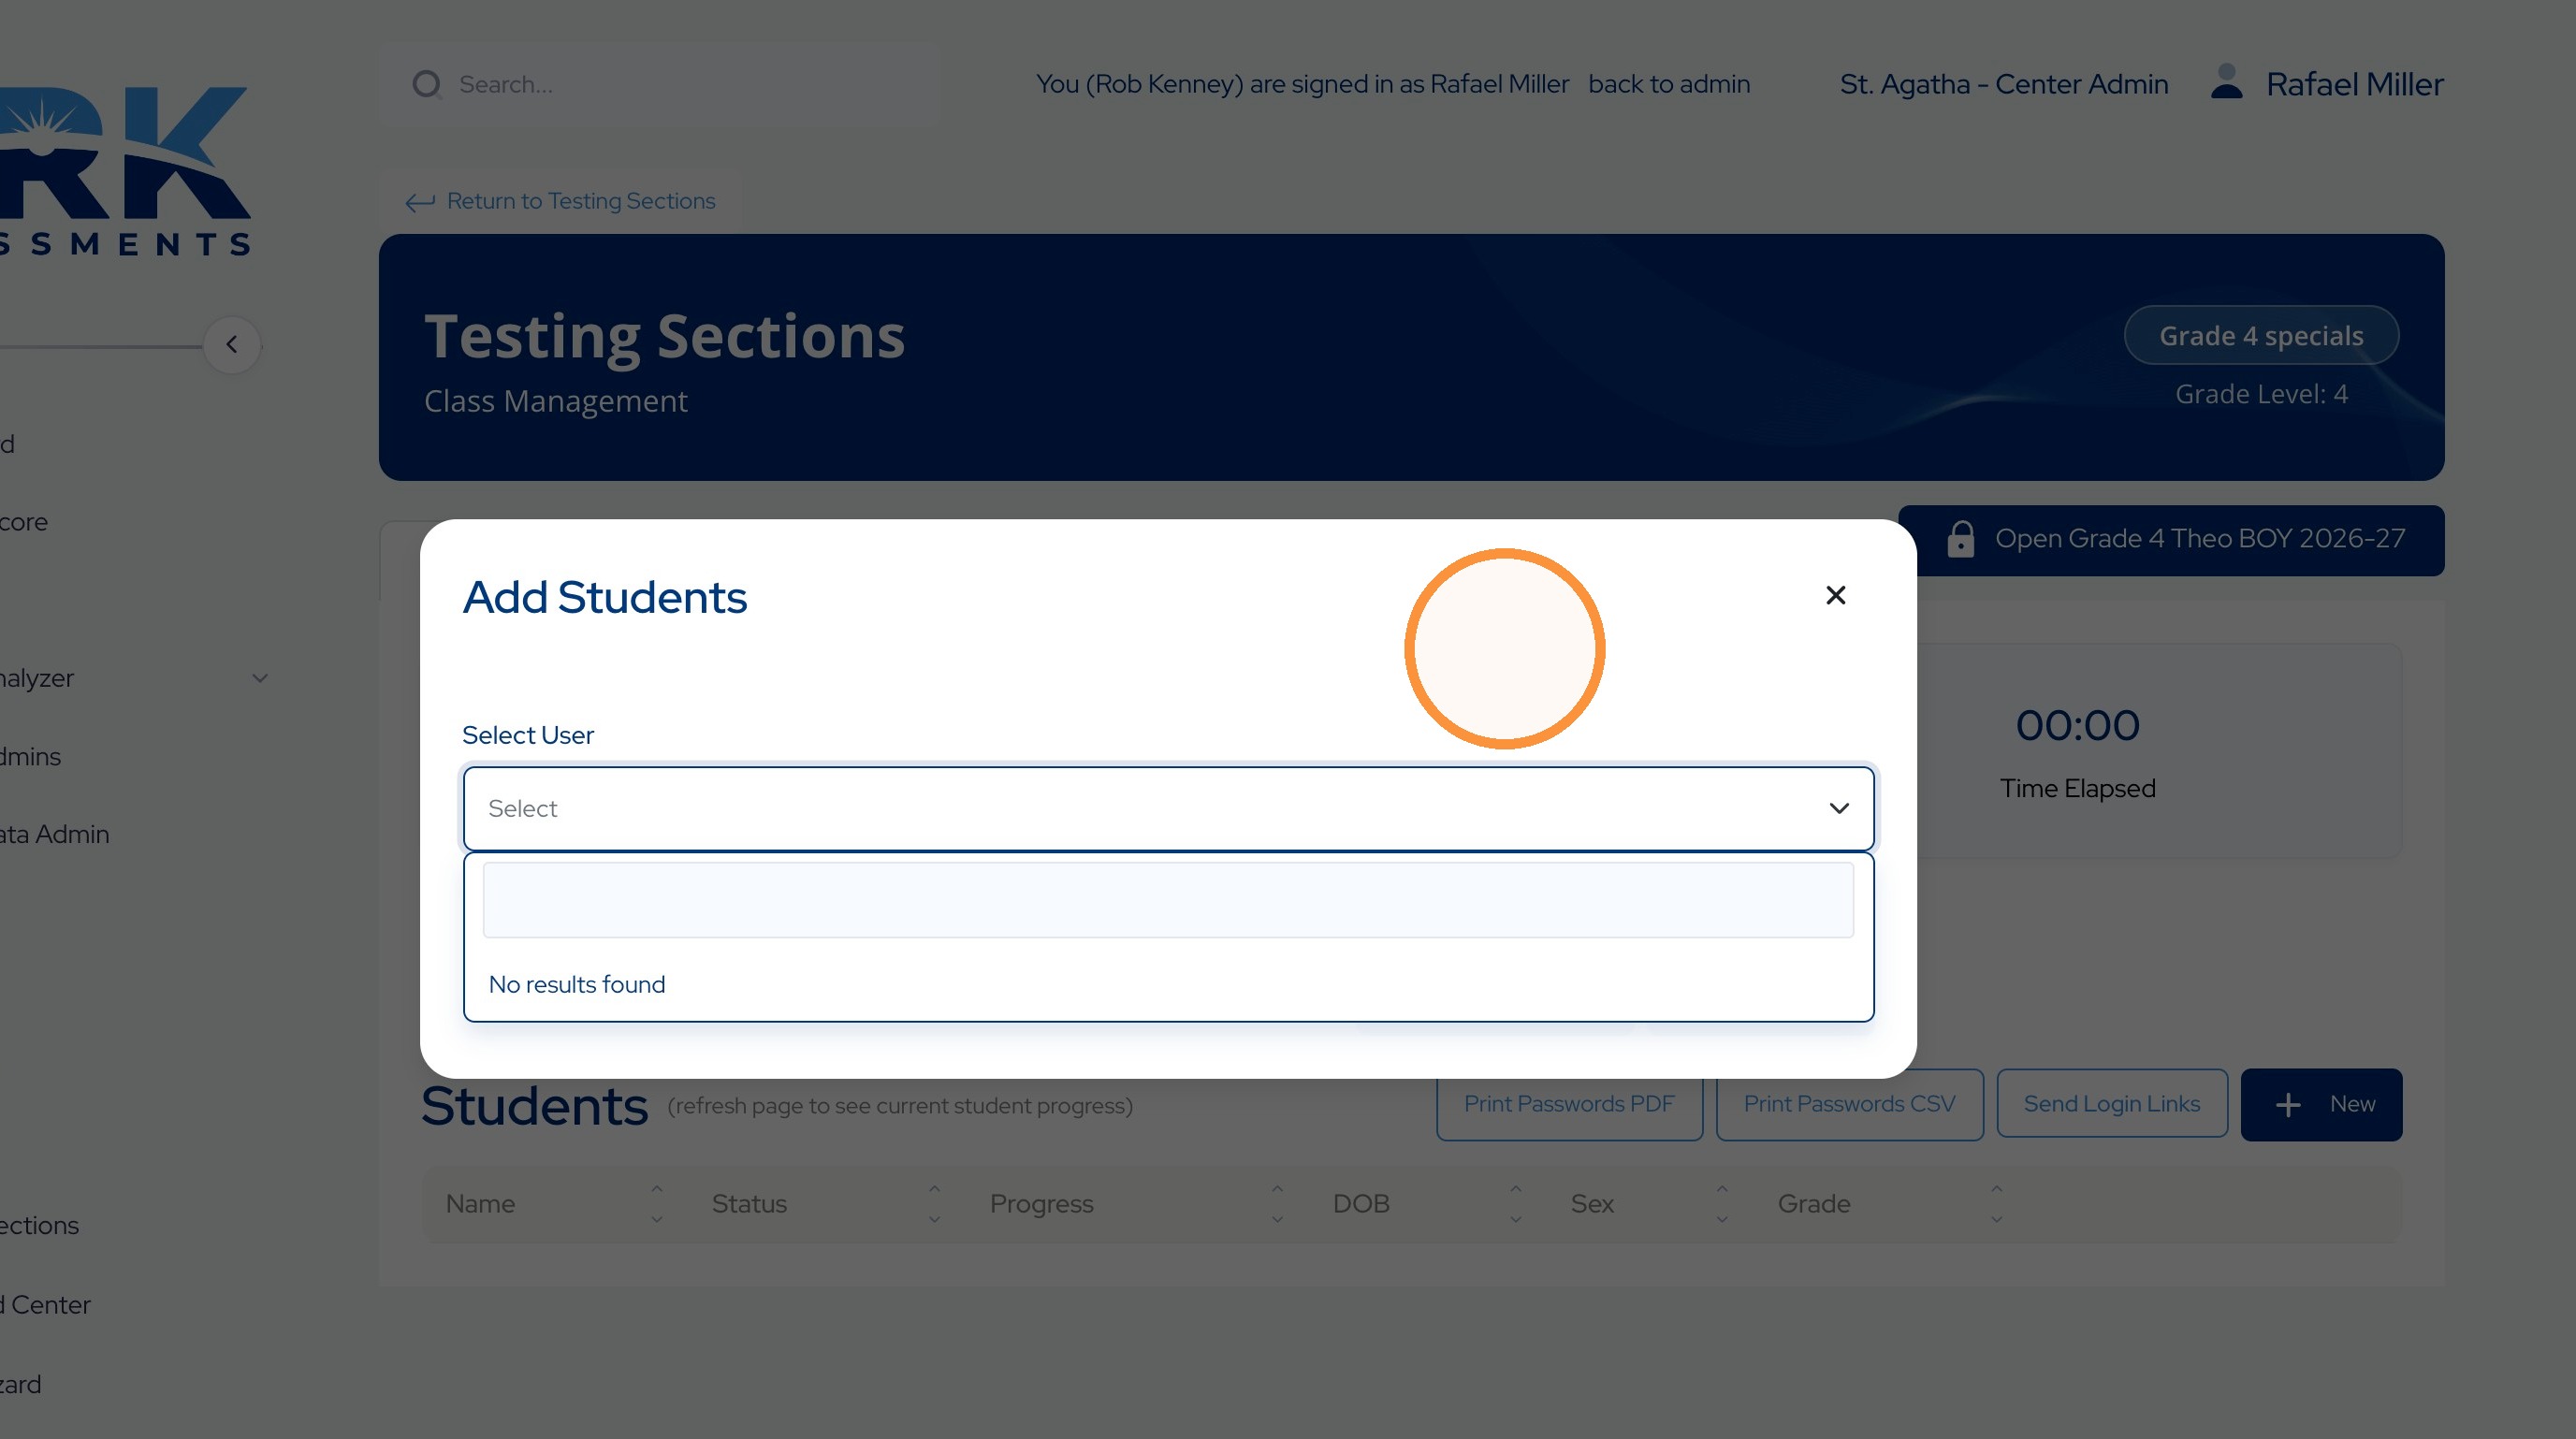
55. Press Save and add more until you have all added, or press save and close on the last one to finish.
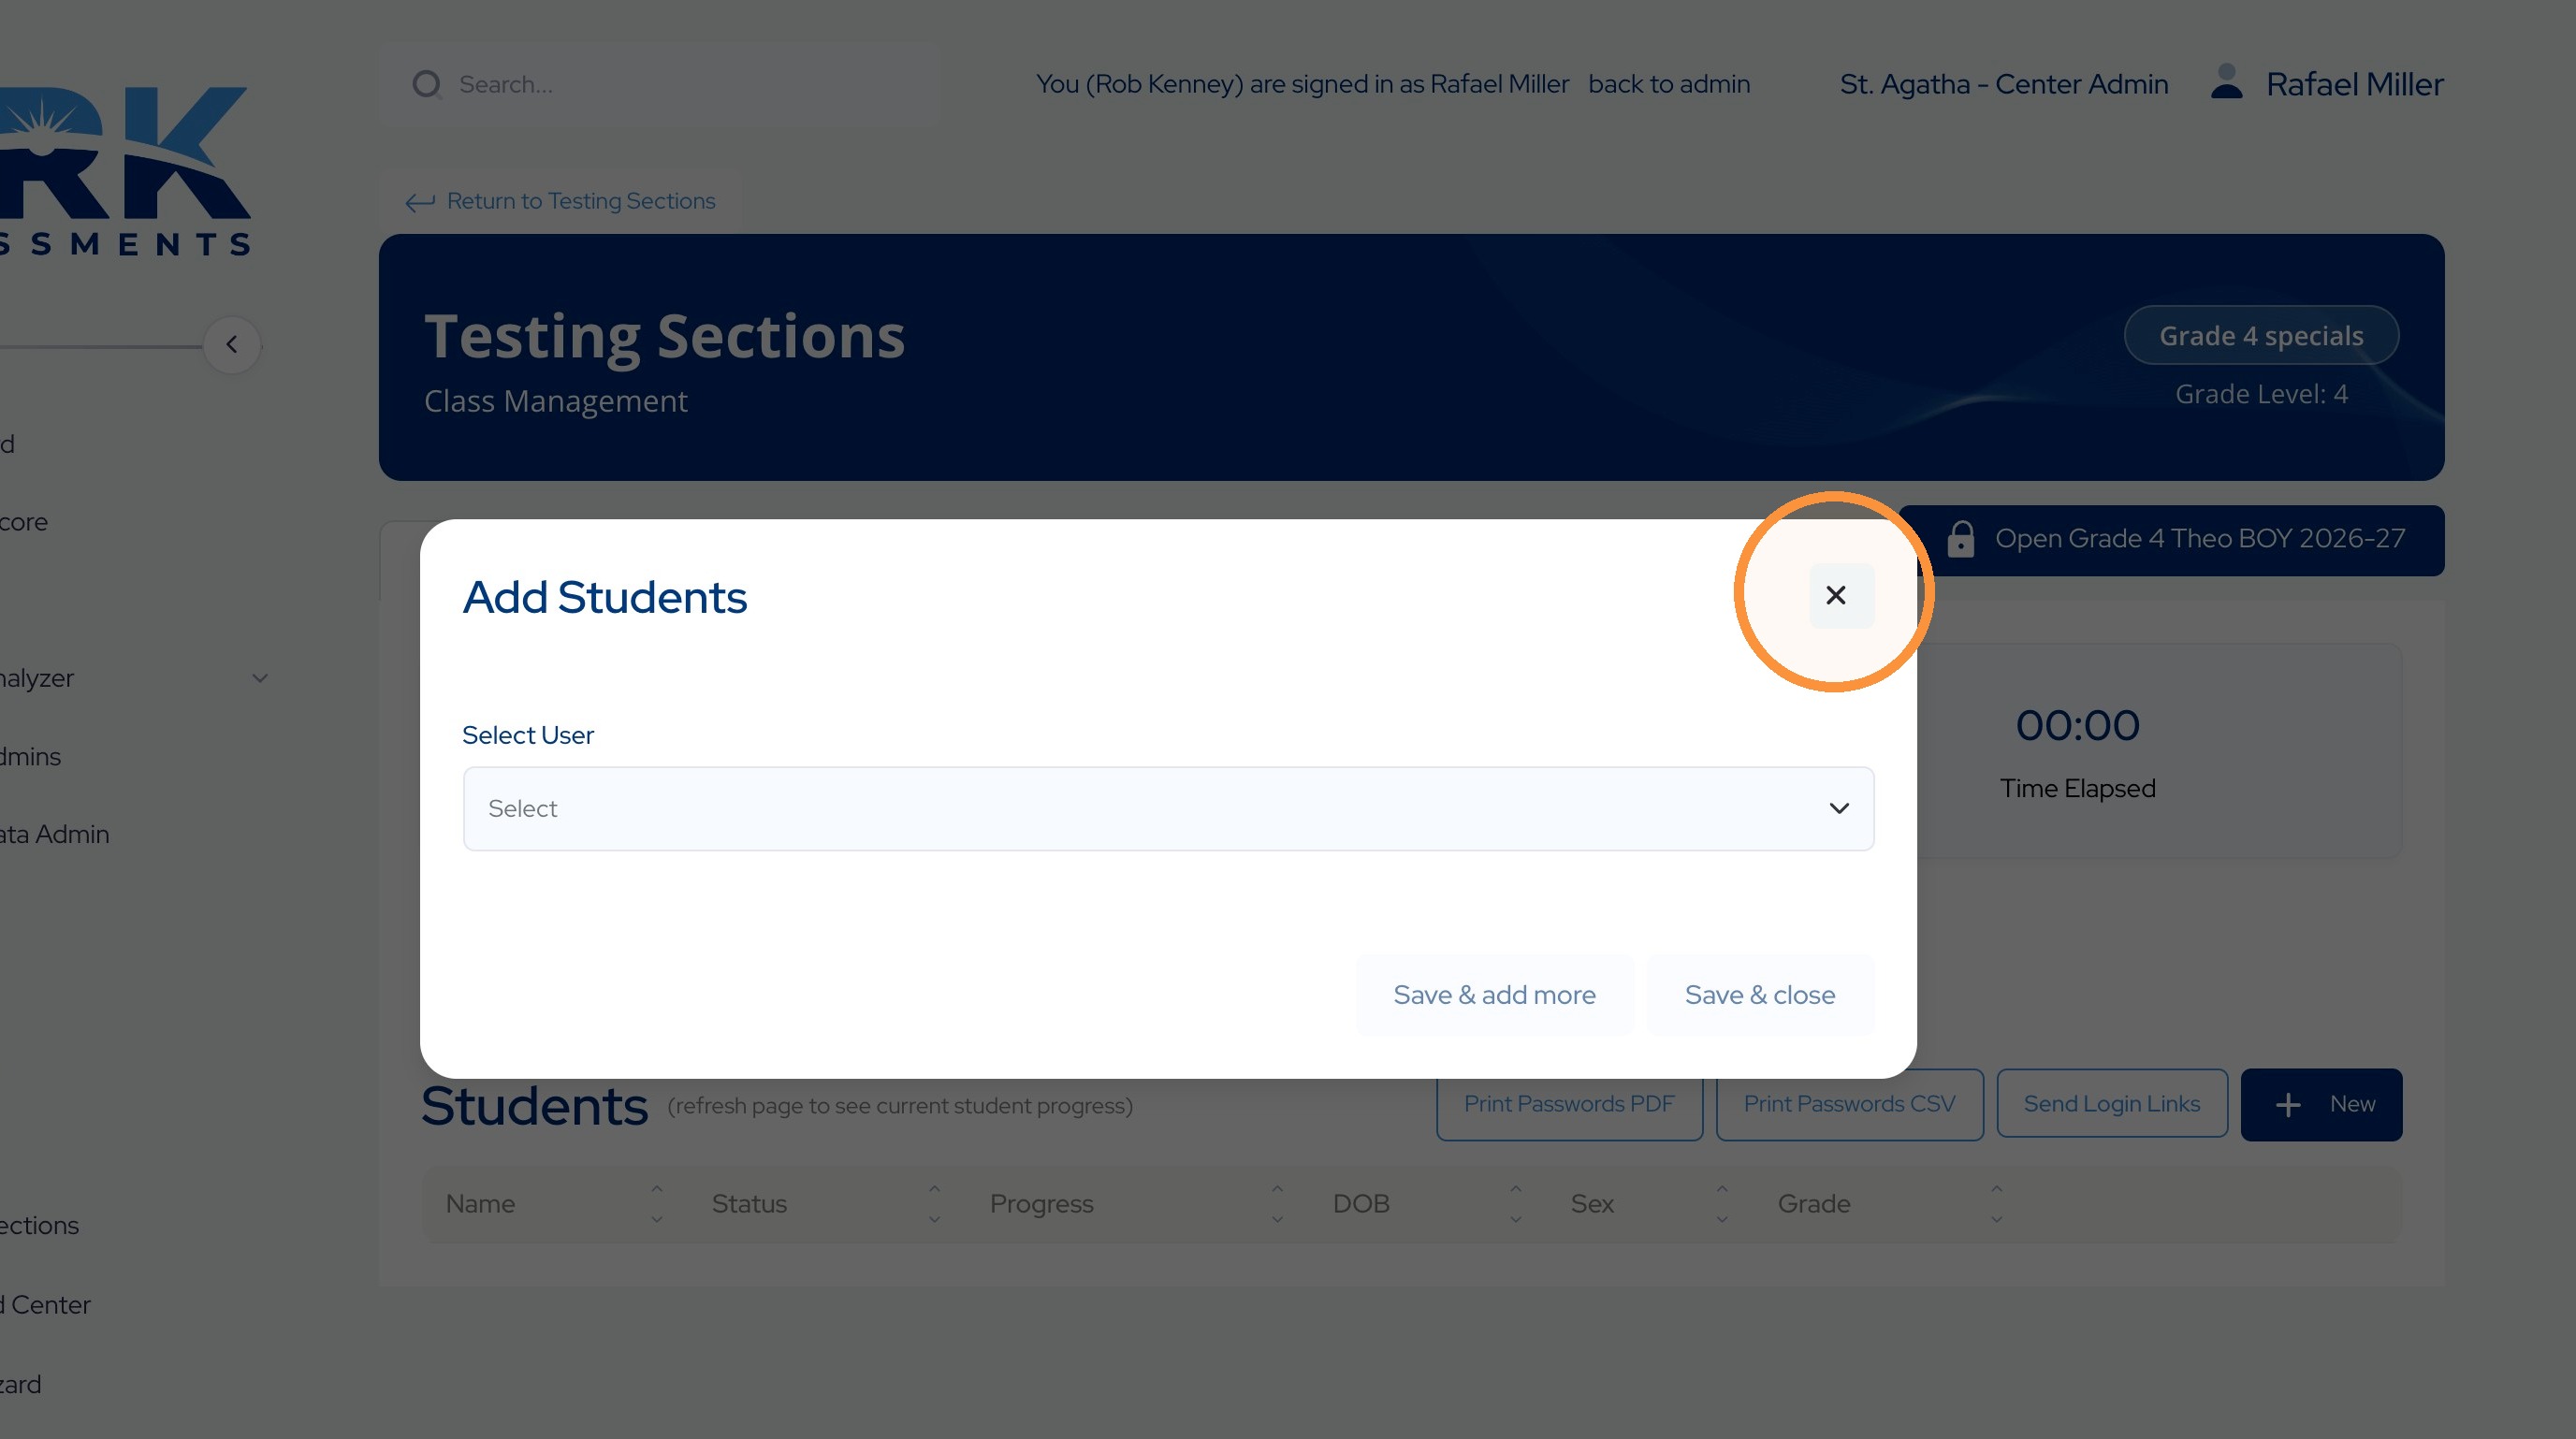
56. And with that your section(s) will be ready for testing.